Archive for the ‘twin-kingdom-valley’ Tag
I owned an Acorn Electron as a kid. It wasn’t the greatest games machine in the playground, but it did have the best game of all-time, Braben and Bell’s Elite, and one of the finest adventure games of all time, Trevor Hall’s Twin Kingdom Valley.
For a boy with a fertile imagination, and an obsession with the Fighting Fantasy books, Twin Kingdom Valley whisked me through the screen, and into a fantasy world of babbling brooks, Forests, Orcs, Trolls, Goblins, Dragons, Kings and treasure!
— Mark James Hardisty, Classic Adventurer 13, 2026
I’ve finished (as much as a game like this can be “finished”) so final spoilers ahoy; you should read my previous posts about the game before this one.
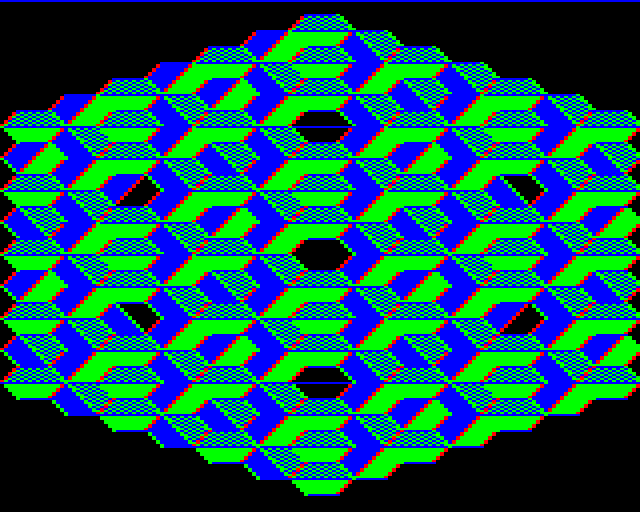
Mattias in the comments mentioned that some objects have images attached. Most don’t; LOOK BRASS KEY (or nearly any other item) gets the response “seems ordinary” and I had tried that enough times I assumed that there was no point to looking at items further (the intro text also doesn’t say anything about this as a feature). However, it turns out there are a few exceptions, like the diamond above (found at the start of the cave next to Watersmeet) or the picture in the cabin.
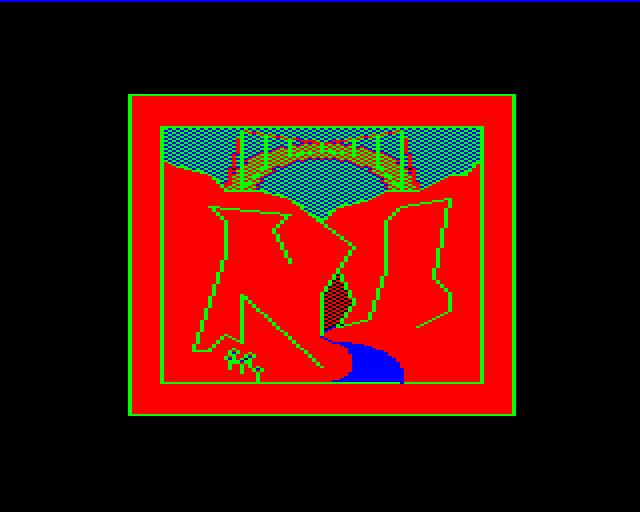
The picture ends up being a hint, because if you look at the wooden rod (back at the forest king area), you’ll notice a relation.
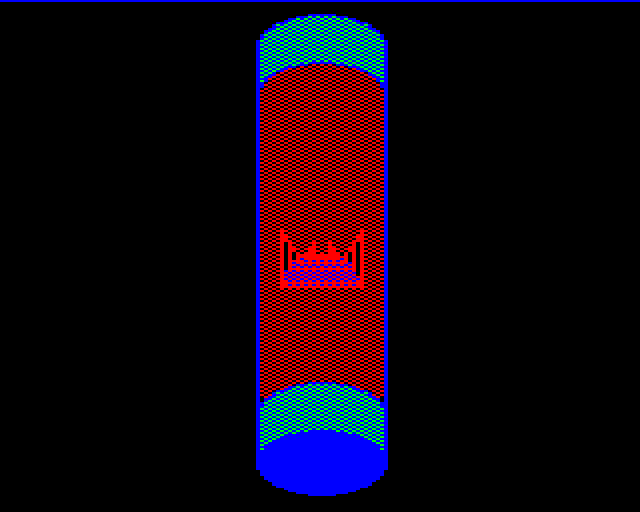
This turns out to be not needed to beat the game (and in fact I ignored it almost completely after using it) but that’s also true of the bridge in Crowther/Woods. You can WAVE WAND while at the fissure to get into the desert from the south, without passing through secret doors.
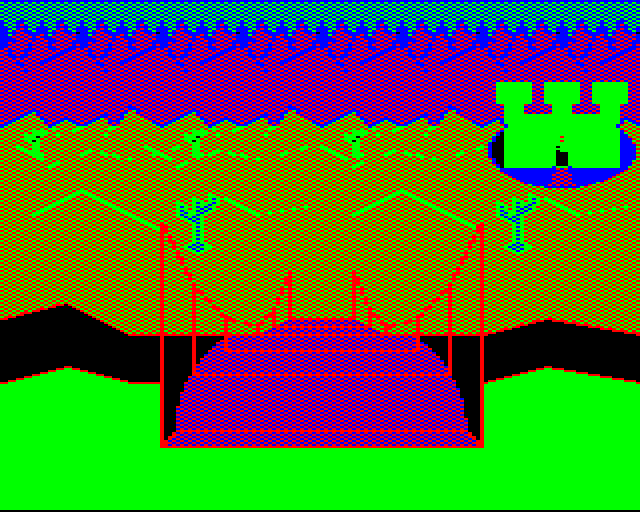
Since the secret doors are in close proximity to Watersmeet (and part of my gameplay involved going back there to heal up in between trips) it was better to use those anyway.
Incidentally, the desert has two “sand lurkers” (no idea what they look like, humanoid or not) and when I found them one was carrying a bag of silver…
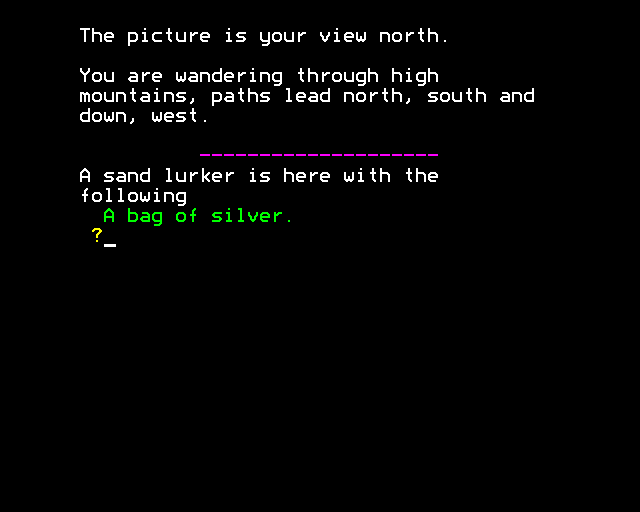
…so I used a mace I found lying around to chip away at their health until they died. This is more complicated than I’m making it sound because unarmed enemies will run away when you whack at them, and out in an open desert I found it easy to lose track of them. I accidentally fell into the moat of the castle a few times while searching (which causes serious damage). Additionally, the one holding the bag of silver dropped it in the process (and it got scooped up by a castle guard) so I ended up getting no treasure at all from the process (until I later killed the castle guard).
While dealing with this came later in my sequence, it’s easier to explain now what happened with the princess: I took the guess she might be related to the Forest King (since the two kings hate each other as part of the narrative). There’s also the meta-element that the Forest King doesn’t have a character that can be killed while the Desert King does, indicating to me the Desert King is the violent one and the Forest King is the peaceful one. The one thing I hadn’t tried is bribing the guard when getting tossed into the dungeon.
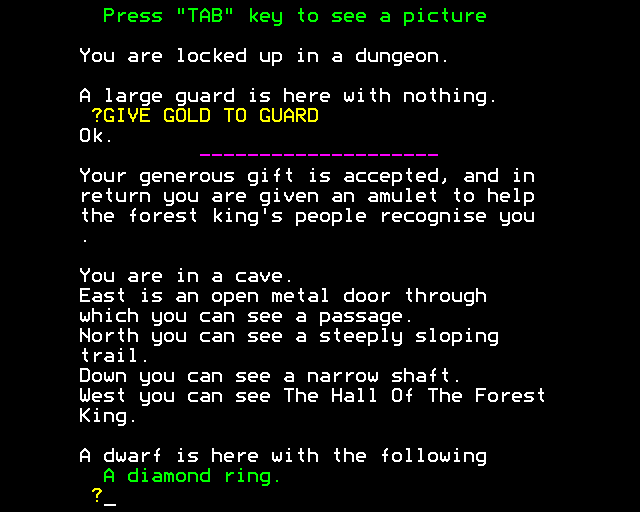
I decided to not worry about max score and leave the dwarf in peace. He’s still got his One Ring to pine over. I’m sure nothing bad will come of it.
With the amulet being worn, you can then free the princess (who is just past the gold-key door, so all you need to do is basically take the amulet into the basement).
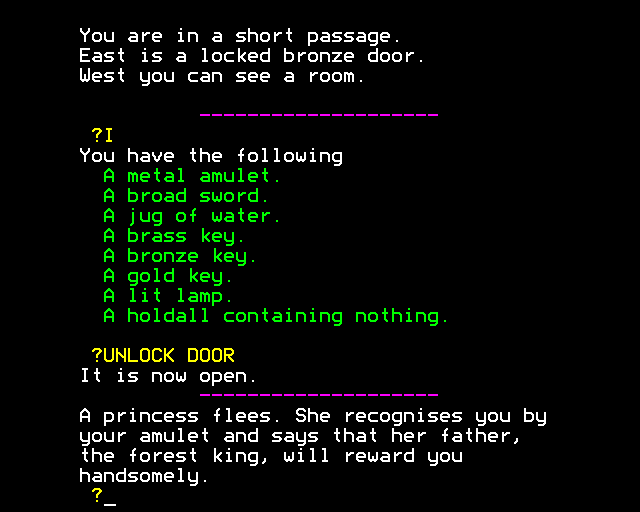
The silver key you get can then unlock the door at the bones; the bribe you handed over is right in the room. Given the circumstances, I think the intent is not that you’re stealing the gift back, but rather the Forest King is thankful enough about his daughter being returned that you’re welcome to take it back.
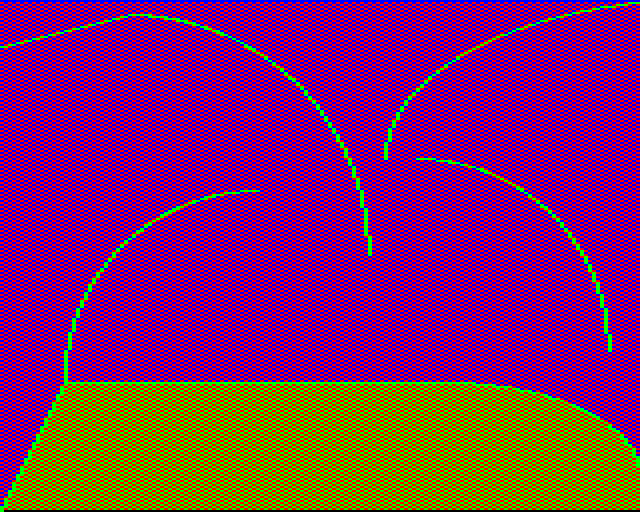
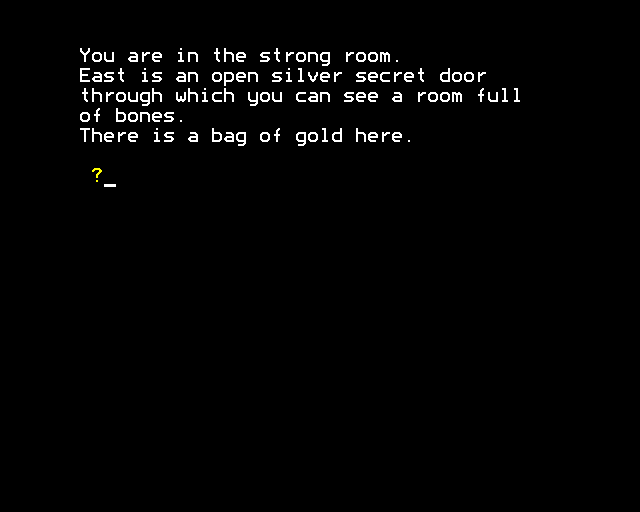
The diamond works too. According to Morpheus Kitami’s playthrough the bag of silver from the desert does not work so there’s some value threshold to the bribe.
With this all done, it was time to raid the castle and kill guards. As far as I can tell all you really need is a sword (which an elf happened to be carrying around, I did ASK ELF FOR SWORD and he handed it over); if there’s “experience points” muddling the experience it’s too small an aspect to notice.
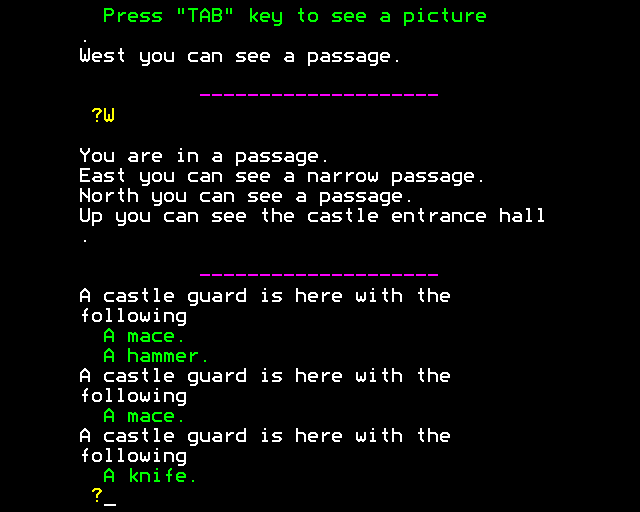
Don’t attack if they’re clustered like this.
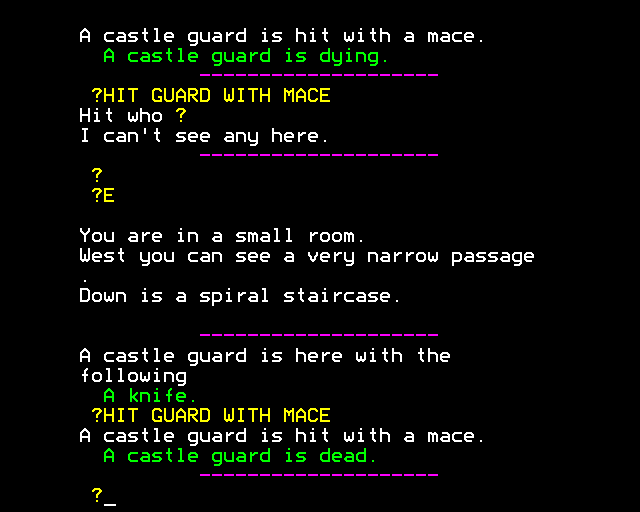
As long as you fight one-on-one (and go back to Watersmeet to heal) the guards are pretty easy.
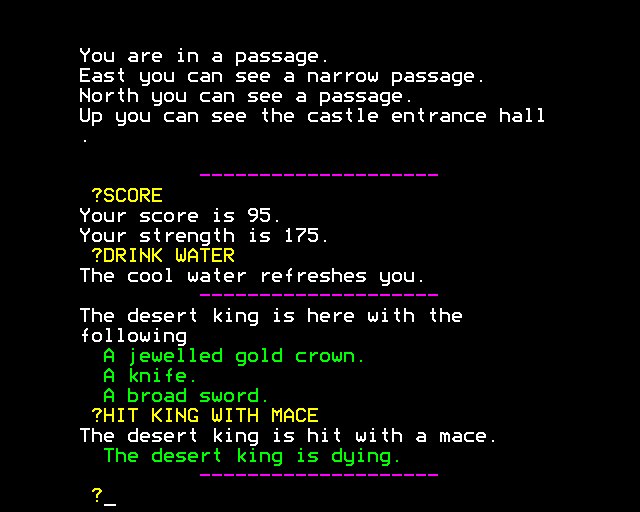
The Desert King is pretty straightforward as well, as long as you get him alone. On this run for some reason he was up near the storage room and cellar.
The combat incidentally brought out the feeling Trevor Hall mentioned about why there needs to be extra rooms: when physical placement of the guards (and juking them so they aren’t clumped together) becomes an issue, “ordinary” rooms take on new meaning. This is very similar to the treatment of rooms on MUDs that I’ve written about before. For a time I found this section of game to be nearly indistinguishable from playing a regular MUD (except it being single player, of course).
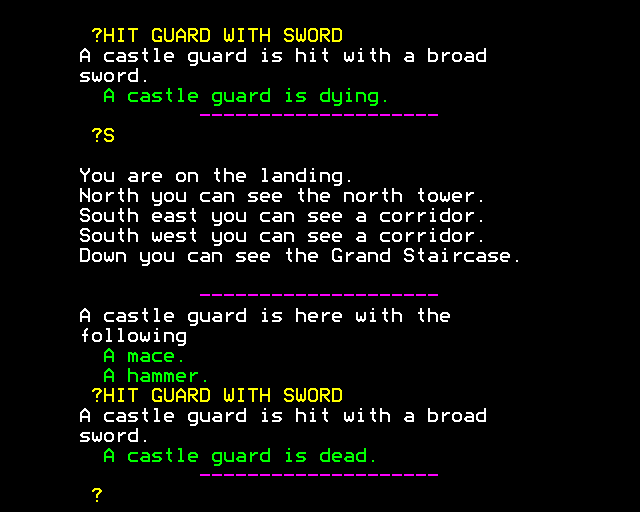
One more encounter, with the last castle guard hanging out near the dragon.
One other fun aspect is the giant. I mentioned last time arming him with an axe; he’s still effective but described the whole time as an “ill giant”. If you go back to Watersmeet and he follows, he’ll swim and heal himself! (This happened after I had already killed the dragon; I’ll explain why that’s important in a moment.)
With all that done, I still had a few things to mop up. One of them was a witch in a tower who had a gold staff and a dagger; I was able to kill the witch normally and get the staff. According to my check of the walkthrough later, it was supposed to be a lot harder; the gold staff allegedly prevents damage, and you need to hand over a dagger which will cause the wielder to harm themselves in order to defeat the witch.
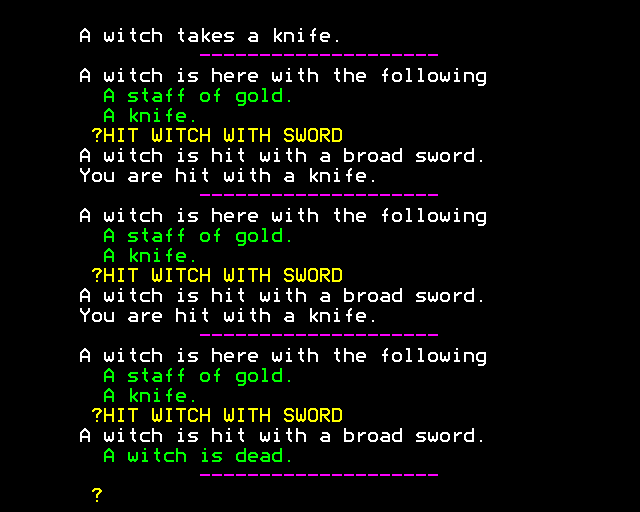
I found the moment so ordinary (see above) that I didn’t have a screenshot and had to reload a save state just now just to return to the fight. Maybe the gold staff only applies in the C64 or Spectrum versions? Or maybe the witch normally doesn’t have a knife? Did a guard wander in and suffer an unfortunate death, but in the process of grabbing the knife from the guard, the witch no longer had protection? Barring the BBC Micro version being different, this demonstrates how much chaos and variety the game has by relying on characters to be the “obstacles”; a hard-coded puzzle could have forced the player to reckon with the gold staff.
Another thing to mop up was the locked silver door in the Desert castle, and this one was fun to find. There’s a wooden staff locked behind the door, and this is another one of the rare cases where you get a visual:
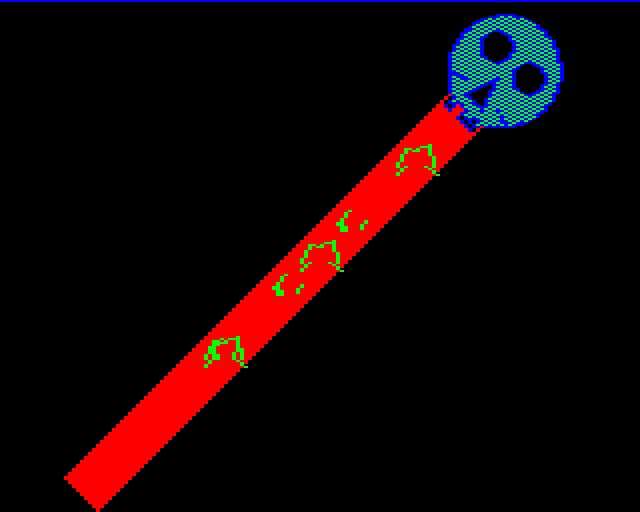
Waving the staff did nothing (WAVE is only for the wooden rod) but the skull was suggestive that it was a weapon.
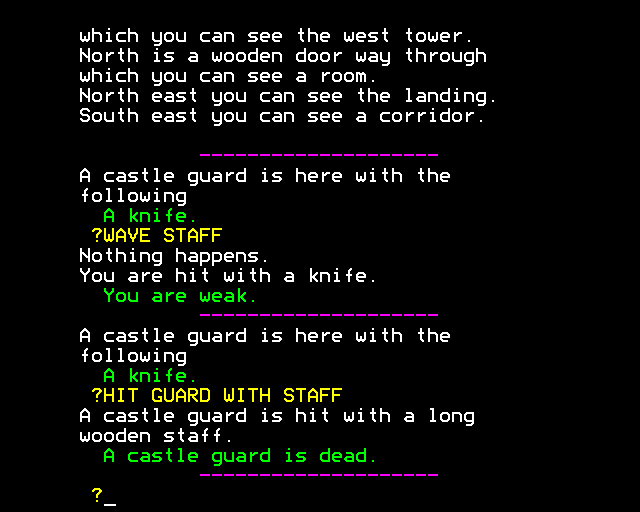
The staff is a one-hit-kill weapon. It’s pretty fragile (breaks after roughly two uses) but fortunately there’s really only one use that’s important: the dragon.
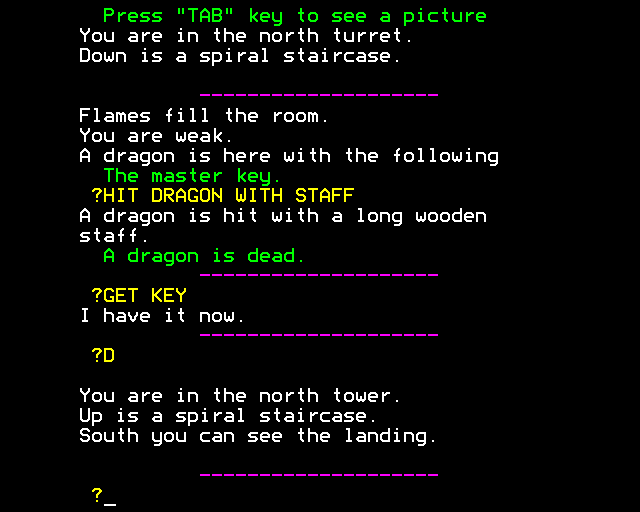
(Morpheus on his playthrough did not use the staff, but rather had healed the giant and went all weapons blazing with giant-buddy. I found the flames to be too dangerous to pull this off but there’s a lot of randomness involved; the best I could do before dying was get the dragon “weak”.)
With the master key I was able to get into the last remaining locked door, and as predicted, it had the Desert King’s chest. The chest is very heavy and you can’t be holding anything else at the same time (including the lamp!) I ended up toting it through darkness in the maze over to the rock fall and reached the final room.
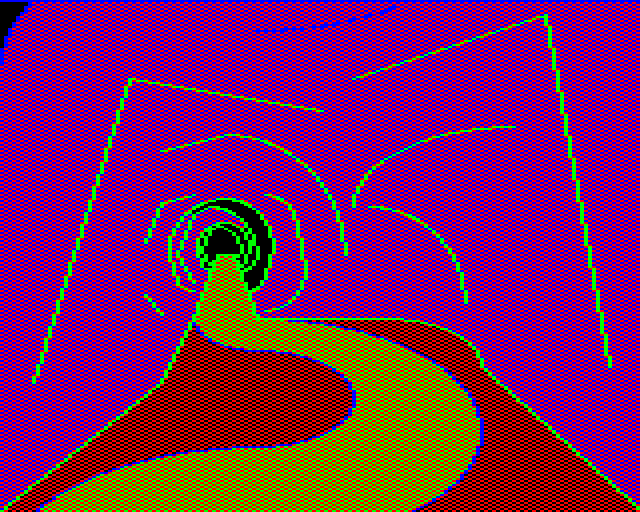
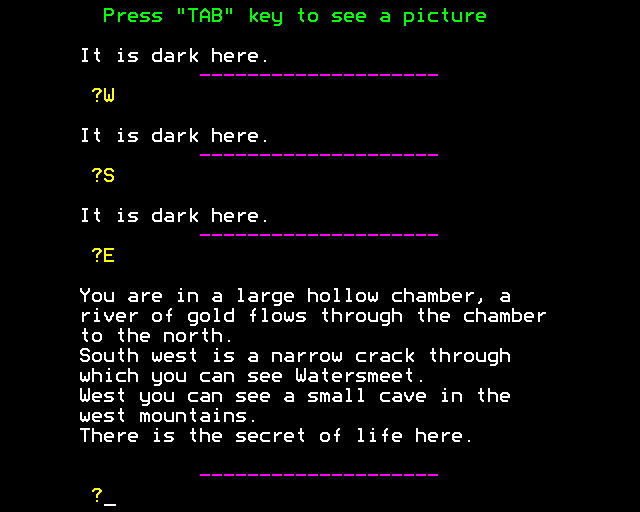
Once you’ve proven yourself with the chest, you don’t need to carry it to enter this place, so there’s the slightly odd circumstance of spotting the secret of life, turning around and leaving to deposit the chest at home, and then returning for the secret of life. I think I’m satisfied enough to say I’m done with the game.
The gold river, incidentally, was supposed to be the seed for the sequel:
Near the end, you find a river of gold. You have to wonder where it would go? And that’s where the next game would take you. But how could you travel the river? What boat could withstand molten gold?
I had started on a dynamic landscape tool such that forests, deserts, etc would be different in each game restart, but never wrote any game code. No story line was written, but you would be able to travel the river of gold to a vast land. No more pathetic 17 locations. I recall some ideas like “A wooden boat would burn in a river of molten gold”, so the game had to be started well. Some part of the original game would lead you back to that river.
Unfortunately, Bug Byte collapsed while owing lots of royalties (the same circumstances that caused Matthew Smith to jump ship with Manic Miner) so the sequel never happened.
Now that I’ve seen enough context, I’m going to quote Hall at length from this interview where he discusses how the characters work. He explains how other games only had characters “appear to come and go” without the ability to give chase, and then goes into technical details:
Location database: up to 256 locations possible, each with a description, and list of exits (a direction code byte [including locks]+ 1 byte target location). One byte “image number” per location. Locations also have a zone.
Object database: object with weight, value, throw damage, hit damage, fragility and location.
Creature database: Creatures with location and inventory of objects, friend/foe flag, permitted zones and health. One of the creatures is “You”.
Graphics database: 256 objects, (including sub-objects), drawn on a 16×16 grid. Giving about 80-100 location images, using about 200 objects in the BBC version, almost all 256 objects used in expanded C64 version.
So: Your question on NPCs.
They could inspect the tables (except pictures, no need for that).
They have a decision tree including some random numbers, but basically:
Can I pick up a weapon?
Can I fight?
Should I flee?
Should I wander (in my zone)?
All their fight chances were similar to yours, except “You” always got the first blow.
Note that even if you chose to run away, the other blows still came.
The game had a combat exception rule that running if your last action was to fight, let you run away.
All in all, the rules were probably less than 1/2 K of code!
This 1/2 K code of code is what causes the game to be memorable, and for quotes like the top of this post (calling it “one of the finest adventure games of all time”). Just like The Hobbit, people did necessarily play to “win”; the experience could vary just based on where the NPCs roamed to. The game has a genuine air of replayability that many other authors of this time failed at; I’d say because of the lack of plot/minimalism it is even more replayable than The Hobbit.
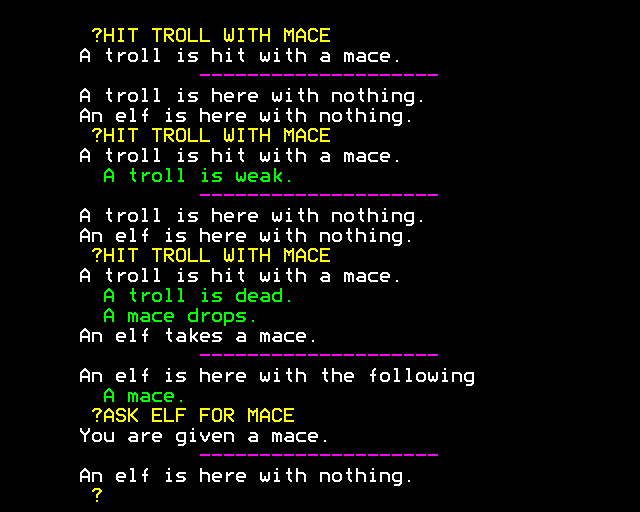
Another curious moment: there’s a locked brass door in the dungeon area where the room has nothing in it, but I tried locking the door anyway and an elf and a troll appeared from nowhere. I was able to easily kill the troll because it didn’t have any weapons.
I say all this because I’m still on board with the outside perspective of Morpheus Kitami, and others who were less impressed: “I have mixed feelings, the game was fun, but it’s hard to call it a good adventure game.” It was very easy to have objects that you needed snagged by NPCs and roaming around, which is both a demerit and a feature. I had tried to store some items (including the flint stone) in the “secret door” section but didn’t realize elves could get in there; I hadn’t lit my lamp yet so ended up typing ASK ELF FOR STONE in the dark section as I wandered around until I eventually found where it went. The fact that this encounter could even happen in the first place was both absurd but also stunning, and the feel of a world where “anything can happen” is what gave it such prominence to those who formed core memories around it.
What Trevor Hall would do on a desert island, from The Classic Adventurer.
Coming up: our first encounter with the Microbee, a computer developed in Australia.
(Continued from my previous posts.)
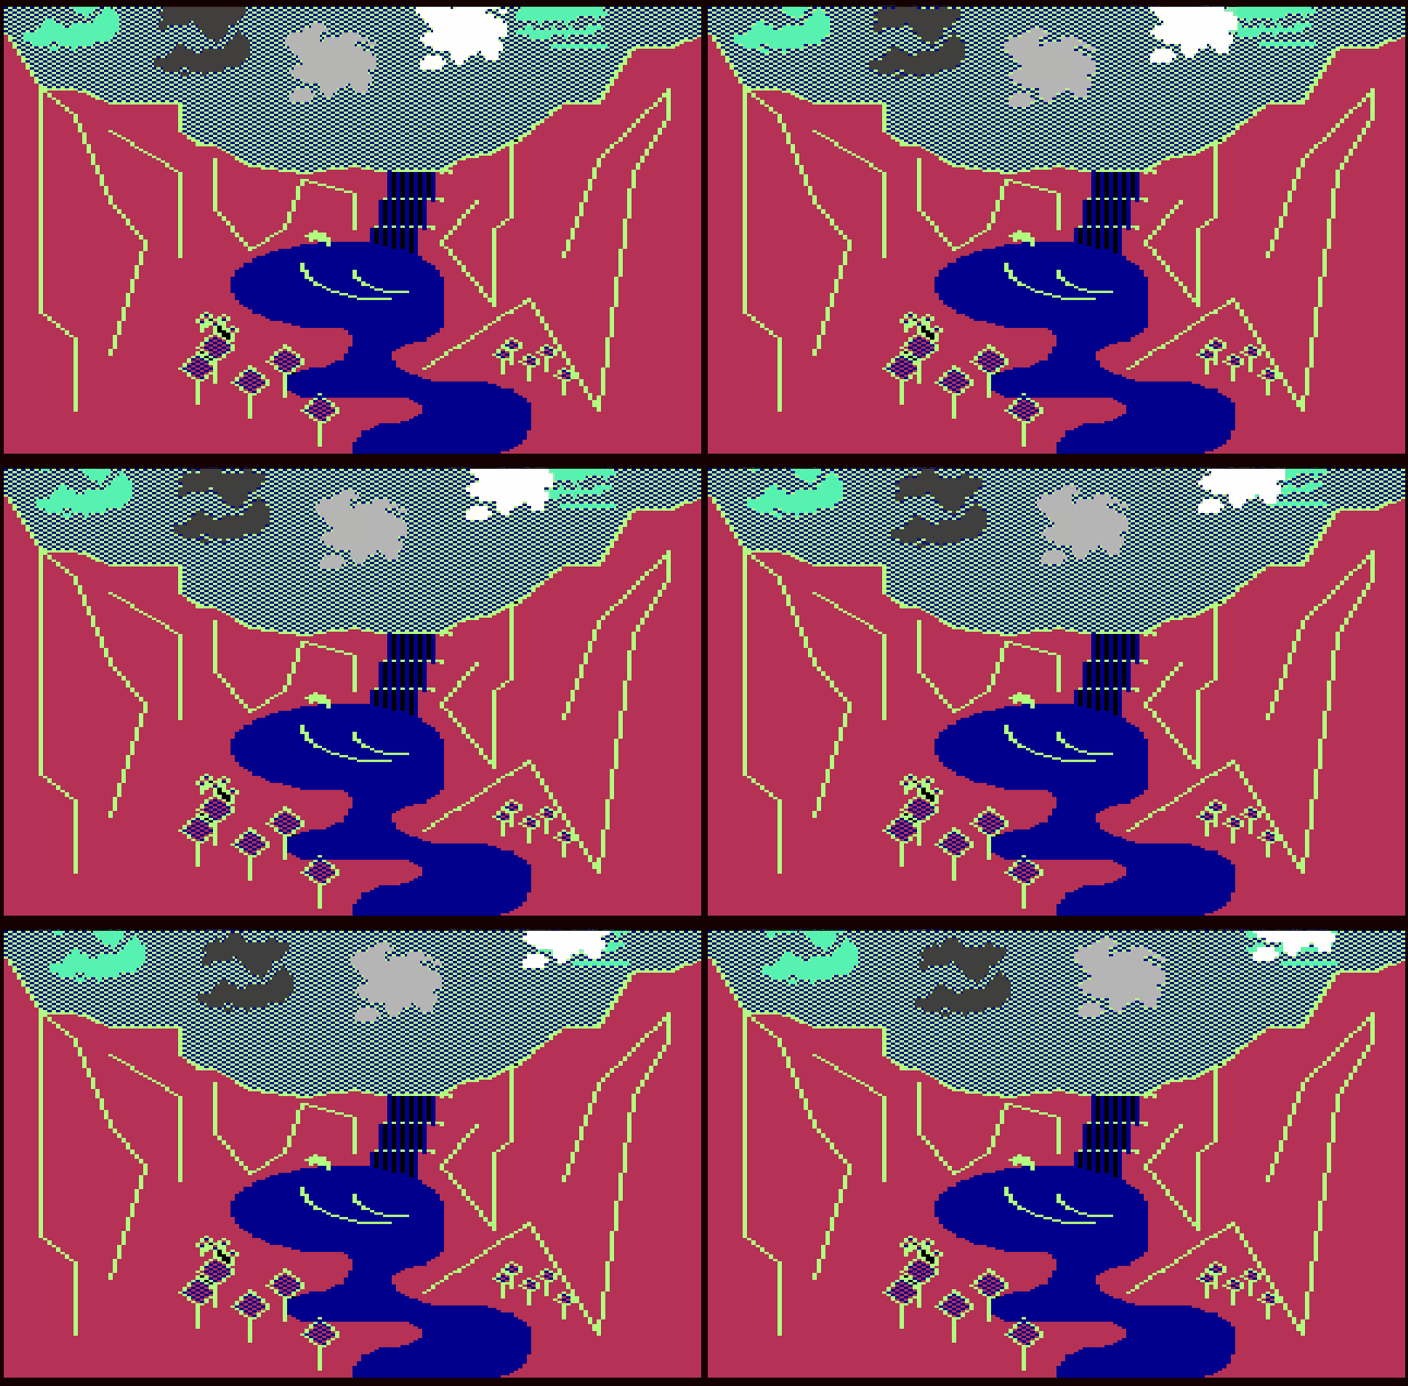
Some of the C64 screens have animated clouds.
Last time I left off on a narrow fissure leading to Watersmeet, and a cave nearby that’s a maze. Also, just for the record, I had a brass key (from the very start) and a bronze key (from the witch where I traded the crystal ball). There was one gold door I was unable to unlock; we’ll get back to that today.
Regarding Watersmeet, I knew something special was going on because there’s some text about it in the intro of the BBC Micro version:
It is believed that the lake itself has some mystical properties which, some say, are derived from the many potions of witches and so forth, which have been split into the rivers and streams throughout the ages.
It is also said that a wise man may look upon the secret of life, which lies nearby.
I tried filling a jug and getting the same “refreshing” message I did with beer, so I was puzzled for a bit.
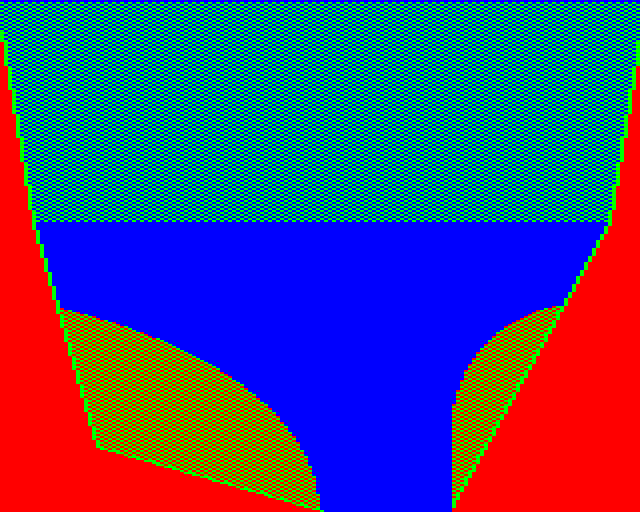
I pulled out the verb list and realized it had “swim”, so I tested it and found that swimming in the water healed wounds. There’s something else special going on, but I didn’t realize it until later.
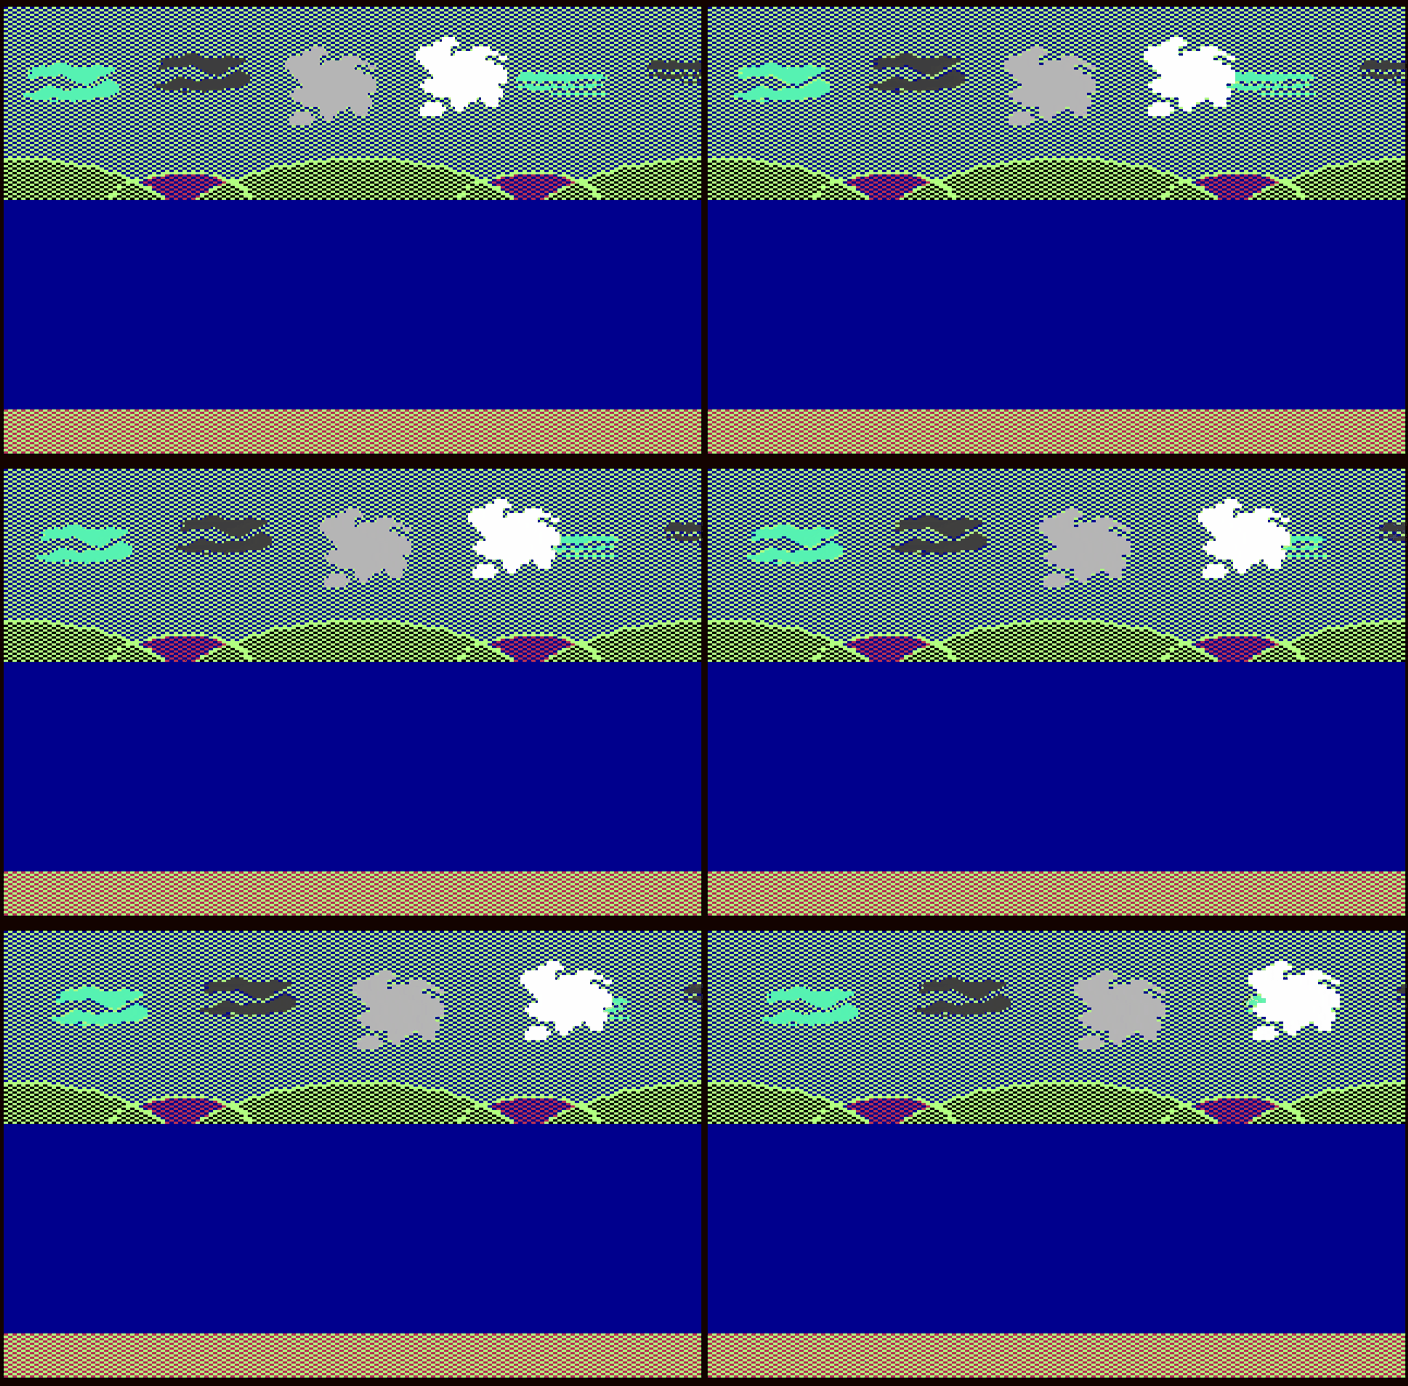
The C64 graphic conveys a little more clearly this is a place you’d want to swim.
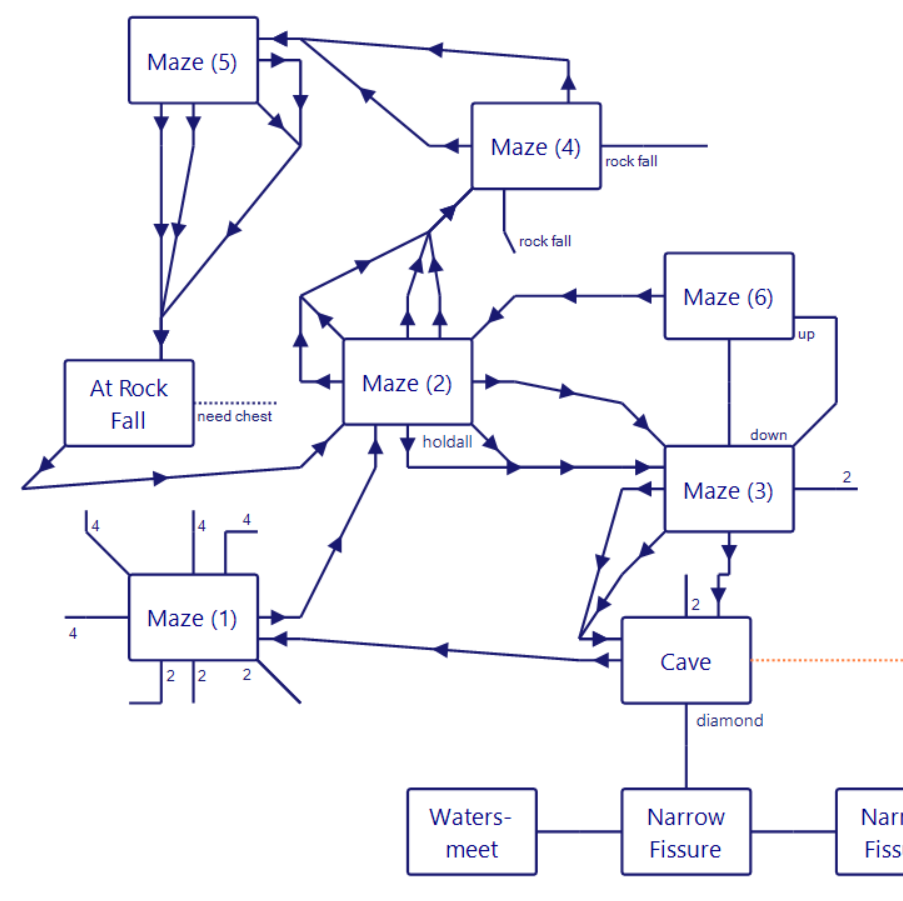
Analogous to Adventure having one “all different” maze and one “all alike” maze, this one required dropping objects to map things out. Fortunately, it’s relatively small; if you knew there was nothing else hidden you could find the two things inside without much effort (the paths tend to lead to them, rather than away from them).
The first thing is a “holdall”, a duffle bag for those Americans out there. It increases your inventory limit, but is a bit fussy to operate. In order to get any items in, you have to FILL HOLDALL, and then the game prompts each of your inventory items one at a time.
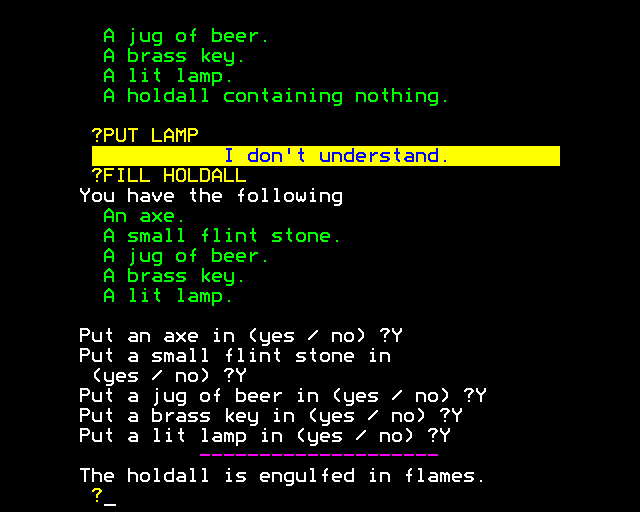
Also, make sure you don’t put a lit lamp in!
You can PUT THING IN HOLDALL to get something in just fine, but the only way I was able to get items was via EMPTY HOLDALL which dumped all of them at once.
For the second thing to find, you might notice from the holdall room four of the exits lead to Maze (4), and from there all of them eventually lead to a rock fall.
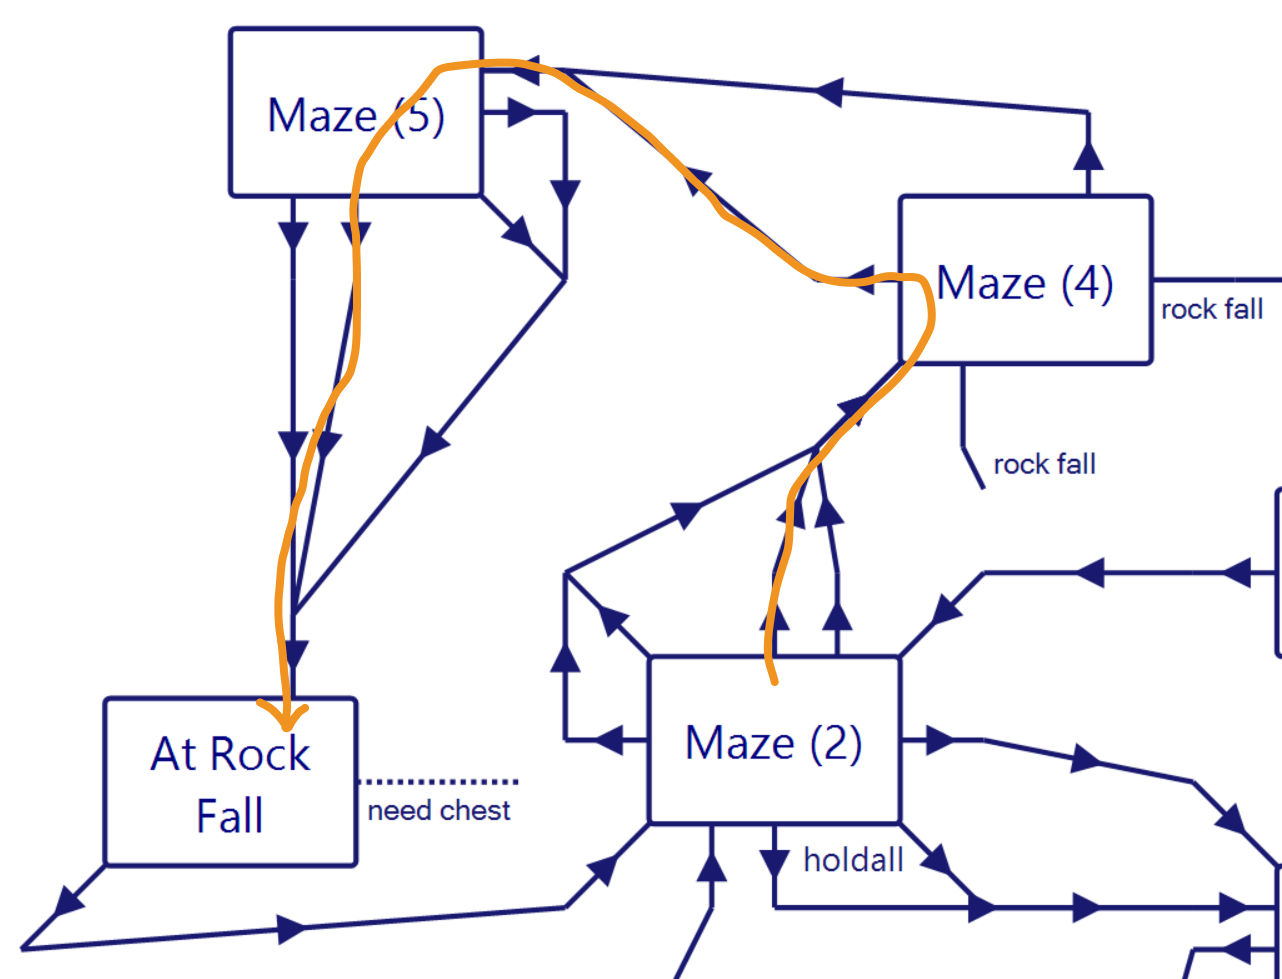
The upshot, in a maze-narrative sense, is that Hall wants the rock fall encounter right away, as opposed to making it a secret that may not be found for a while. A player normally wouldn’t have to do any mapping at all (except from their perspective they don’t know they’ve exhausted the maze).
At the rock fall you are informed you need to find the chest of the desert king if you want to pass.
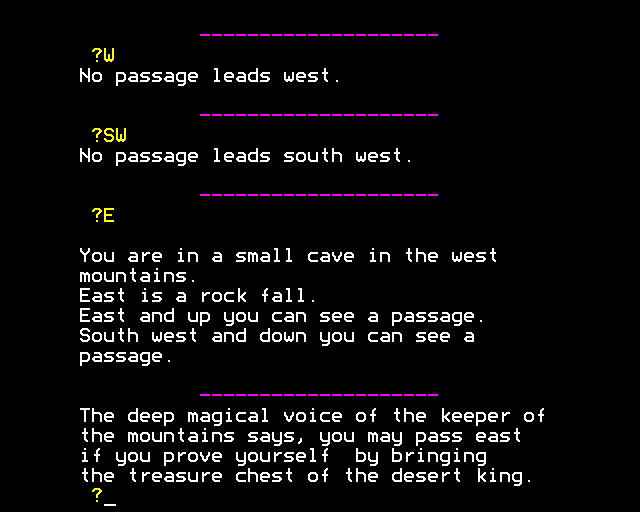
From here I was stuck for a while; without the next revelation, I’m not sure if any more progress is even possible (although this author does like putting multiple entrances and exits to things, so I can’t say for sure until I’ve finished the game).
Back at Watersmeet, if you DRINK WATER straight from the source without filling a jug first, you’ll get a special ability: seeing secret doors.
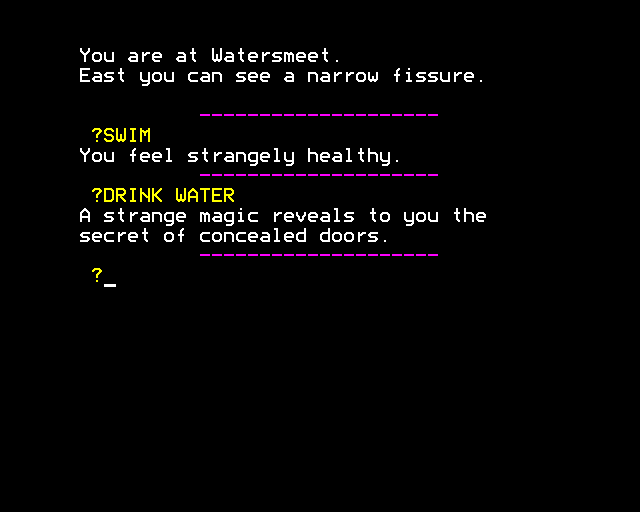
This is a curious moment insofar as many players would not realize there is an issue here at all; someone who drinks straight from the water first would not know (nor would it be likely they’d test) that the water loses its magical potency once in the jug.
Unfortunately, with me getting the ability so late, it means I have to check everywhere I’ve been on the map. I’ve checked most places; back at the room-of-bones in the witch maze there’s a secret locked silver door to the west; as I have yet to find a silver key I do not know what is behind it.
The important secret door anyway is back at the cave I was just in, right at the entrance before the maze starts: there is a small hidden complex to the east: bedroom, kitchen, sitting room. Inside the kitchen is a gold key.
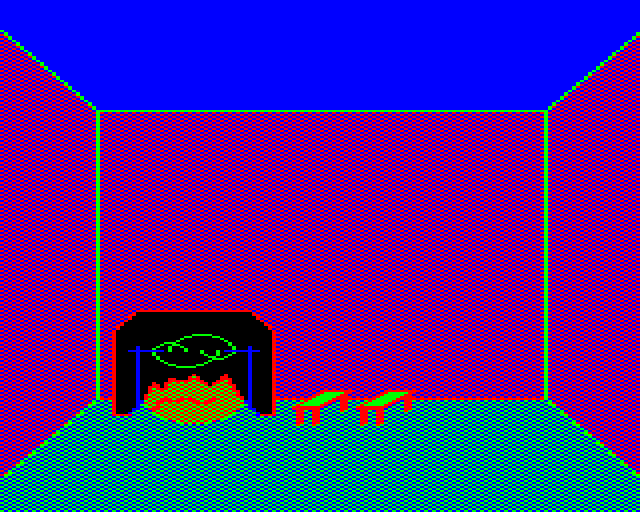
Conveniently, there’s a second secret door that leads right to the hall from last time that ended at a locked gold door. This goes to a dungeon which will eventually lead up to the domain of the Desert King, so the Forest King and Desert King areas are directly connected (you don’t have to go outside to travel between them).
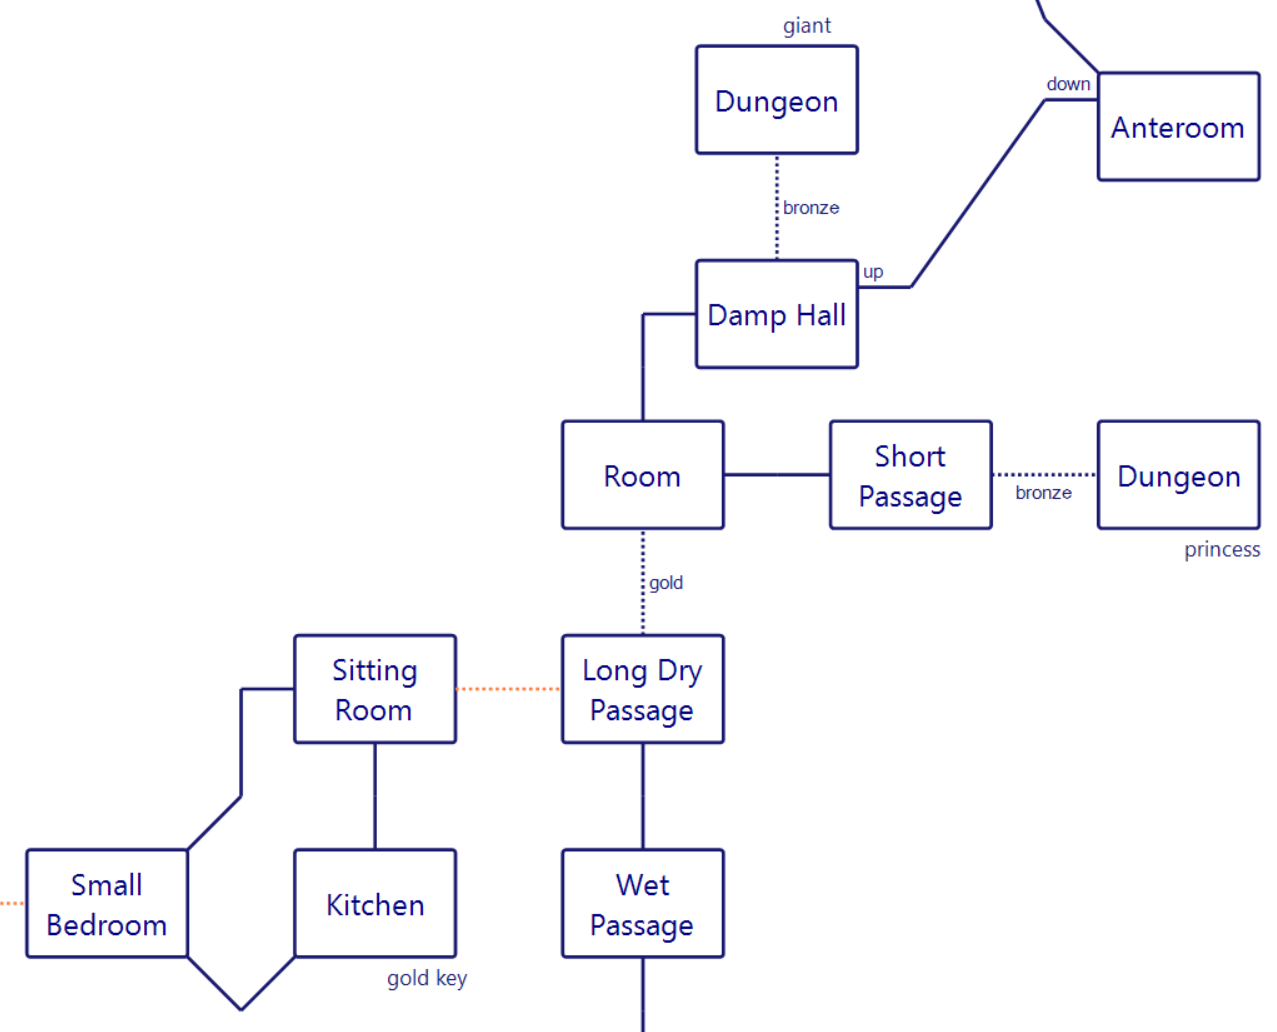
Right away there’s two dungeon doors that take a bronze key (the kind I got from the witch); opening the first one frees a princess.
UNLOCK DOOR WITH BRONZE KEY
It is now open.
A princess flees. She doesn’t recognise you.
This happens so incidentally that it circles back to the author’s own mission statement about how you are not the main character of a story, but rather just the inhabitant of a world. It is possible the princess will come up later (I haven’t gotten back over the map yet to see where she ended up) but at least this particular moment felt like an anti-story of sorts (not in a derogatory sense, just in a “games can have different goals from each other” sense).
A second dungeon door had an “ill giant”. The giant was friendly so I tried handing over my axe; guards are on the floor above and it proceeded to wallop some of them off-stage.
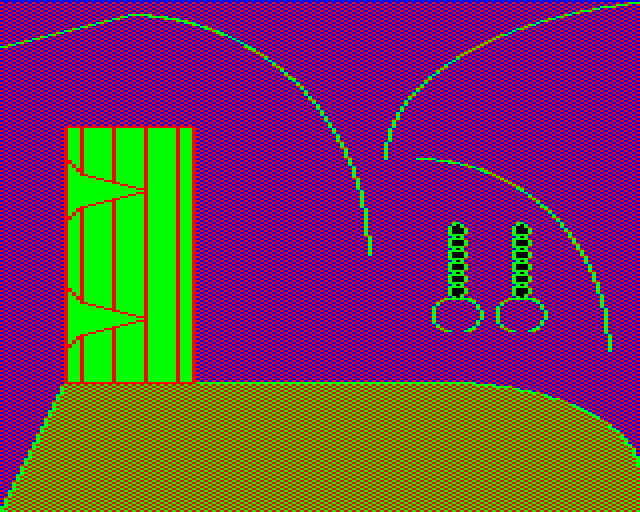
The graphic that gets used for all the “dungeon breakout” rooms.
To see the aforementioned guards, just go up a trapdoor to a new section.
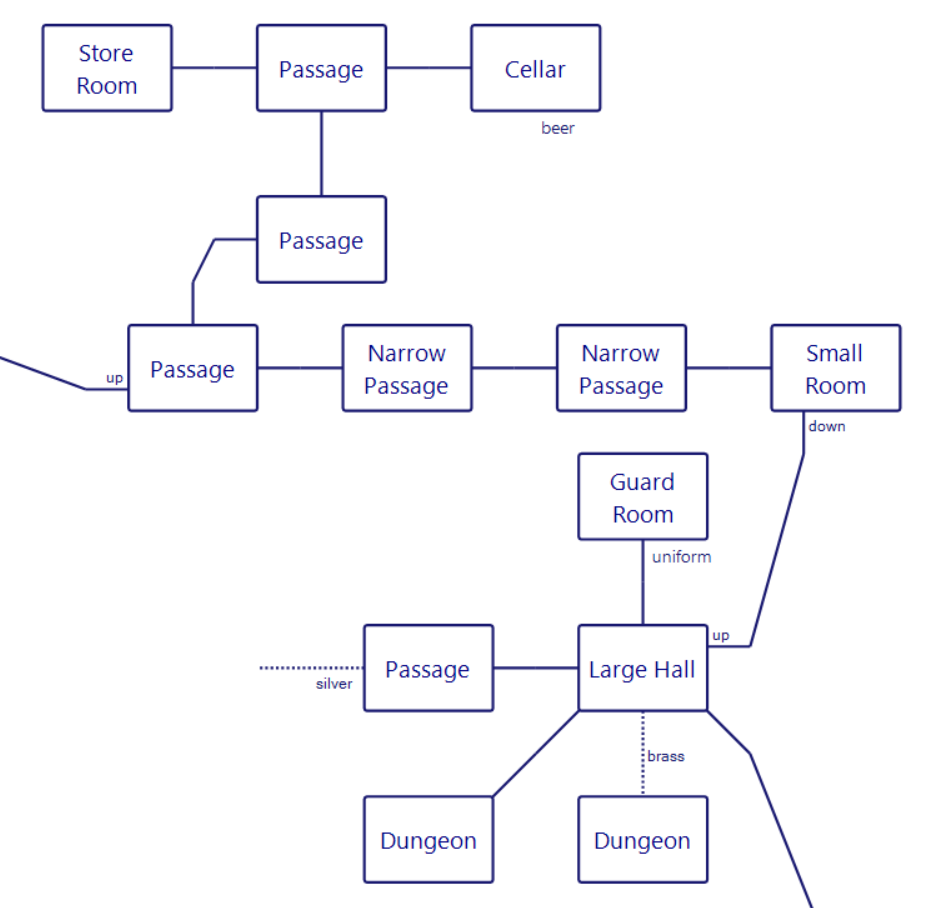
Remember, I don’t mark any of the wandering enemy locations because I don’t know where their “home base” is.
Once again (while mapping things out) I am mostly able to ignore the NPCs; I did get whacked once hard enough to die but I had a save close enough I didn’t lose any progress. For the most part the rooms are just scenery so information is progress.
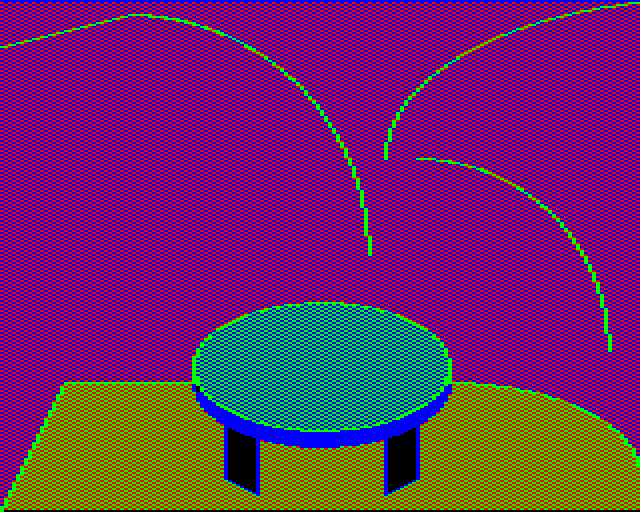
There’s one “guard room” as shown here with a “uniform”, but the uniform seems to have no effect on the guards. “Wear” isn’t a recognized verb.
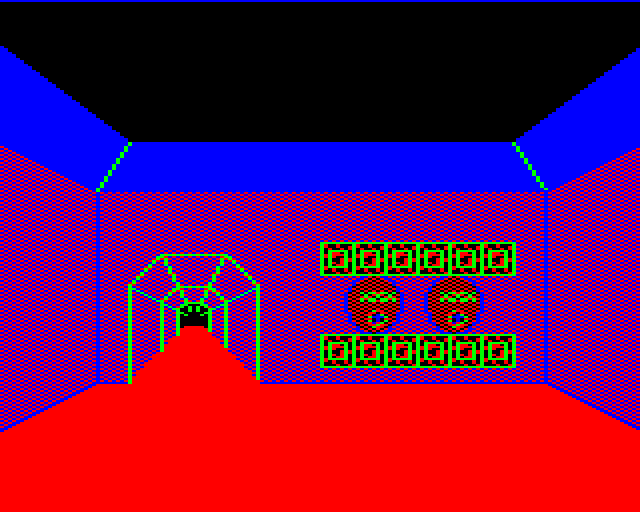
There’s a storage room and cellar that would normally be pure scenery except there’s beer in the cellar. The game does have a thirst timer and you will die if you don’t drink anything.
Just passing through and going up another floor leads to the main complex of the Desert King.
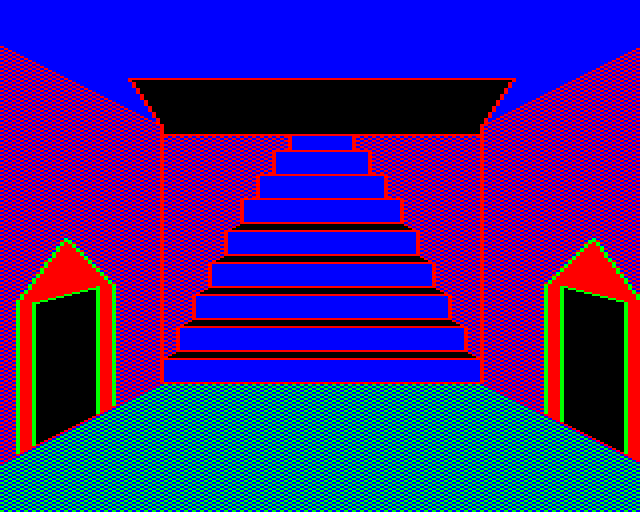
The ground floor has a study (scenery), dining hall (scenery), kitchen (scenery), and workshop (not scenery, there’s a cauldron of oil). My guess is in addition to a thirst-timer the game has a lamp-timer, but you can refill the lamp with oil from this cauldron.
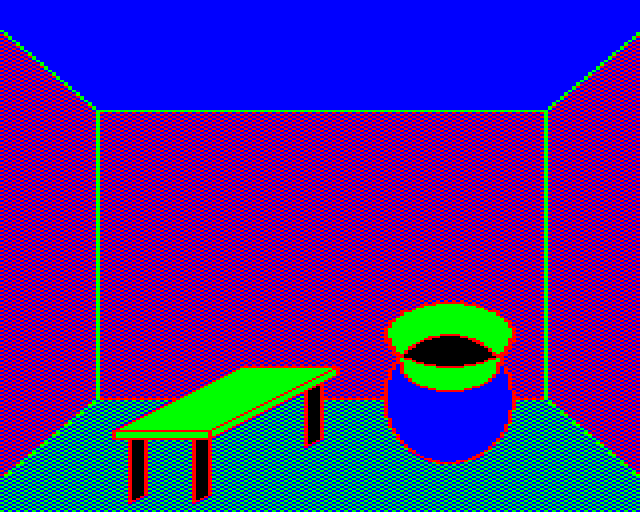
The cauldron is depicted in the room, unlike most items, but it also is so heavy you can’t pick it up (even with all items dropped, the game says “you can’t carry any more”.)
Going back to the main stairs, and going up to the upper floors…
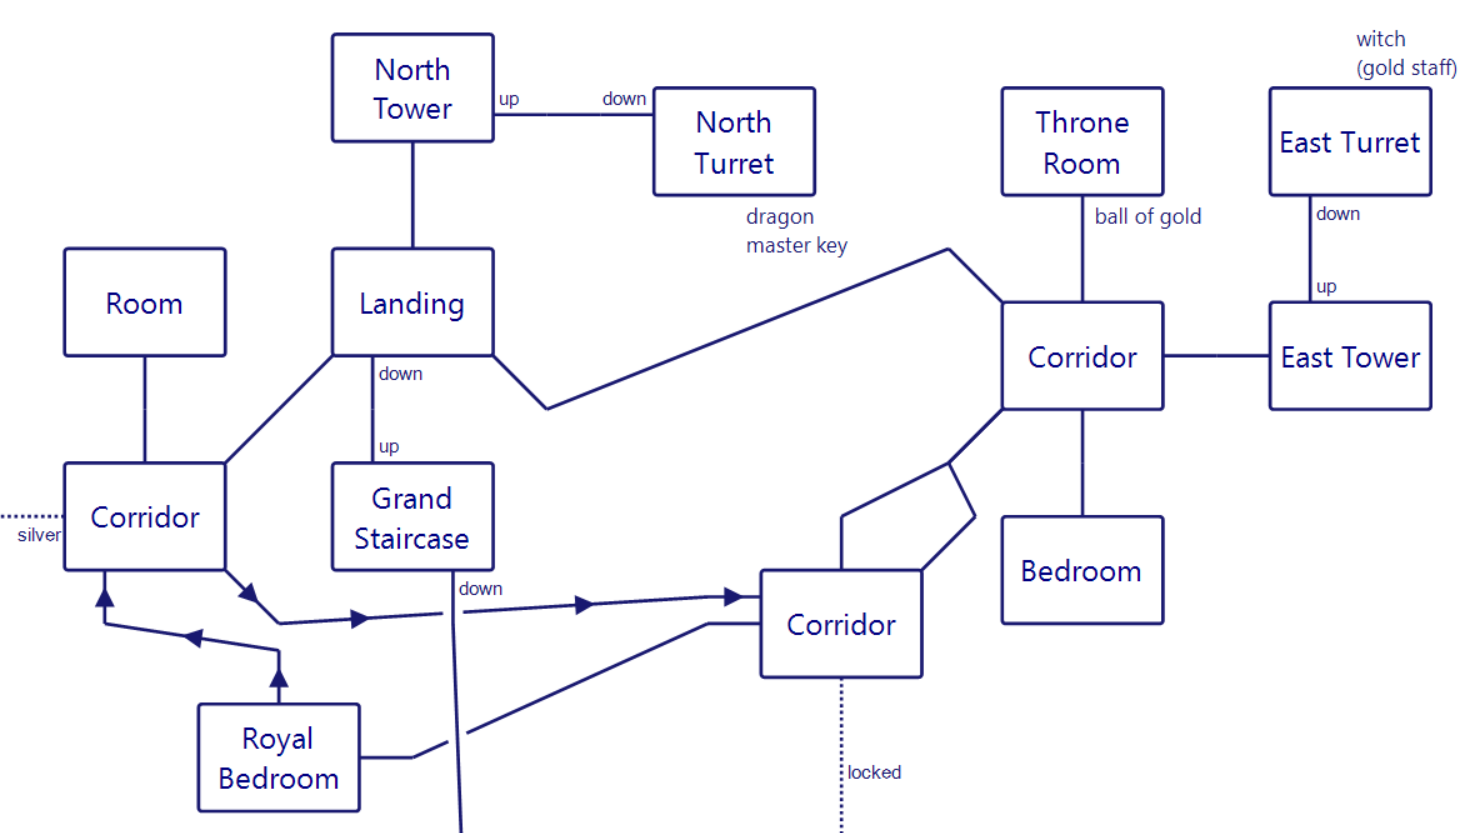
…it looks like from the map, other than locked doors, it’s still pretty much obstacle-free. It’s a little denser in guards, and you can find the Desert King himself wandering around, with a gold crown and a sword.
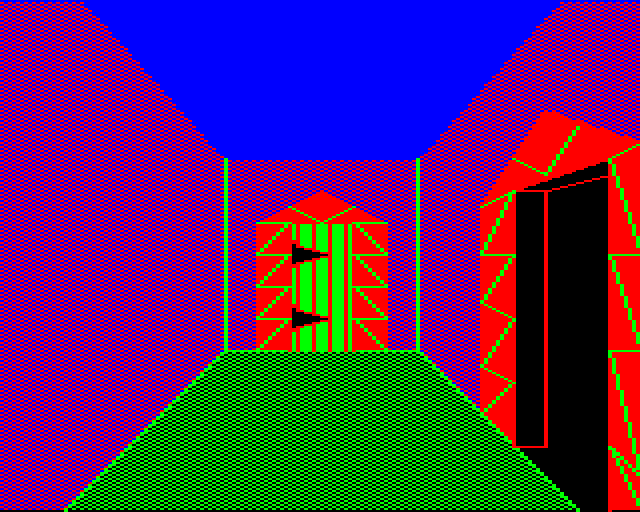
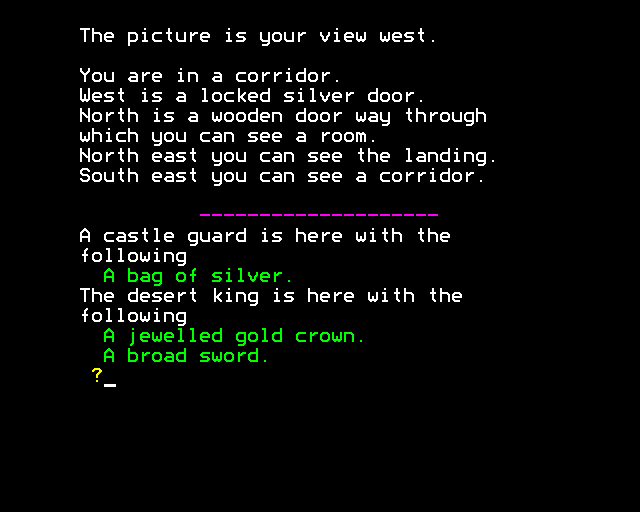
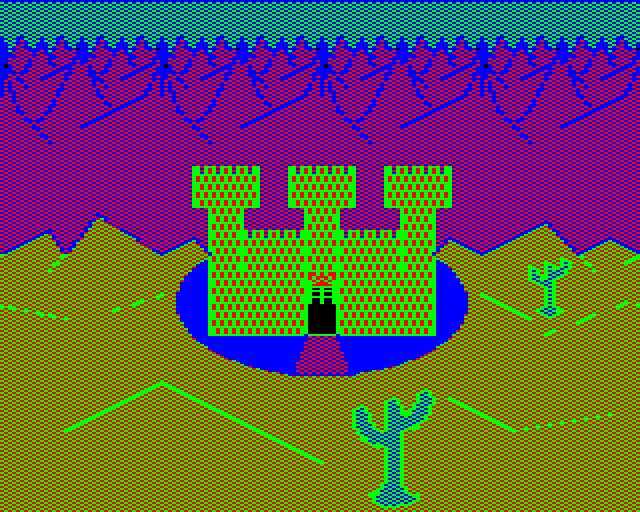
One of the doors is silver (like the one in the crypt) and one is given no metal-color at all, but I think that’s because to open it I need the master key. This is where the dragon from the cover art shows up.
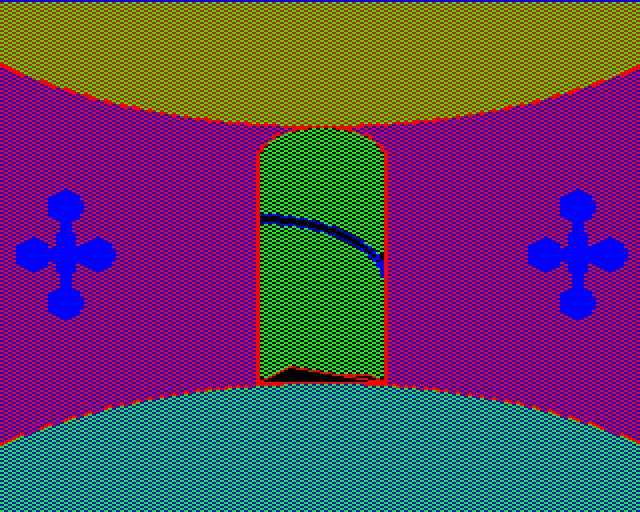
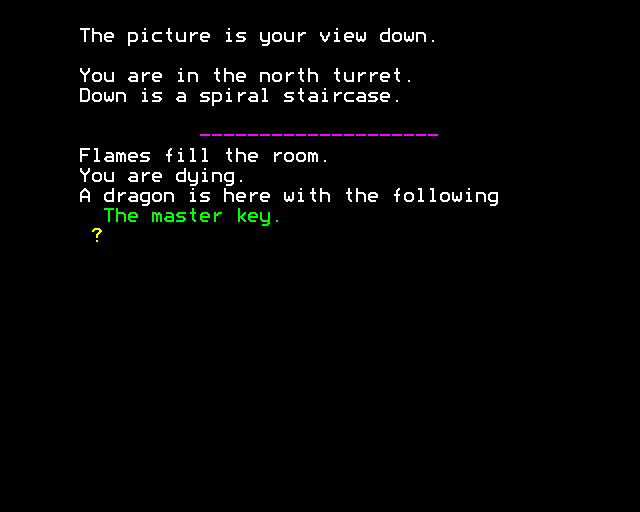
Well, sort of shows up — again, no characters displayed in the graphics. I’ve been able to get the Desert King to follow me, so I’m wondering if somehow I could have him get inadvertently fried by the dragonfire.
There’s one more tower that has a witch with a “gold staff”. I have not tried tangling with her yet. You can also leave the castle out the front drawbridge but it just leads to the desert on the north side of the chasm; I haven’t tried searching thoroughly but it doesn’t look like there’s anything to find other than more scenery.
To recap my obstacles:
1. two silver-locked doors
2. one “no description” locked door that presumably needs the master key from the dragon
3. the witch and the king in the Desert castle
I assume the chest is behind one of the locked doors, so I’m not counting it as an obstacle. Looking back at previous content, we could also count the dwarf holding onto a diamond ring; I haven’t found anything to trade for it yet. I did manage to simply kill the dwarf, and this was a very sad encounter where it just kept running away as I chipped away at its health.
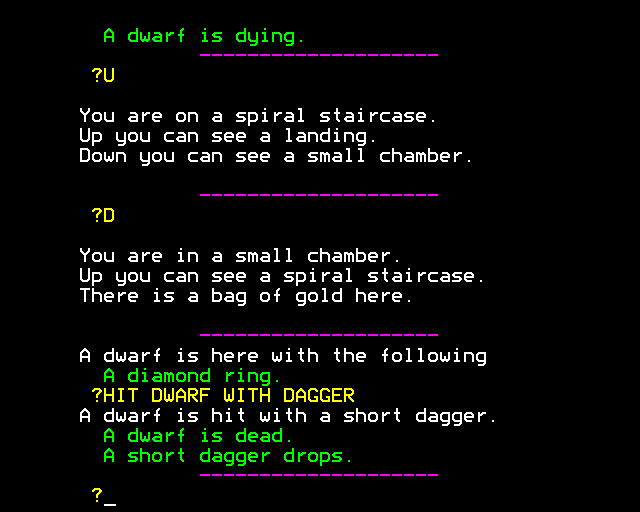
The heaviest moment of “you are just like the random enemy NPCs” in the game.
I haven’t tried my secret-door vision absolutely everywhere (secret entrance in the mountains, maybe?) and there’s the eternal issue of me simply missing an exit, but I think I’m hovering close to the end and I really need to enact a strategy to handle the NPCs rather than just run away from everything.
In general, other than the moment with the water, there haven’t been “puzzles” in a regular sense; knowing that a gold key should be taken to a gold door is closer to what I’ve termed a natural action, and the NPCs clearly have enough randomness and multiple approaches that they feel more like obstacles (akin to a CRPG) rather than puzzles.
(Continued from my previous posts.)
I have the first two underground sections (the one from the locked grate, and the one from the cave at the trail) mostly mapped out and connected, so now seems like a good time to pause.
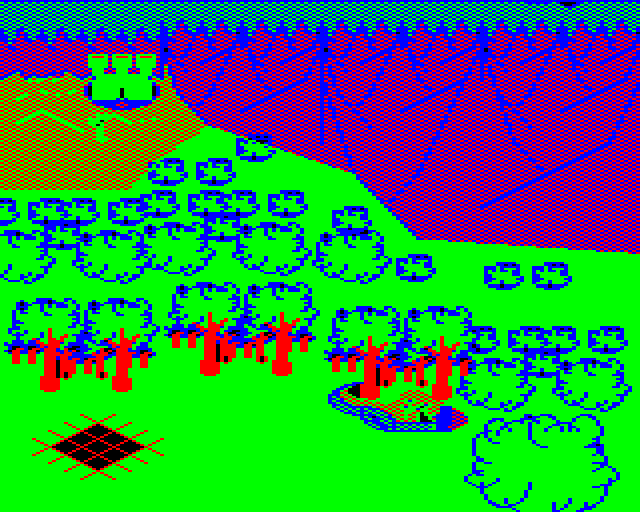
First entrance to the underground.
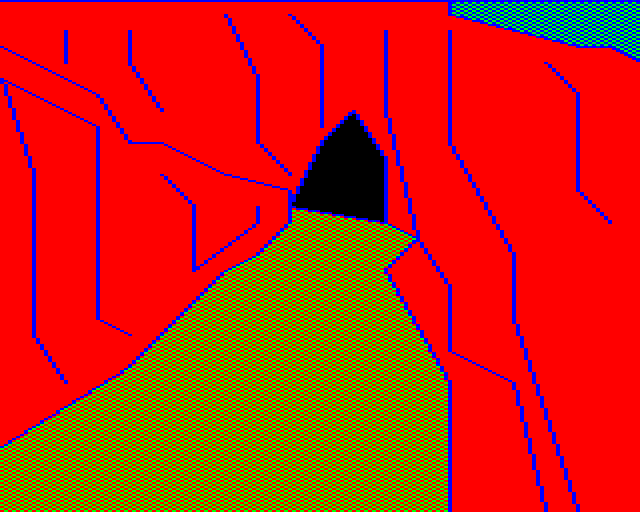
Second entrance to the underground.
It makes the geography a little clearer to start with the trail entrance, although in my playthrough I started with the grate and only connected it up later.
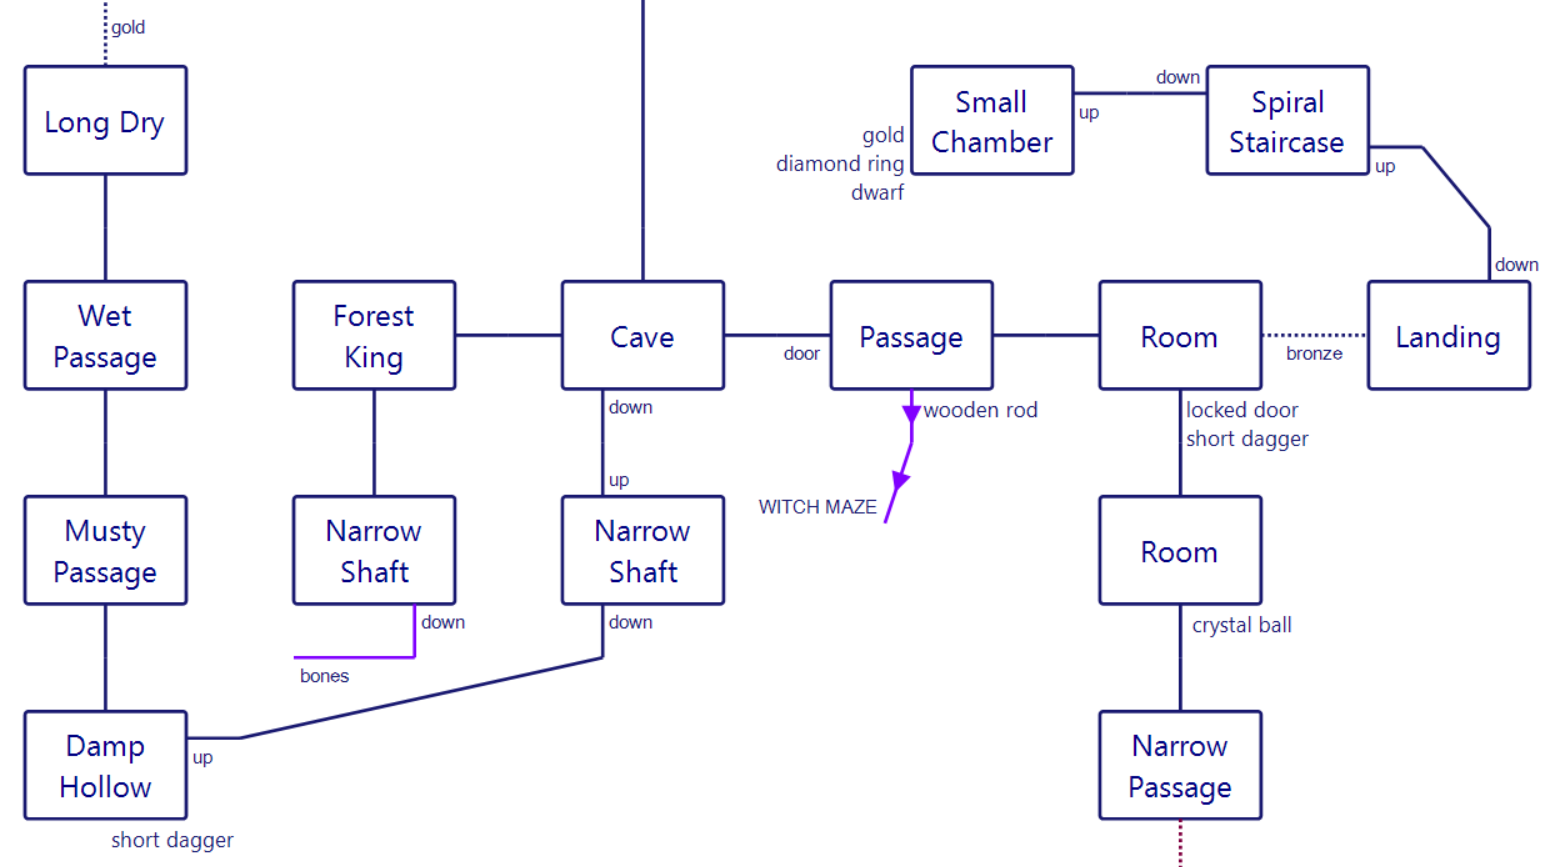
At the cave entrance there’s a metal door to the east (which is unlocked) and a passage to the west. Go west twice and you’ll end up in the Hall of the Forest King and tossed in a dungeon. I have yet to experiment with this section. (It sounds like they need a bribe; maybe this whole section is forced and it’s possible to retrieve the bribe, but it’s just as easily possible with this sort of game that you can avoid this encounter altogether.)
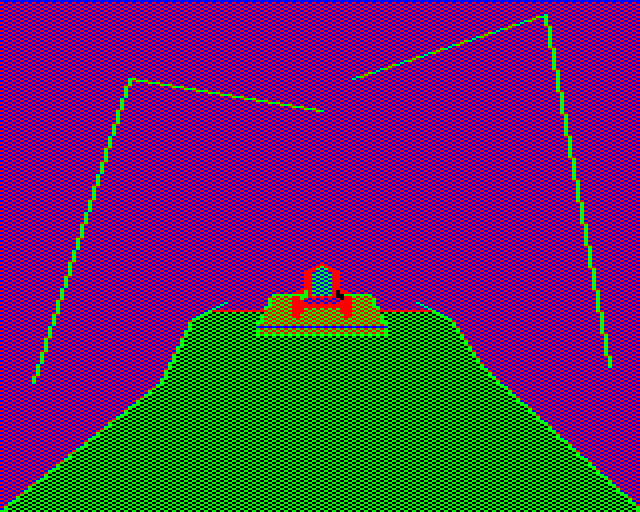
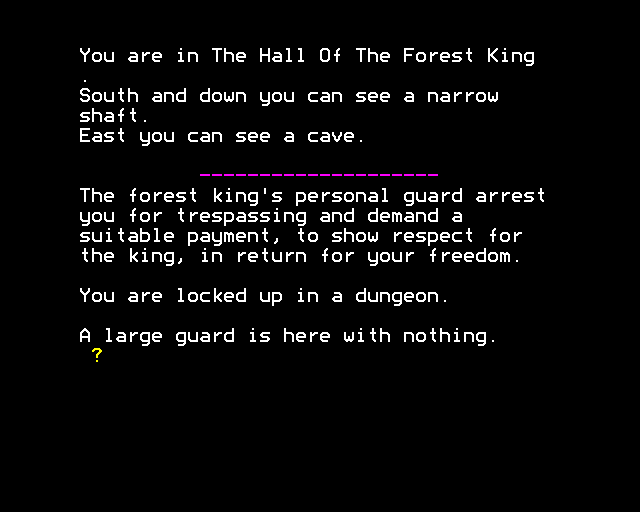
Prior to making it to the Forest King you can swerve down into a long hall and eventually reach a dead end with a gold door. The doors are helpfully color coded with keys (you’ll need a gold key for a gold door) but I don’t have the appropriate key yet.
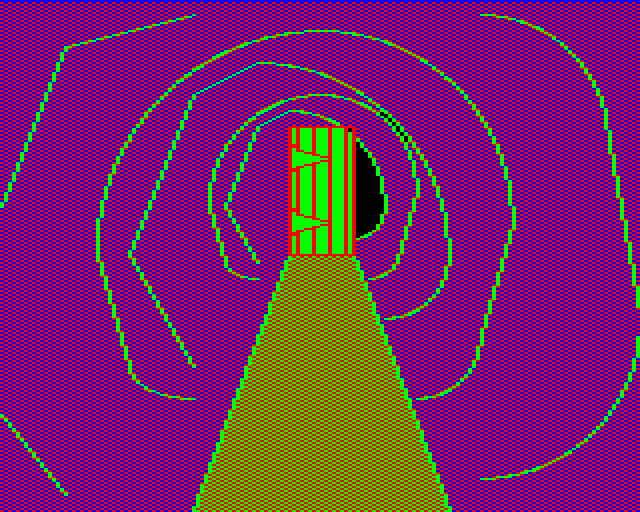
Heading back to the cave entrance, and going through the open door, there’s a small section of rooms containing a “short wooden rod”, a “short dagger”, and a “crystal ball”. You might remember the crystal ball from last time; this is the area that links directly with the grate. Near the dagger is a locked bronze door (again color-coded, I’ll bring back the key later).
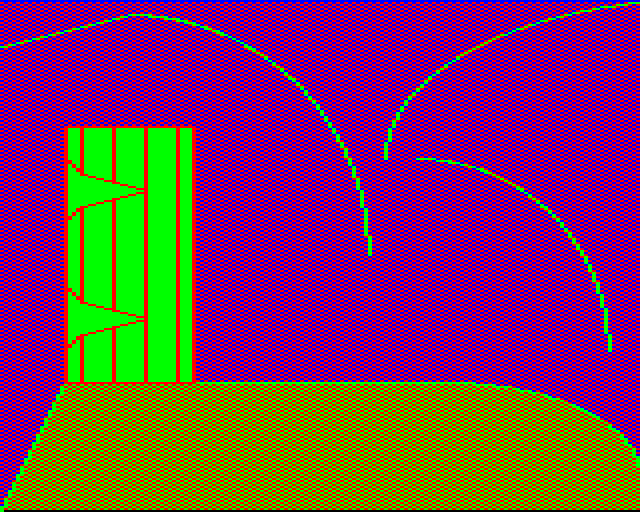
Also in this area is the part that took the most significant chunk of my time, an exit to a maze. The maze does not have graphics and swaps things to text-only mode.
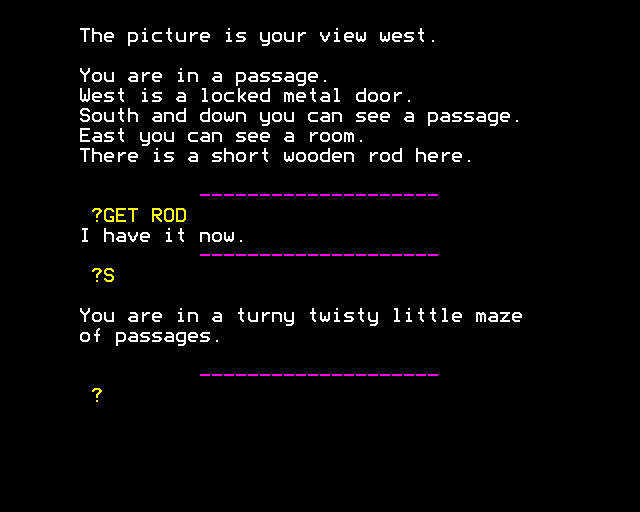
The text-only mode is partly due to mazes being awkward to show graphics of, but also as a hint, as this is simply an “all different” style maze from Crowther/Woods. This starts in a “turny twisty little maze of passages” and different rooms have different names.
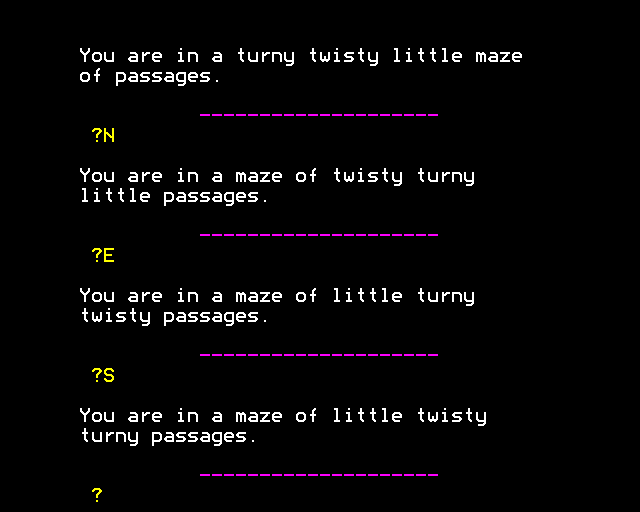
The different names can be used to make a map, but I admit I always find these kinds of mazes a headache. I went with old-fashioned object dropping. Fortunately, the different wandering NPCs don’t seem to want to brave the maze, so it doesn’t have a character like the Thief from Zork I picking things up. Unfortunately, your inventory capacity is too low to map all the rooms, but I remained stubborn and started moving objects to get rooms like “ROD 3” and “BALL 2” as I was mapping things out. Generally, the paths converge on a central area with a witch (if you move at random, you’re likely to eventually reach the witch).
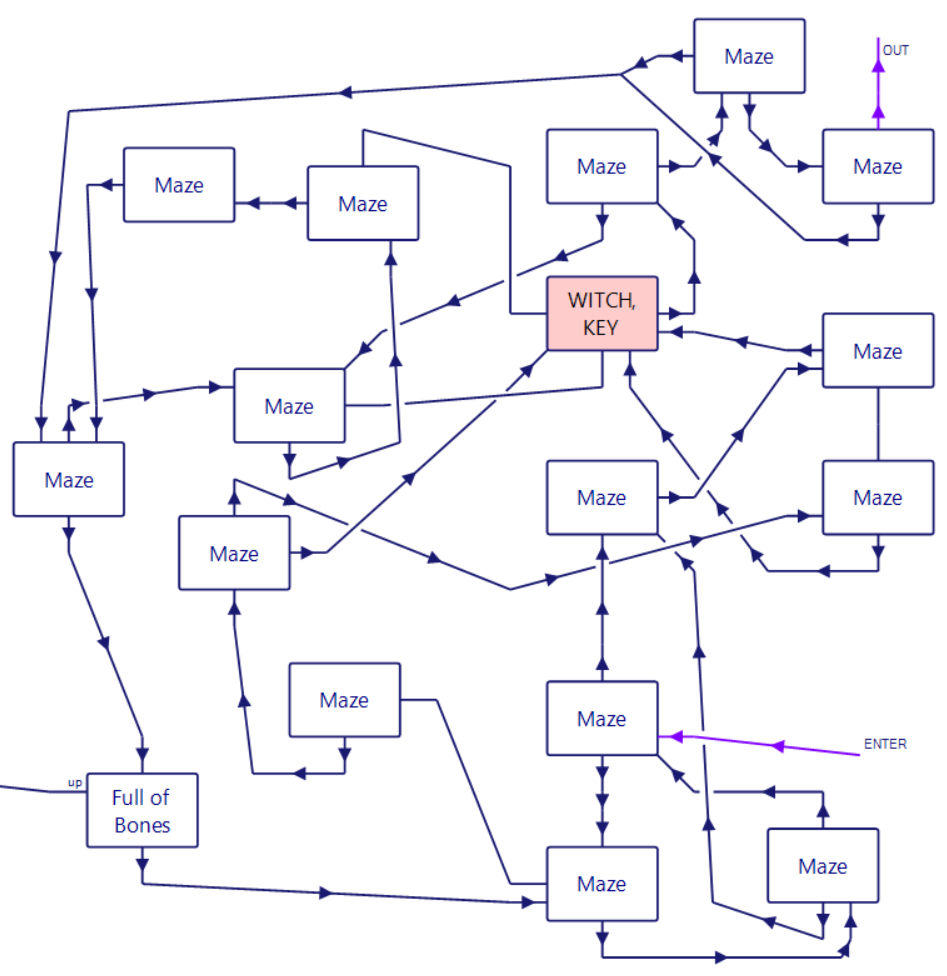
The witch has no visuals attached (none of the NPCs do, but even the maze itself has no visual) so it’s just straightforward text. If you hang out for longer than one turn the witch starts to throw spells, and eventually you’ll die.
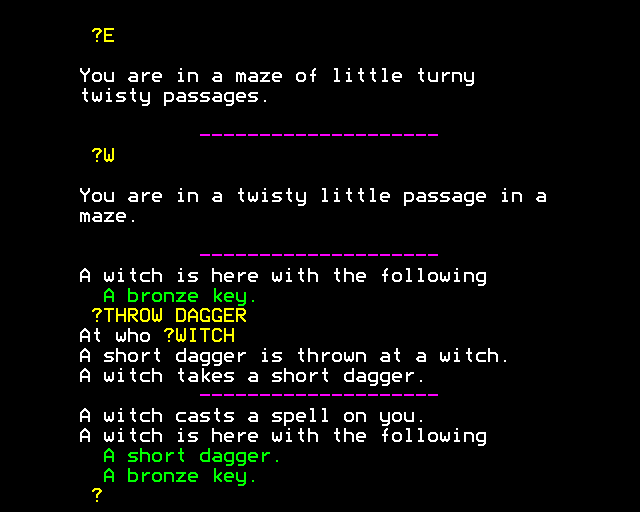
I took multiple tries at fighting (using the dagger) and had no luck; it’s possible I was causing damage via HIT WITCH WITH DAGGER but the game wasn’t giving any feedback.
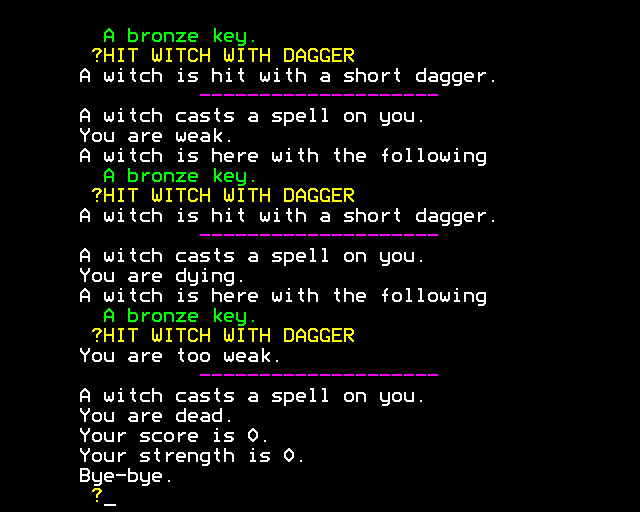
Still, the witch didn’t start immediately attacking: maybe the witch is “neutral”? I had a crystal ball I wasn’t able to use for anything yet, so I tried GIVE BALL.
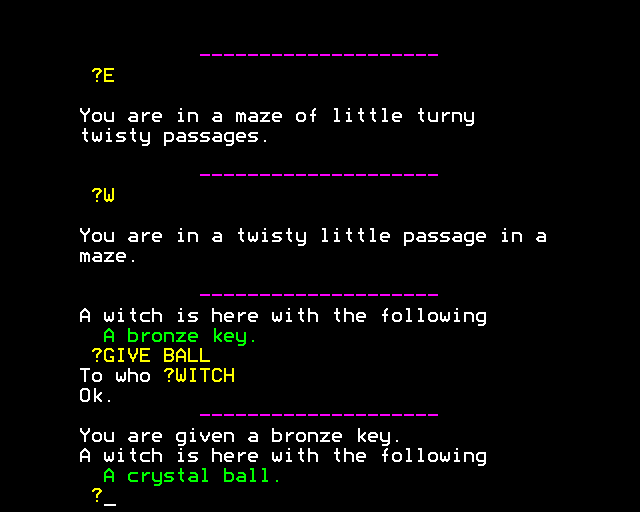
I still need to experiment with the moods of the NPCs and how far you can push them. There was an elf running around outdoors with an axe (the one the troll normally liked to hold) and I did ASK ELF FOR AXE and the elf just handed it over. I don’t know if “trade value” is a thing and if a series of swaps are possible; maybe the game can be won entirely by “diplomatic victory” rather than getting in standard RPG fights.
With the bronze key claimed, I went to escape the maze (I already had the exit mapped) and unlocked the bronze door. Unfortunately, the troll was waiting for me and gave me a heavy wallop. I fled through the bronze door, then locked the door behind me.
This gave some breathing space, but unfortunately led to a dead end: a stair going to a room with a diamond ring, some gold, and a dwarf. I haven’t tried contesting the dwarf over the treasure yet, but there’s no aggression so I suspect some more trade-swaps might be in order.
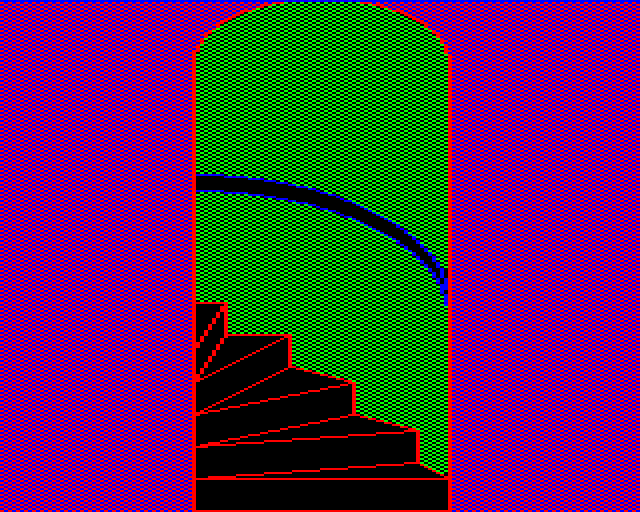
One last thing to mention with the witch maze: a side passage, leading to a room with bones:
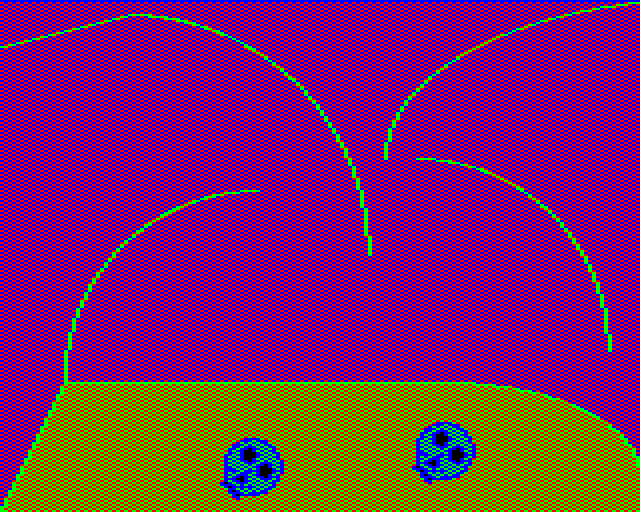
The room has a shaft leading up to the Hall of the Forest King but it just results in you getting tossed in the dungeon again. I’m not sure if the shaft has a “reason” in a puzzle-solving sense or if it’s just meant to build more environment.
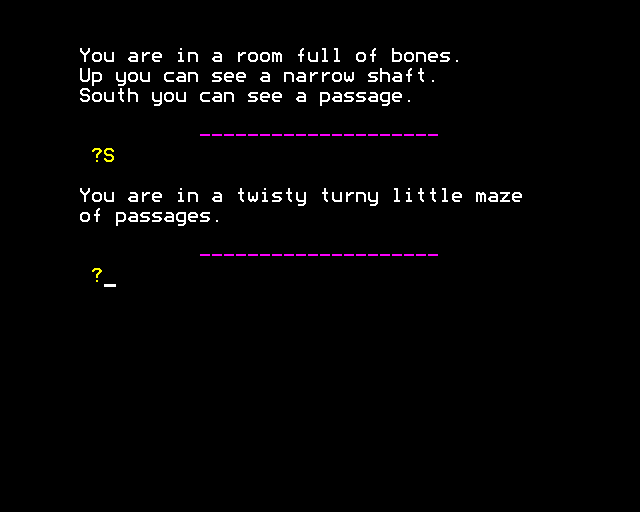
One last wrinkle, because I was trying to be completionist about my map: I already had everything mopped up when I tested one more exit leading back from the skulls to the maze. I didn’t know which room it was going to, but the all-different style of room name still applied, so I wrote down just this room description, then did a quick run through my already-made map to see what location it corresponded to.
I tried moving on to the third underground but it’s another maze. It makes reference to a Desert King, but I already burned my mapping energy on the first maze, so I’ll save that for next time.
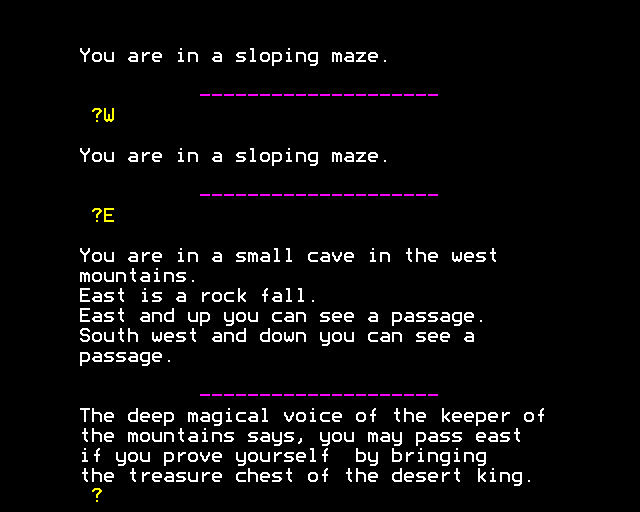
(Continued from my previous post, read that post first before this one.)
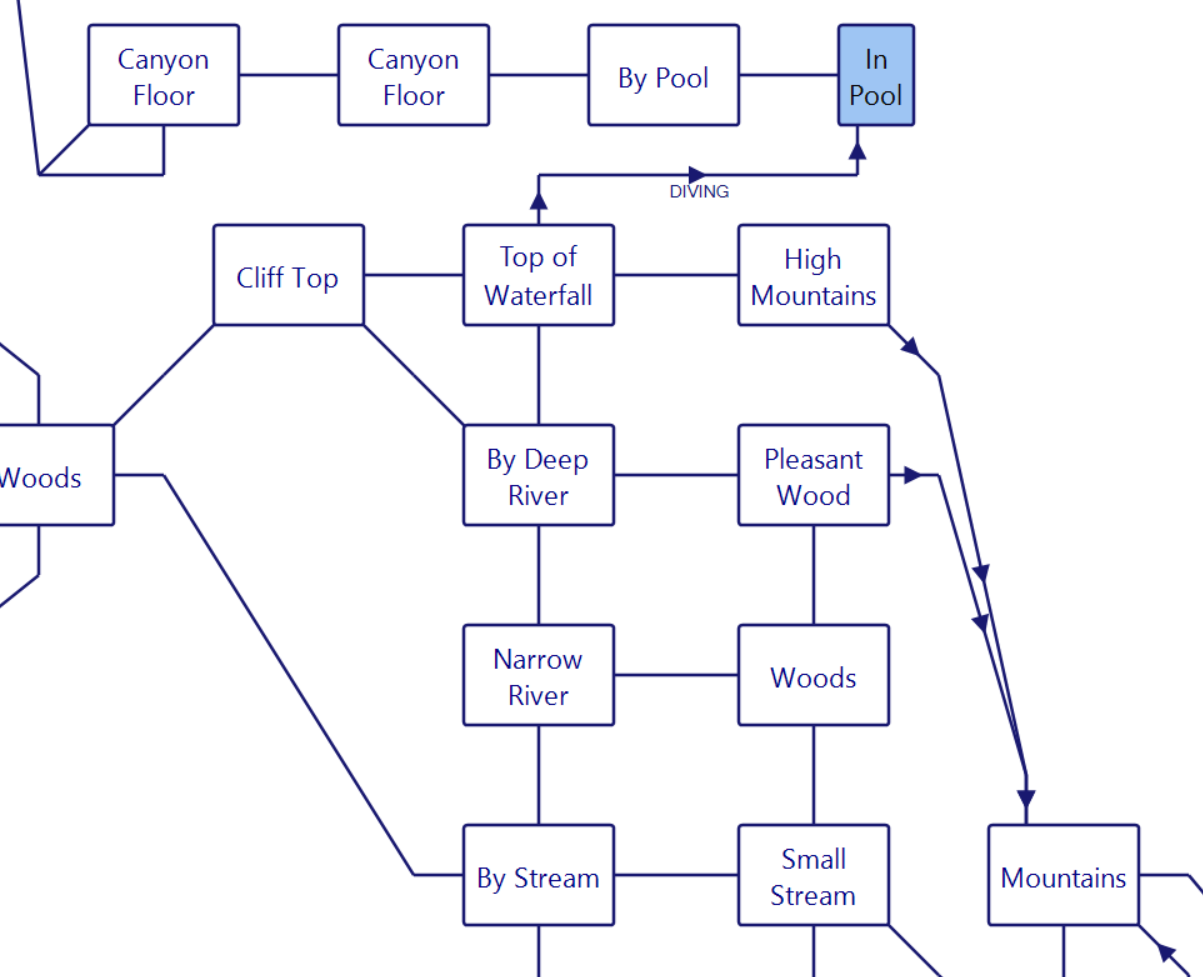
As is usual for one of these massive games of this era, the best place to start is outside. I’ll be showing it off in three sectors, the first being the environs around the starting cabin (the one that has the key / jug / lamp and is the place where the treasures go).
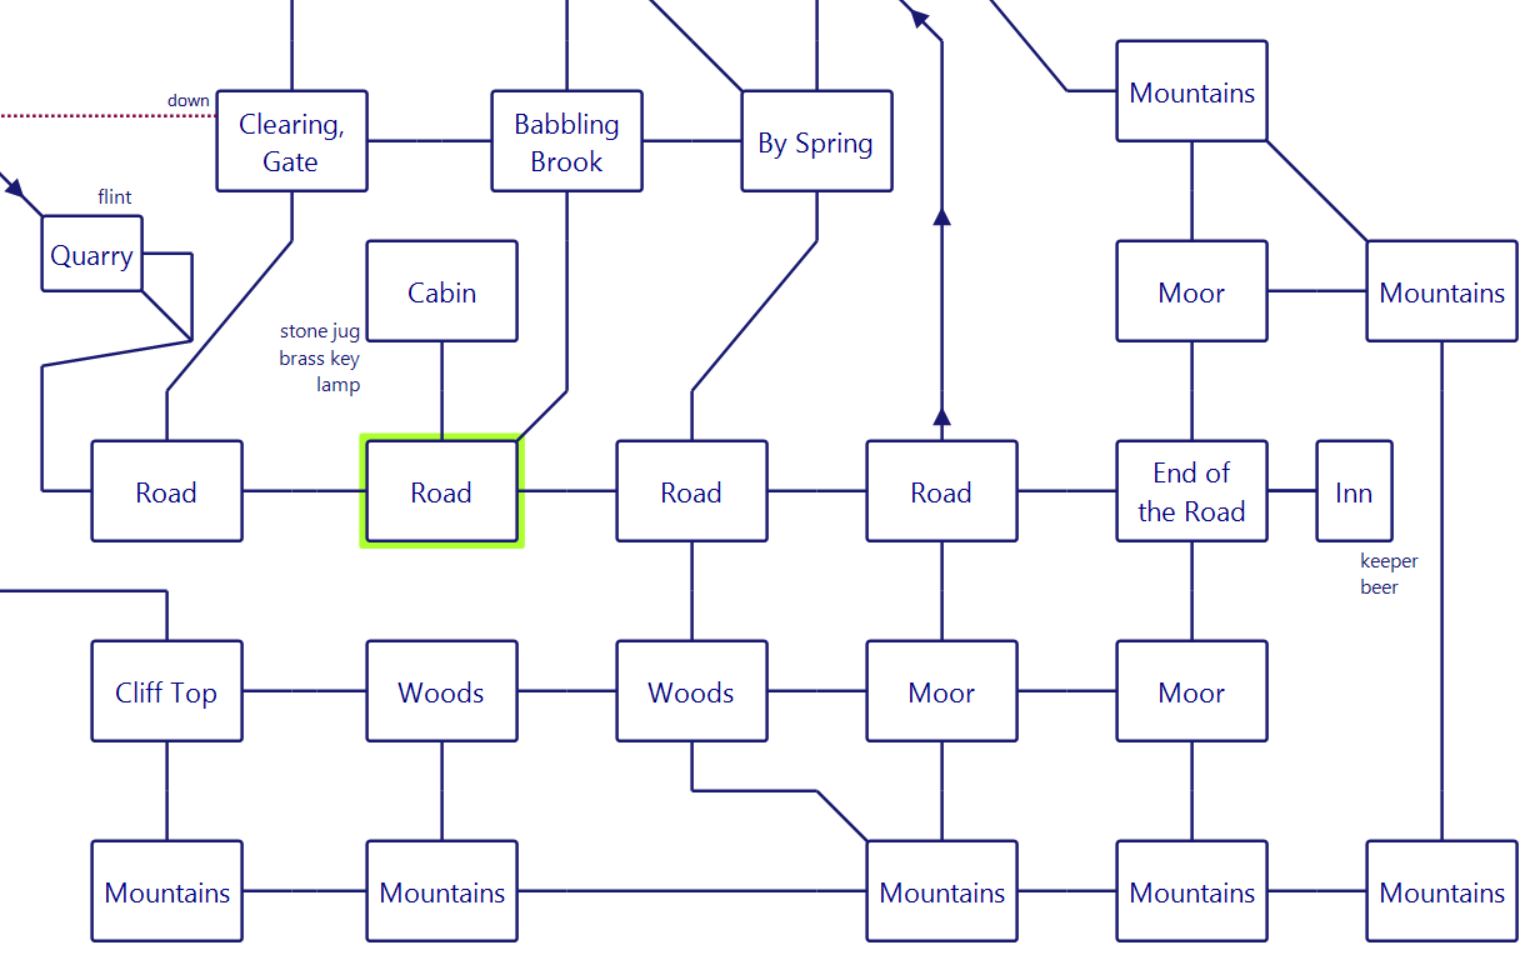
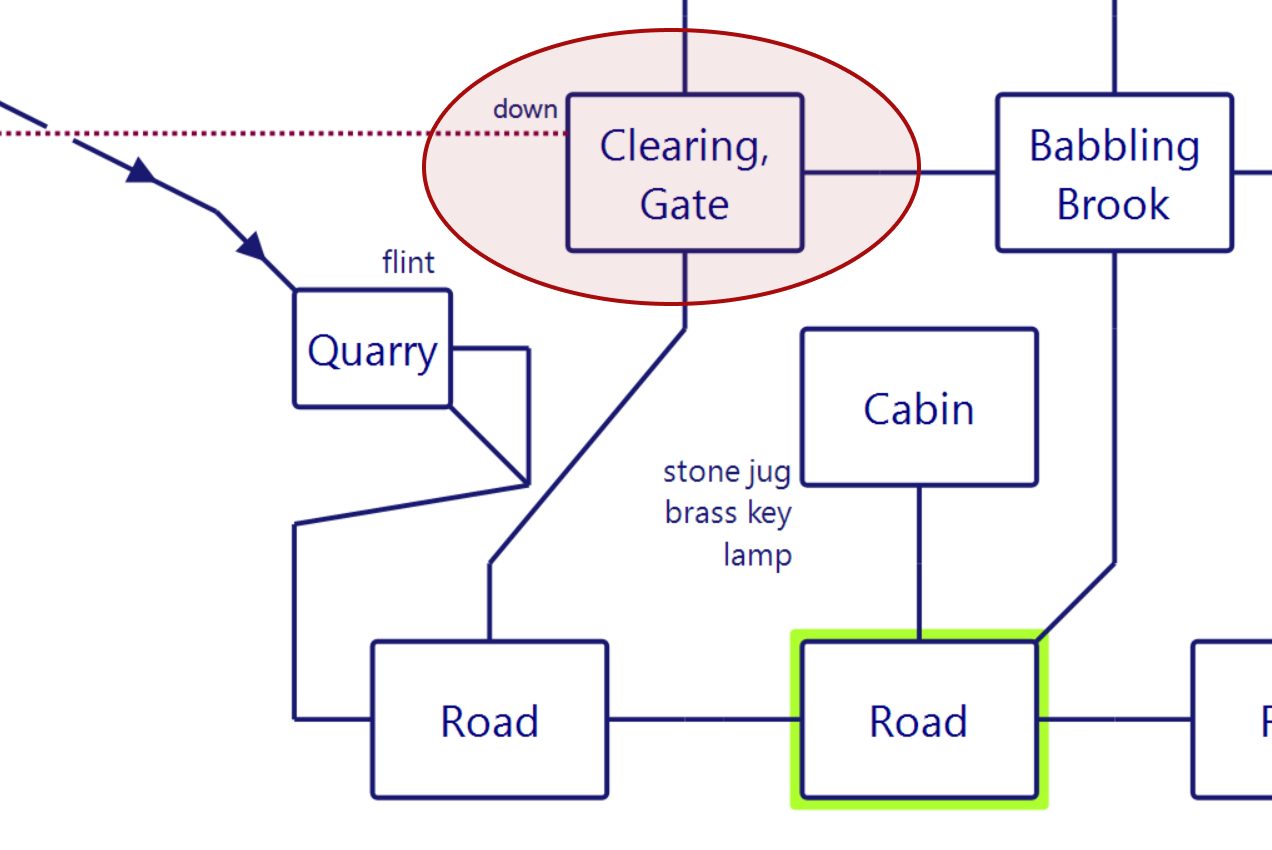
I originally thought perhaps this was going to be on a grid and I could do something more minimal, but no: this is a traditional Adventure map with twists and turns along with one-way paths. It does make creating the map feel less like “lawnmowing” and for certain swerves of landscape (like the mountains) breaking out from a grid makes some sense.
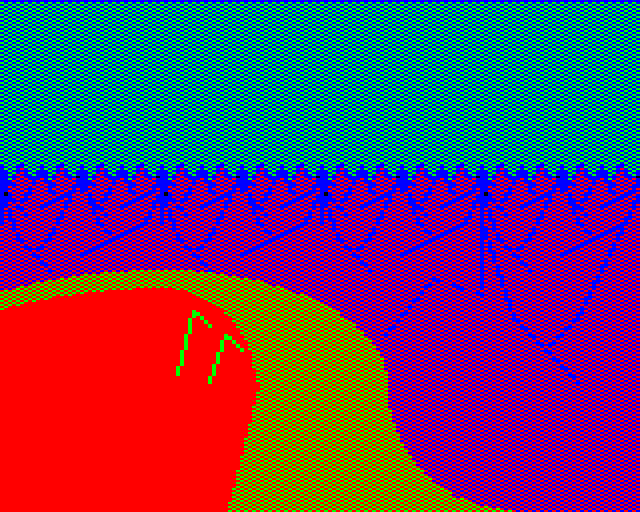
Description: The picture is your view west. You are wandering through high mountains, paths lead west, north west, south.
I ended up switching my mode fairly quickly to “picture first time, but not on second visit” since the game lets you just hit TAB to see the picture at any time, but also because the “first time” aspect is handy for mapping. If I arrive at a room that does not give a picture, I know I’ve already visited it, meaning I didn’t need to do any “breadcrumbs” like I was mapping out a maze; I especially found this helpful in a couple aspects where the map re-united in a way I wasn’t expecting. For example, the quarry to the west of the start — one of the first places you should visit for reasons I’ll get into later — has a flint stone. There’s two exits elsewhere on the map that land back on the quarry (one-way), and without the “no picture” clue I would have thought it was a different quarry.
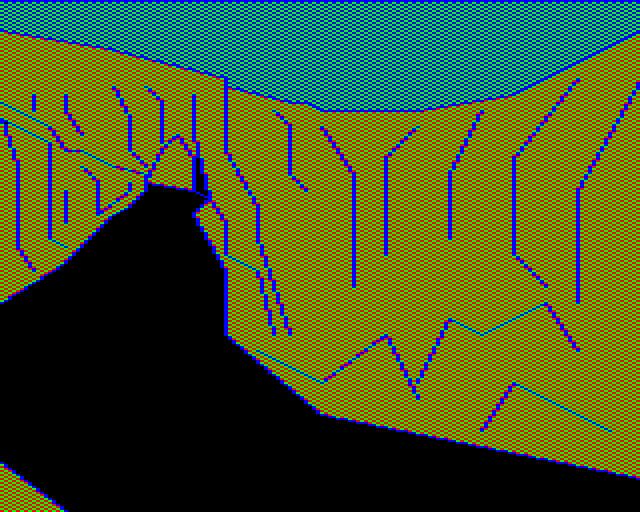
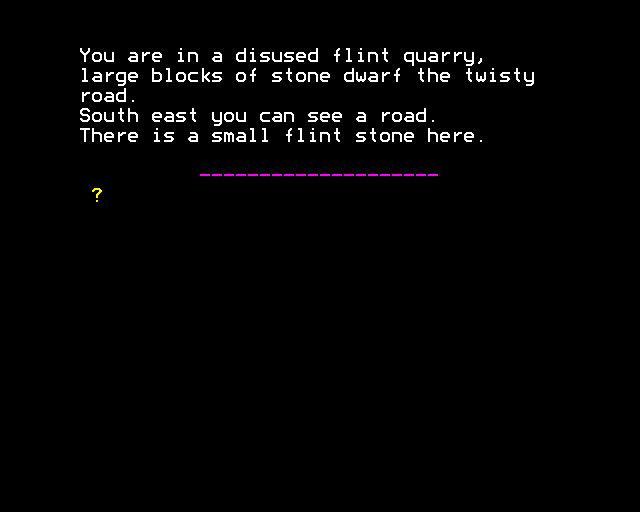
That’s incidentally not saying the exits are south and east, but rather there’s just one exit “southeast”. There’s another unmentioned exit to the east which goes back the same way. Unfortunately despite the system constantly letting you know what you can find in different directions, enough directions are unmentioned I have to test all of them.
If from the start instead of heading west to the quarry but take the road east instead, it leads to The Sword Inn. The inn is drawn farther away and then closer (applying the system I discussed last time which draws “objects” rather than scenes and can change the size).
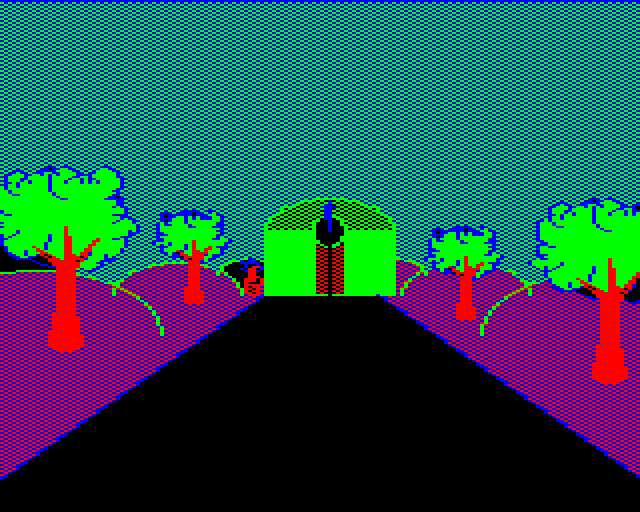
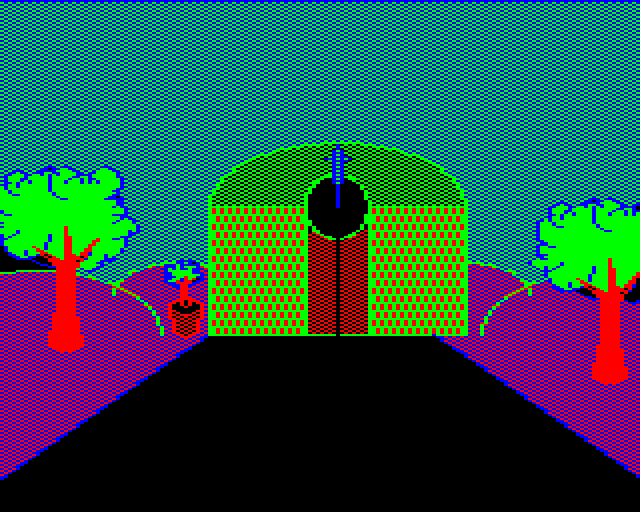
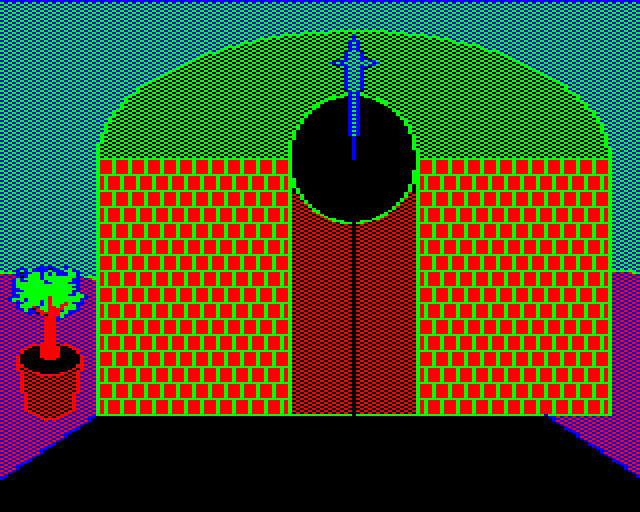
This is important not only in the technical application of Trevor Hall’s system, but also in his philosophical approach on how to treat space. Especially with modern text adventures having a road of multiple “rooms” can be considered fluff and is best cut; despite the wandering creatures (which I’ll get to) there’s a fair amount of empty space on the Twin Kingdom map. From one of his interviews:
It’s boring if you only have 20 places to visit. If you don’t have some ‘dead’ locations with nothing happening, you go from one nasty disaster to another, which is too intense. You need padding, to get lost before you find something.
He’s likely thinking of Scott Adams (who was tight by necessity); we recently had a Marc Leduc game make terrific use of tiny space so this is more of a general standpoint than an absolute rule. However, it does fit in with his goal of creating an “environment” rather than just a story (that in a graphical sense feels vaguely like walking around a modern open world game).
The inside of the Inn has a “keeper” and some “beer”. You can fill your jug with the beer (it “refreshes” you if you drink it).
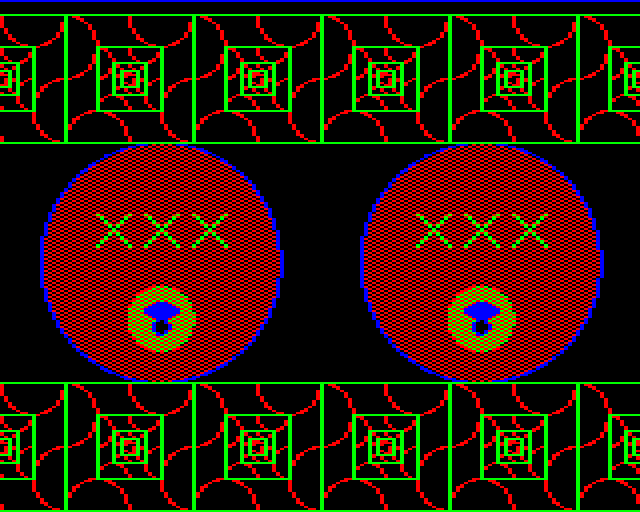
This led me directly to wonder what kind of character interaction was possible: could I have a conversation? The game helpfully gives a complete verb list from the start:
help option inventory score draw picture view look quit end drink swim wave wait ask empty pour fill give off on light unlock open close shut lock get take drop throw cut hit
The only commands on there that are “social” are give and ask (I guess “wave” could be here that’s for a “wave wand” kind of command). I was able to give my key to the keeper, then ask for it back. Maybe it’s useful to have an NPC hang on to things for you? (Not the keeper, since you can just stash things in the cabin, but there might be a section later where this comes up.) No way to ask about rumors or the like.
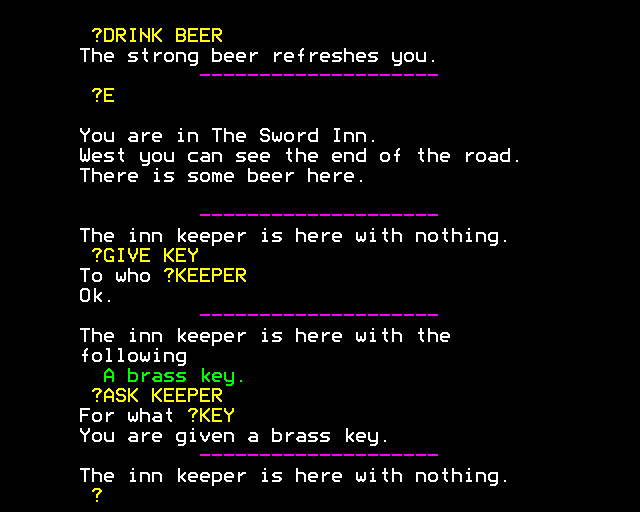
Speaking of NPCs, wandering around the aboveground I’ve found at least two elves, one gorilla, and one troll. The gorilla and troll are both pains; they will sometimes follow you and whack you with whatever weapon they have at hand. (The gorilla specifically will “throw” its items while the troll will “hit” you.) I’ve just been trying to map things out but occasionally I suffered a death in the middle of testing exits or whatnot.
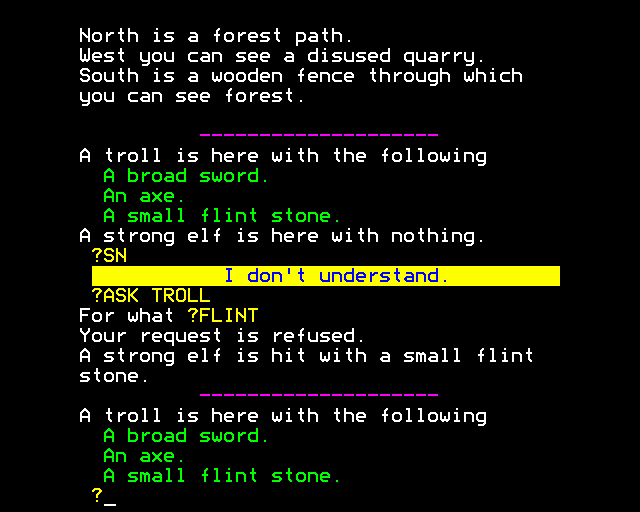
NPCs can fight each other; here the troll has whacked an elf. You might also notice the troll carrying a flint stone; that’s the flint stone (the only one in the game) nabbed from the quarry, so assuming you’re in this circumstance you need to extract it from the troll in order to use it, and given the flint is used to light the lamp, it becomes important fairly quickly. I find it easier to just nab the flint first and avoid the problem.
The map I started this post with includes one of the three ways underground: just west and north of the starting room.
It’s the most elaborate room in terms of the graphics trying to depict the grand span of the environment.
You are in a clearing. North is a forest path. East is a forest path. South you can see a road. Down is a locked brass grate through which you can see a narrow passage.
While I haven’t placed any of the moving characters on my map (due to the fact I don’t know for certain their home bases) I’m pretty sure after enough attempts the gorilla always starts here with a wooden club. It’s possible to ignore it, unlock the gate, and run on by. I’ll show the first two rooms of the underground but I’m staying with the outdoors otherwise.
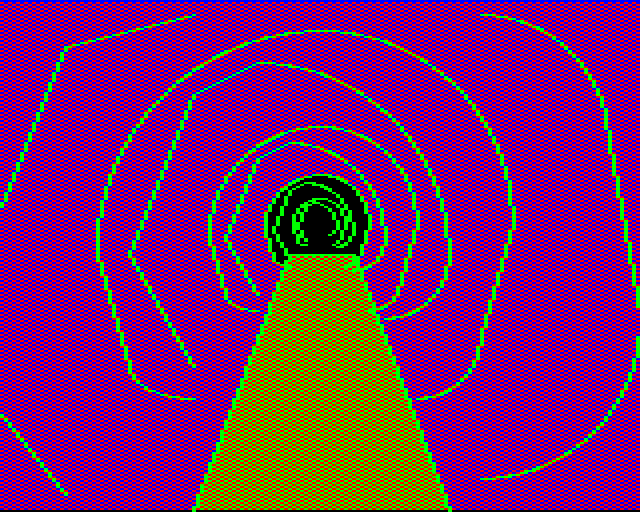
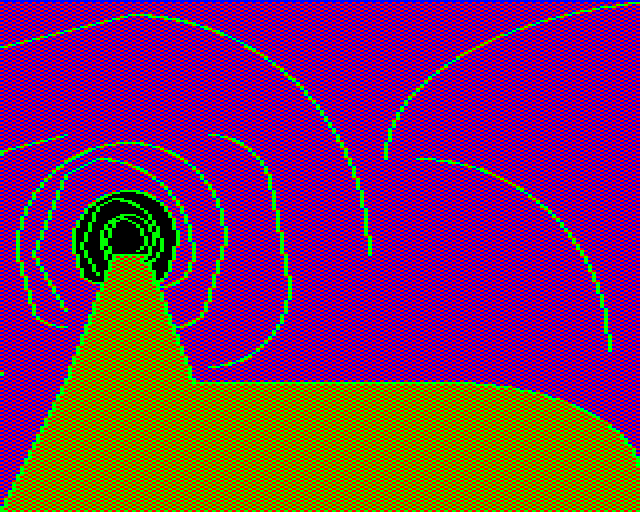
There’s a crystal ball here, but I haven’t gotten it to work yet.
Moving north…
…there’s not much new to see. (Unless I’m missing a secret, of course.) It’s just meant to be a pleasant forest environment, although rather oddly there are two one-way exits leading over to the mountains.
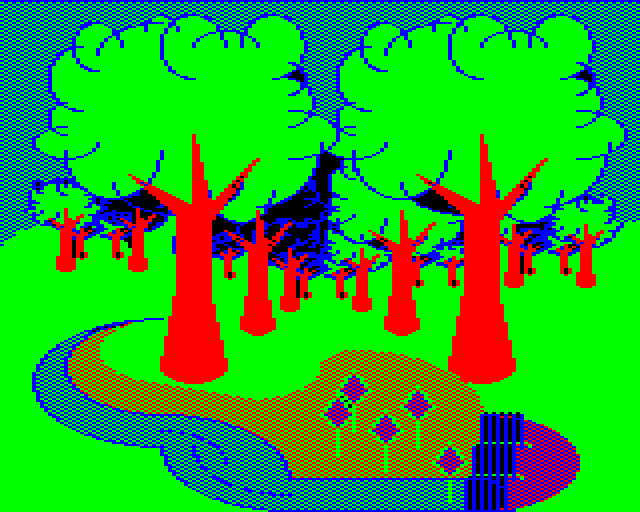
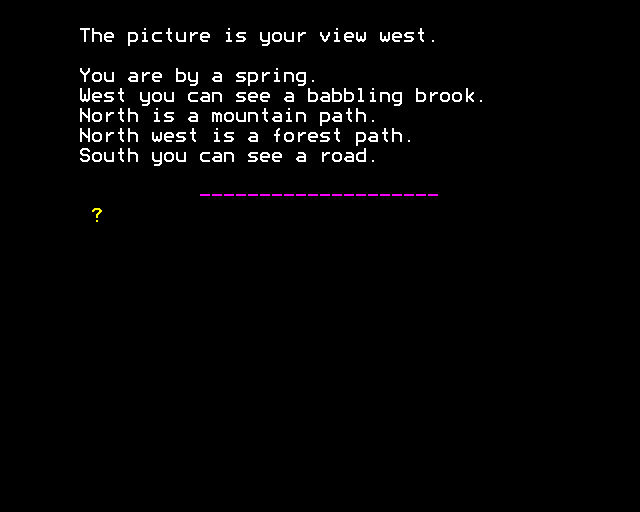
Notice how the game consistently tells you what the direction the view is in, and this direction changes based on the room (and not some kind of relative-direction setup based on where the player came from). This is pretty rare but it showed up in The Palms.
To the far north there’s a “Top of Waterfall” and going north farther has you dive into a crocodile pool, which you immediately are forced out of by the game.
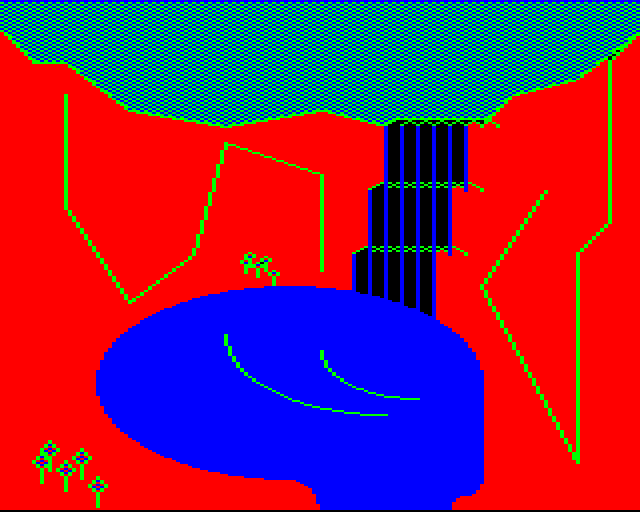
This is a canyon where you can go west and see the spring farther in the distance (again, using the “object” paradigm rather than completely pre-cooked “scenes”).
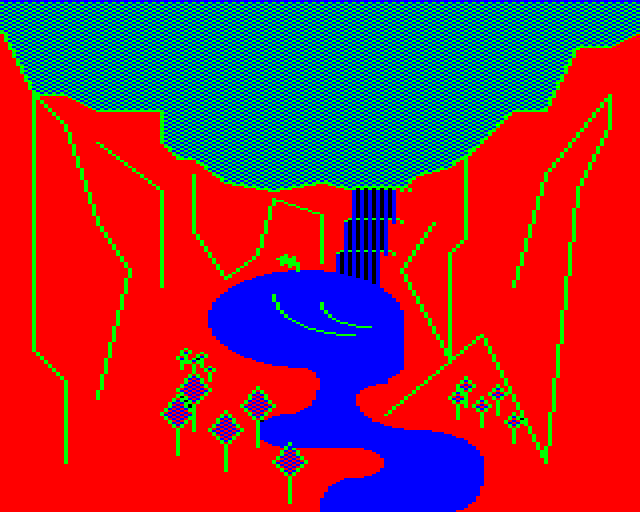
Going even further you can find a cave (the second underground entrance). A very brief look at the cave (which I’ll save for a later post):
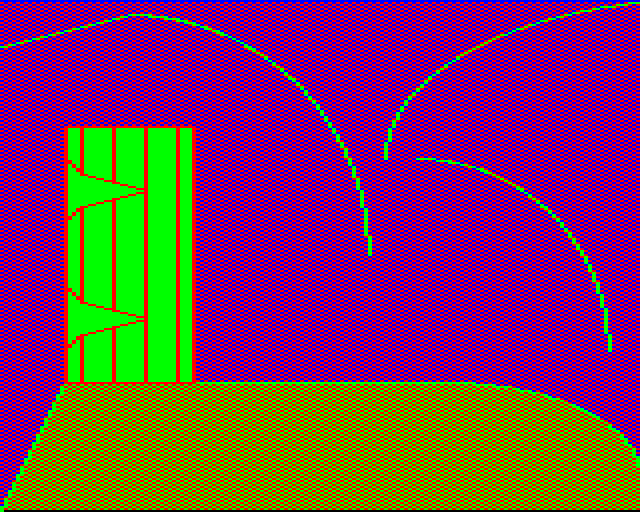
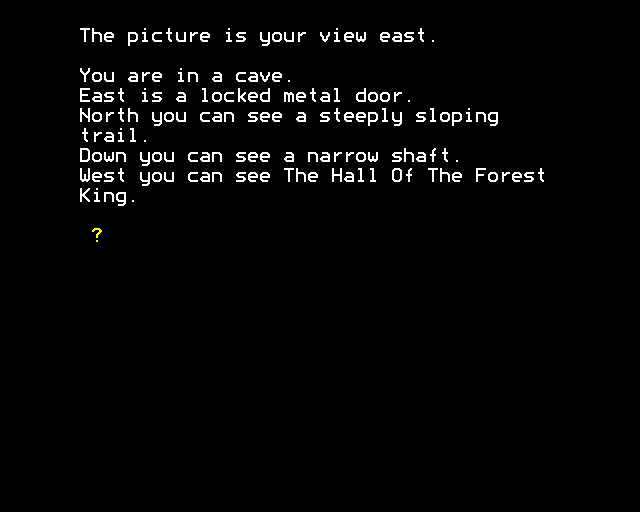
The cave in context (on the northeast side of the map):
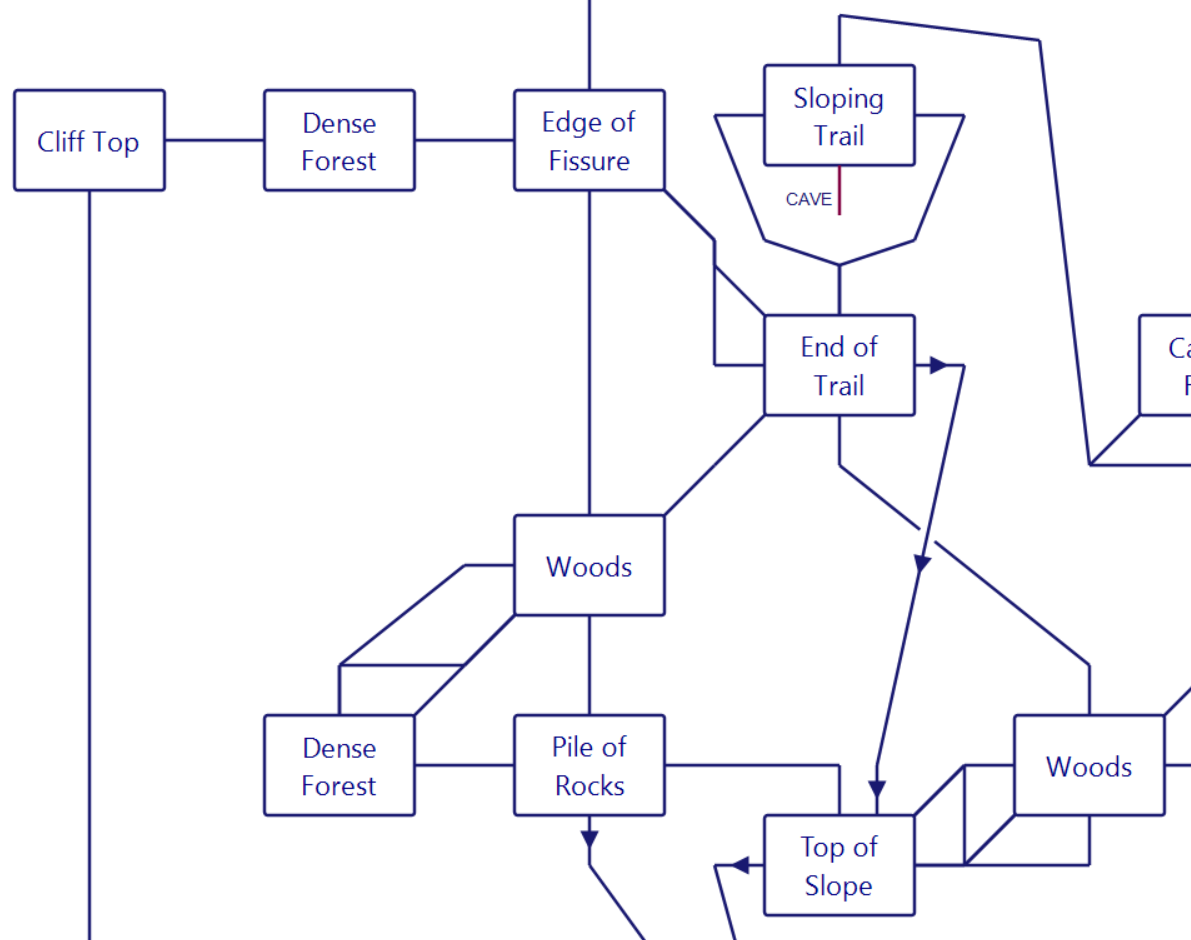
Most of these rooms are just connective tissue; the sloping trail which enters the cave connects back up to the forest, and the forest lets you go south to eventually reach the quarry (that’s the one-way passages I mentioned earlier), west to a “cliff top” (which lets you quickly loop back to the first map) and a fissure.
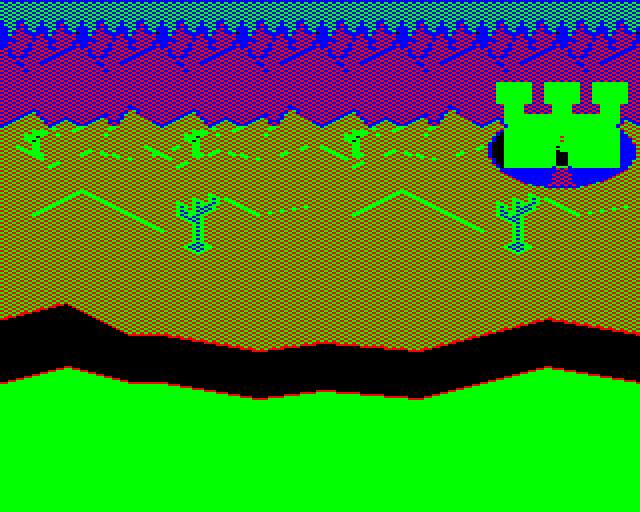
You are on the south edge of a deep fissure. North you can see down a dangerous fall.
Despite the game saying “you are dying” if you go north, you can actually survive the fall, landing in a narrow canyon! Going west in the canyon leads to a narrow fissure with Watersmeet at the end, and a cave (the third underground entrance) right beforehand.
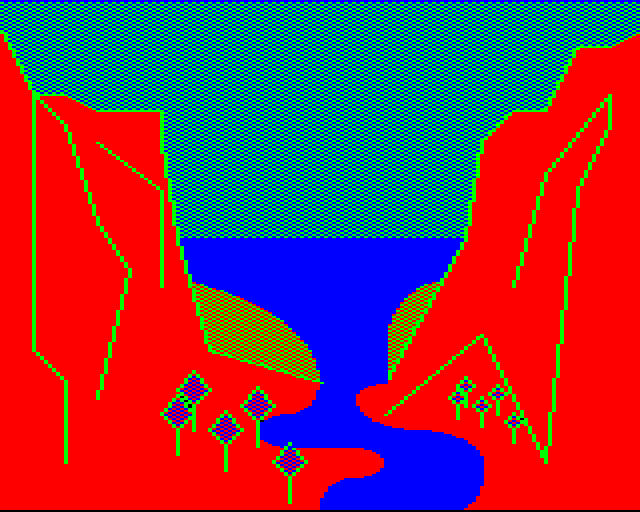
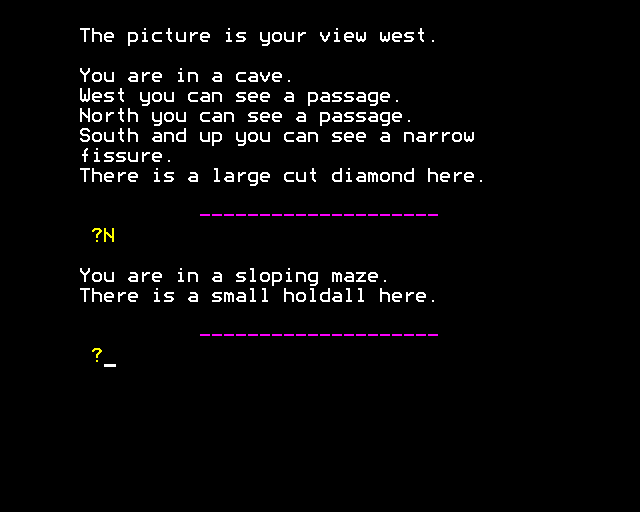
Just a brief look at the cave in the fissure.
Going east just lands back in the canyon with the crocodile pool, so that’s everything (probably) on the outside. I admit I haven’t tested every single direction in every room (the room exits it gives usually are right) and of course one of the underground sections may pop back outdoors again (like to the north side of the canyon, I imagine). I also don’t know if the three undergrounds I’ve found merge together or if all three are separate.
There’s still a lot to explore with the NPCs; I haven’t tried fighting back yet (they’re pretty possessive of the weapons, and I’ve been focused on mapping anyway). I do know you can arm the “allied” NPCs and have them fight as well, so even if all the game is tracking is how good your weapon is, there could be some interesting strategies involved.
It’s not your world. You arrive there and you’re a person, a creature, just like all the others. You see something shiny and think maybe you could go get it, so off you wander. You’re not controlling the game – you’re part of it.
— Trevor Hall, interviewed in 2006
With this, we reach one of the most well-remembered games of 1983.
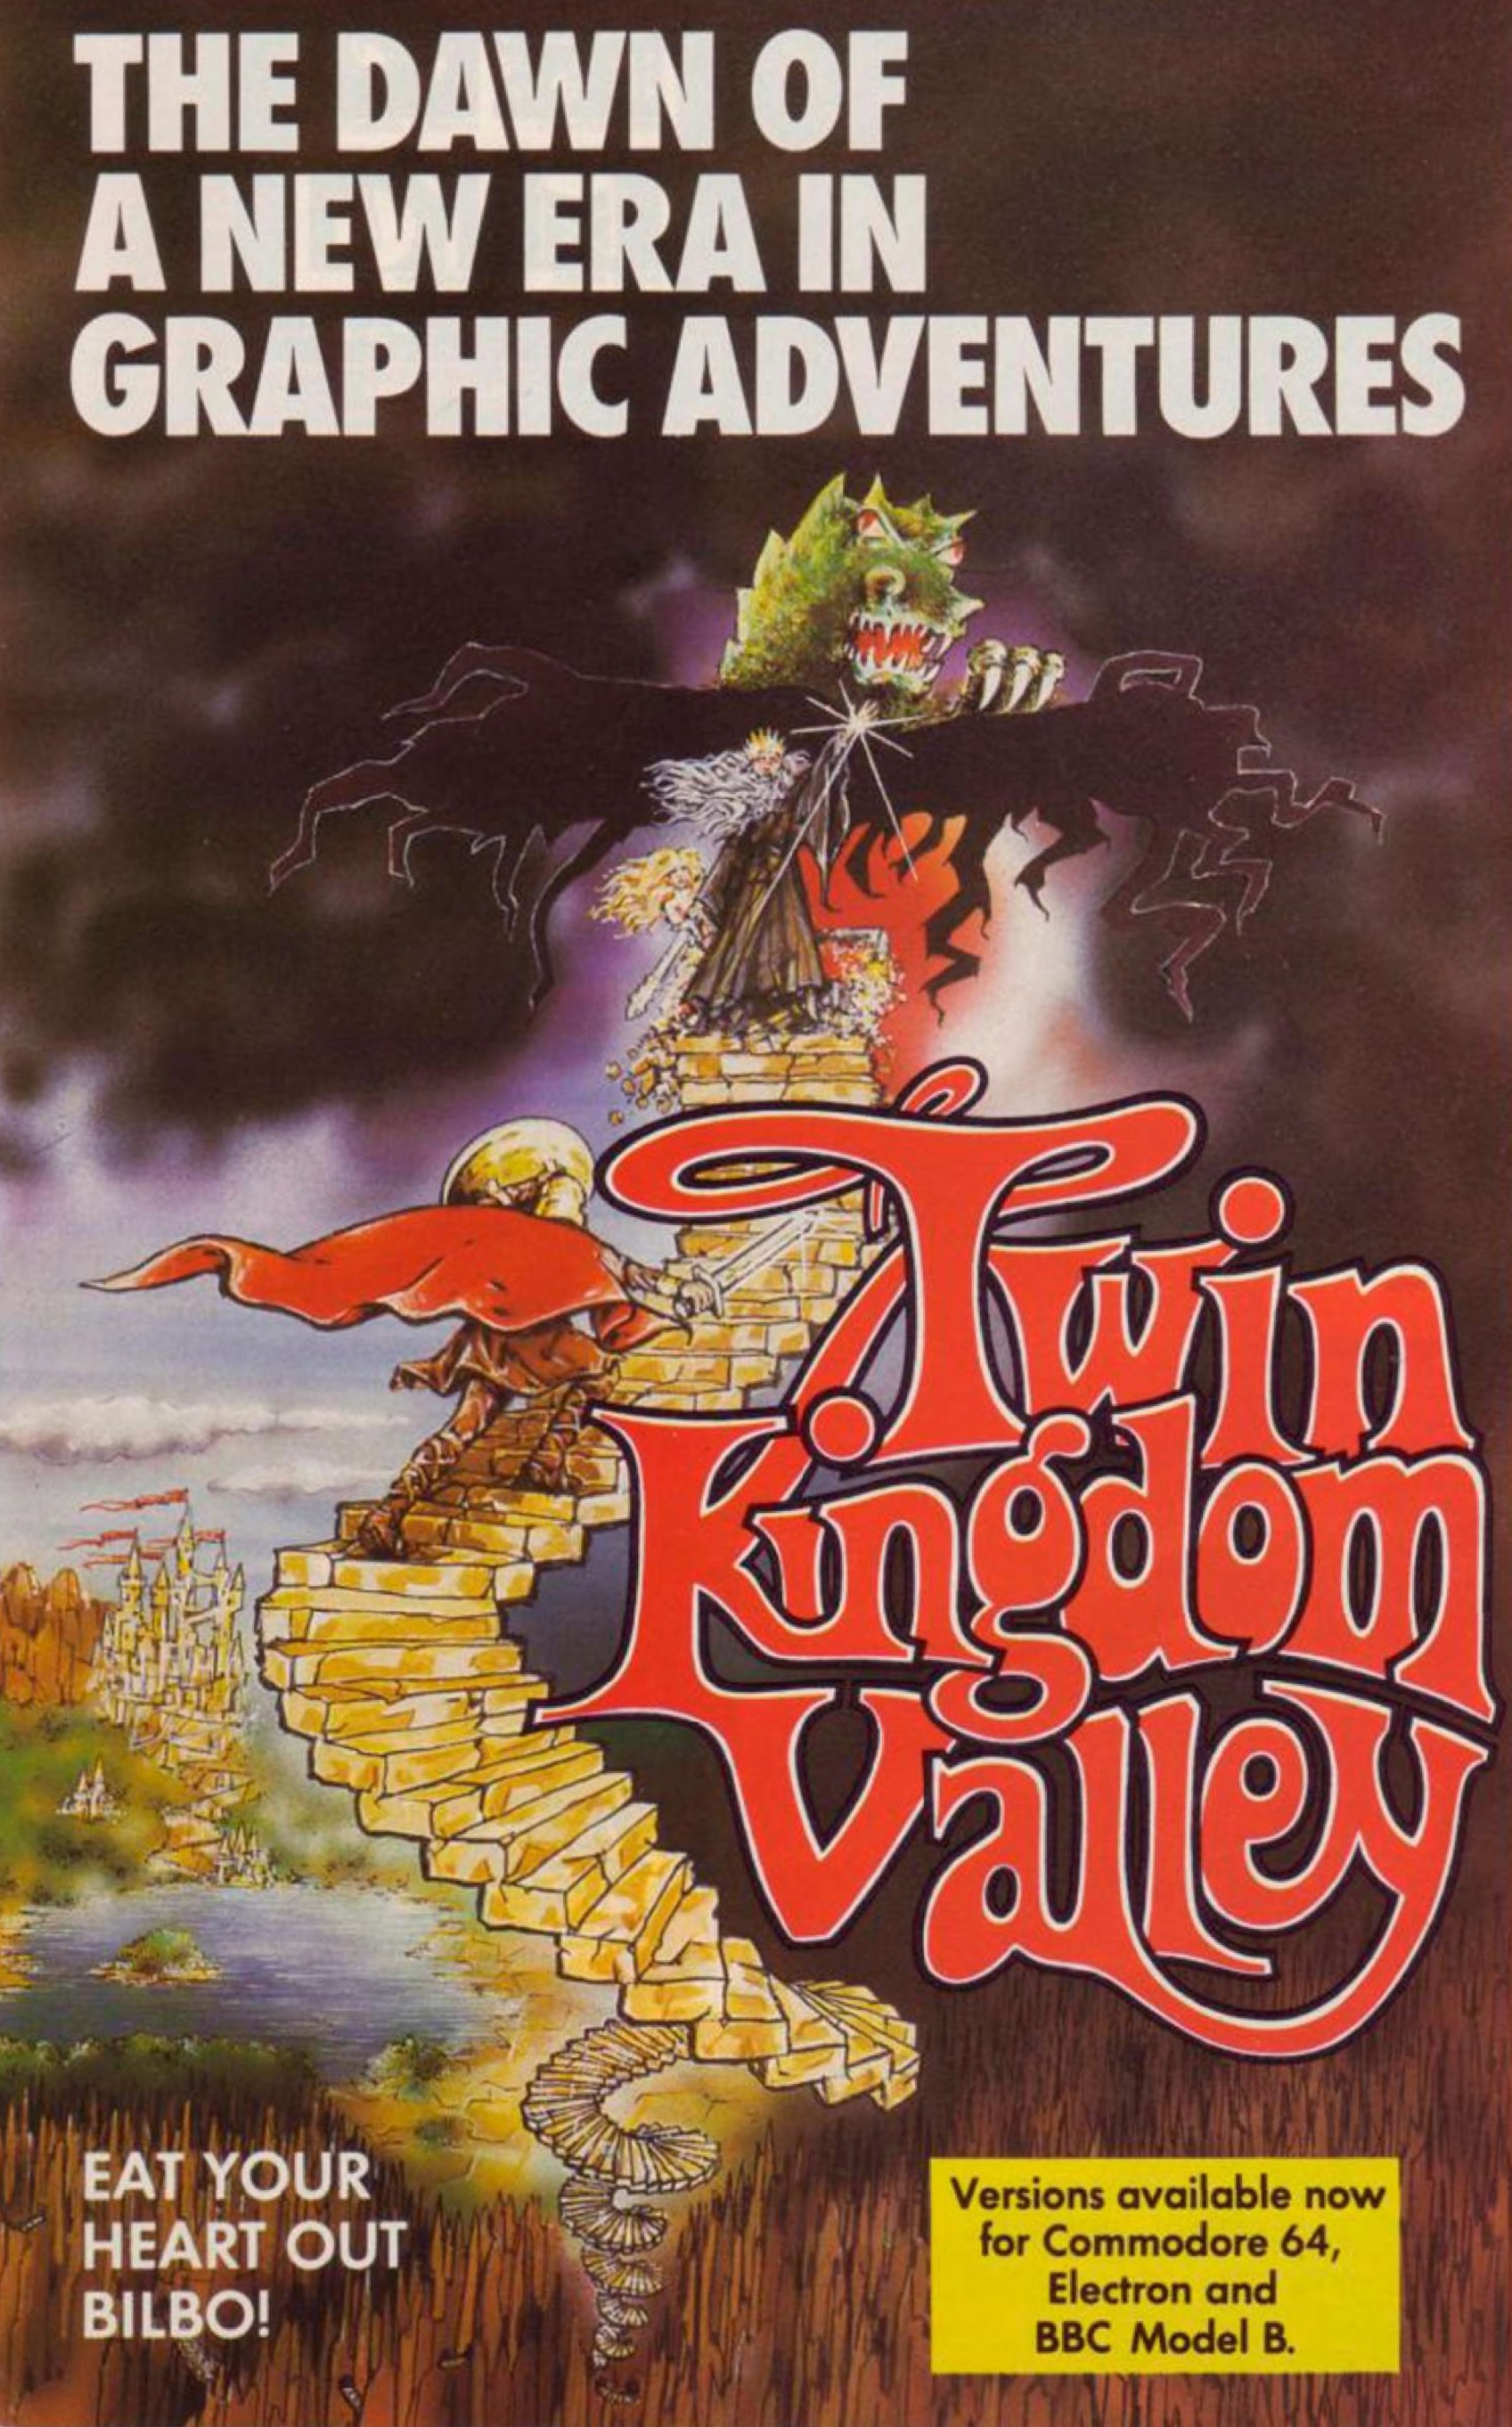
It is often mentioned in the same context as The Hobbit, and this includes advertising from the time (“EAT YOUR HEART OUT BILBO!”) The setting is a “mythical place where two kings reside” who “hate each other”; you are an “adventurous, bounty hunting, greedy human” and your goal is to “finish the game with as much wealth as possible”. This is a standard treasure hunt, in other words, but it has illustrations for all the rooms, and it has dynamic NPCs (the latter point being why it gets compared to The Hobbit).
The author, Trevor Hall, has an unfortunate namespace clash with a more famous musician, but fortunately he’s done multiple interviews (1, 2, 3, 4) so I’m able to give some history.
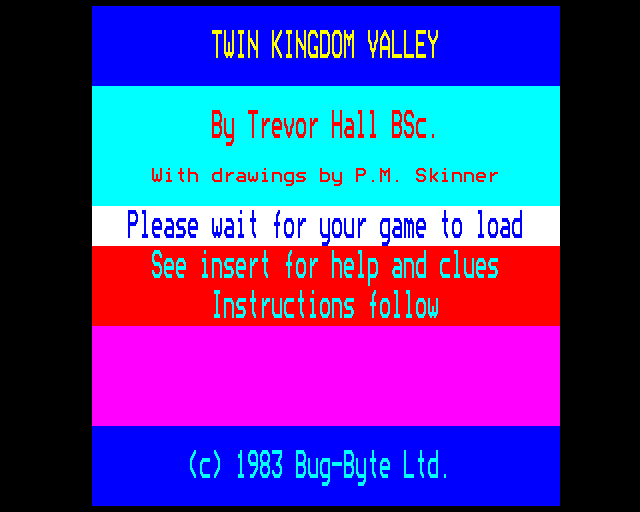
P. M. Skinner is Pete Skinner, a friend of Trevor’s.
Trevor Hall studied Computer Science in Manchester, getting a taste of arcade games at the student union and obtaining his first computer, the text-only Acorn Atom. By 1982 he started publishing with Bug-Byte.
I think I did what many others wanting to publish did (and presumably still do):
1: Find a game publisher who already exists, and has some titles available, and adverts in mags etc.
2: Send the game for evaluation.
I think Bug-Byte was the first I tried, and they offered a good royalty rate. I don’t know where the company got its start up cash, but there were 3 main players who handled (or mishandled) all that. They had some advantages, like a good artist, a very good deal on rent in a new unoccupied building, their own tape duplication machines. They built a good name from the Spectrum Manic miner series, BBC micro stuff from me and others, and some C64, but lost the Manic Miner programmer to another company. That was probably a bad turning point for them.
In this case he did not simply send games to be independently evaluated (like Simon Wadsworth where his second game Time Warden fell down a black hole and he switched to making games for Artic): he had demo games impressive enough to be a regular contract worker for Bug-Byte. The company has featured here enough times (including the Manic Miner kerfuffle) I won’t recap their history other than to say they were one of the most prominent software houses soliciting games from anyone.
Bug-Byte was getting 20 or 30 games submitted some days and most of them were useless and went straight in the bin but some were excellent.
— Chris Cannon, who selected games for publishing at Bug-Byte, via Acorn: A World in Pixels
Hall has four games credited for 1982, and two more for 1983 prior to Twin Kingdom Valley, all for BBC Micro: City Defence, Galaxy Wars, Space Invaders, Dogfight, Sea Lord, and Oblivion. Space Invaders is worth a screen as Trevor credits working on the game as how he learned assembly language.
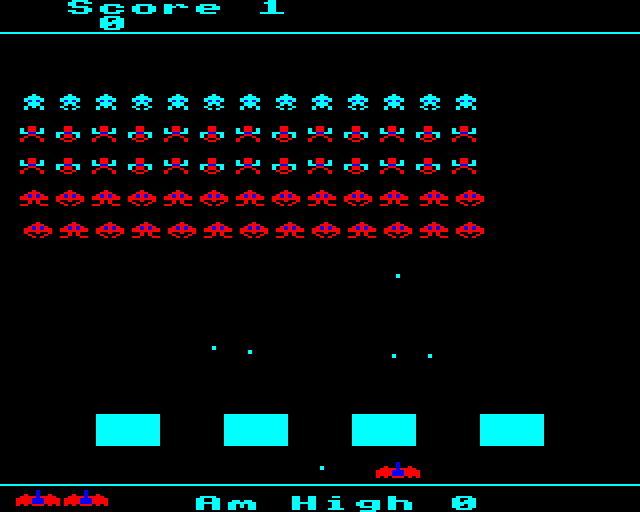
The single-pixel bullets mean the barriers last a bit longer than regular Space Invaders.
Hall’s first experiences with adventure games were his friends playing Crowther/Woods which appeared on “big computers” at the university:
I never got very far in Adventure. There was some version of some system at the university, which we found fun to play, but, time on those systems was limited, and we had to study sometimes.
He remembers one of his friends commenting on the characters “standing still” with the same puzzle to solve whenever a character is encountered. He saw some home computer games with the same issue:
The troll was always standing by the bridge. It made no sense! So I thought, why not make every creature in the game, including oneself, pretty much the same. Make everyone able to walk around, pick things up and fight. Let them interact.
In other words, he wanted a game where you are not the protagonist of a story, but rather part of a world.
He and some friends drew maps (using “little green pieces of paper he’d swiped from the computer science lab”) and worked out how connections to other places could be described in a “few bytes”. He describes the parser as “easy” (“tokenize the text, and recognize a verb and an object”) but had more trouble with the graphics. He wanted 3D but found it to be too slow, so he used scaled pictures instead with flood fill. The general idea was to have scenes not thought of as being single pictures (like Sierra) but compositions of objects; he modified the code so “program wouldn’t attempt to draw underneath something that was already there.”
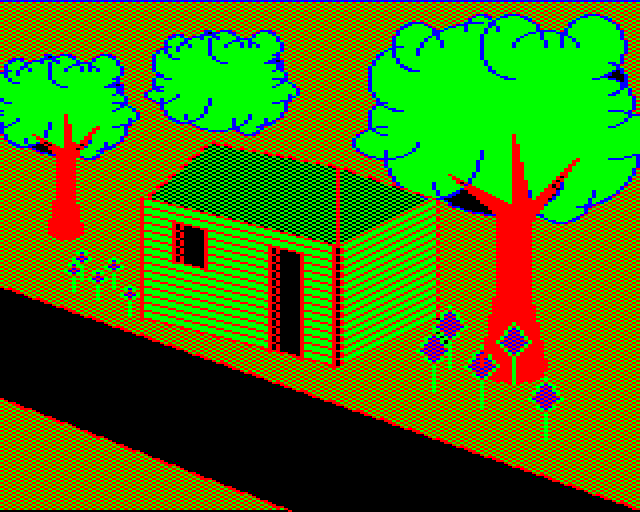
Road outside wooden cabin at the start of the game. The game states outright “the picture is your view north”.
The trees from the scene above are both the same object image, drawn at different scaling levels. Sierra’s Time Zone and Melbourne House’s The Hobbit would have both trees drawn as individual graphics. Rather than a “picture book” model, Hall aimed to make an “environment” akin to modern 3D worlds. Note that Hall’s “priority drawing” system glitches a little bit with one of the flowers; it gets drawn in whole but then some of the tree lands on top, while most of the tree is drawn “behind” the flower even though it appears on the screen after the flower. When Hall talks about Pete Skinner drawing “many of the objects” he really means objects, not entire scenes.
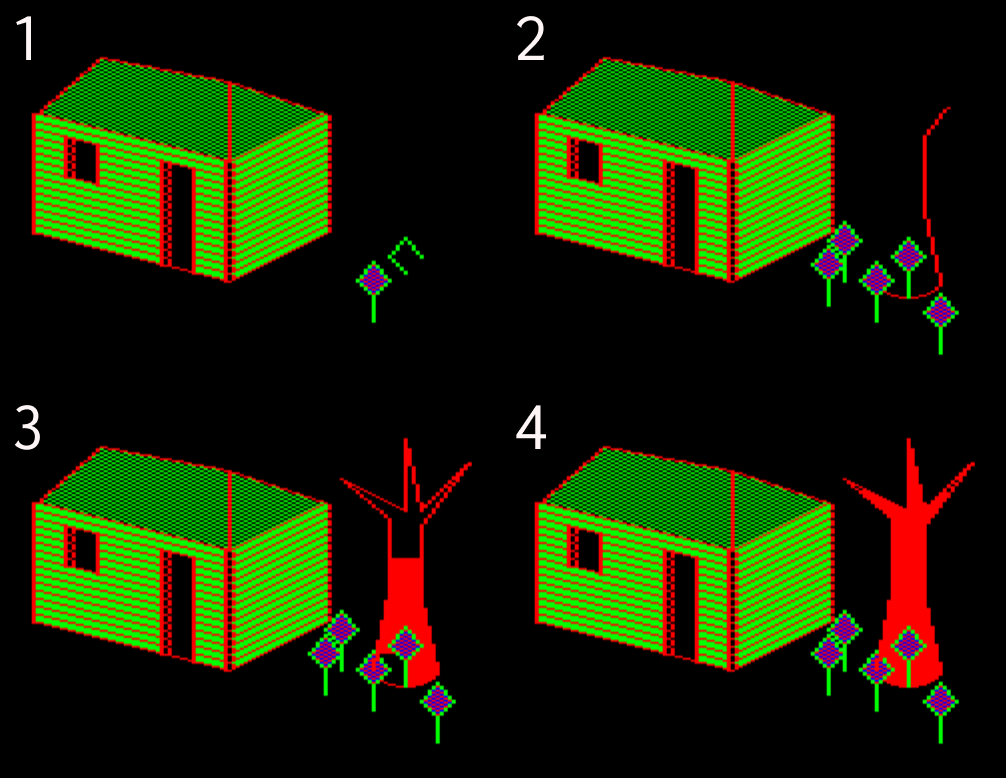
His world-representation paradigm (thinking of the world as “3D space” even though it isn’t) applies not just to graphics but to text. Graphics are reused where you see things from farther away or closer, but the rooms are designed such that things seen from afar can be included in the textual description. Despite the BBC Micro being relatively plentiful on space this sort of maneuver was needed in order to include all 175 rooms he was aiming for.
Hall talks more about his NPC design in his interviews but let’s come back to that when we have some more context, and get into the game itself. From the start there is again the eternal question: which version? The original is BBC Micro; there’s also the Electron, Spectrum, and C64, and I know at least the C64 has more rooms than the BBC Micro version does (so revisions happened, like The Hobbit). Still, comparing all the graphics, the BBC Micro version looks the most “intended”; the graphics appear designed for a screen with a particular color scheme and resolution.
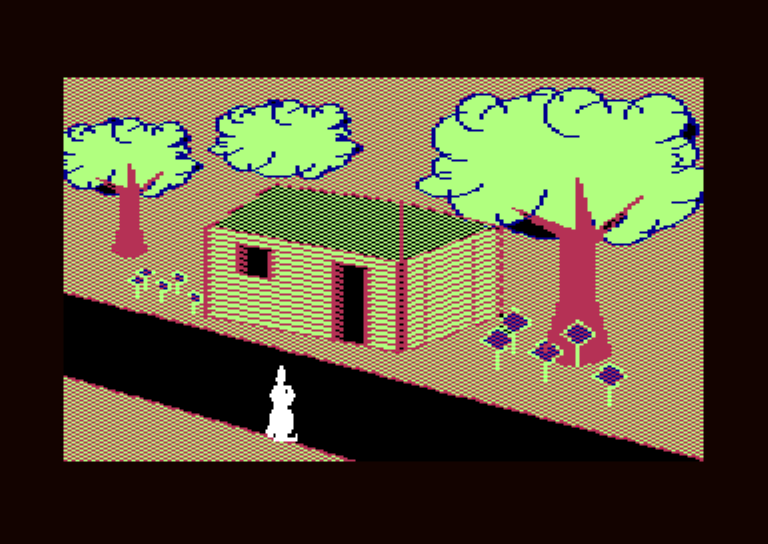
C64 version. Notice how the flowers look a little mangled. There’s an animated hopping bunny, though!
The game helpfully gives six options for how text and graphics work:
1 Draw picture if room unvisited, give long description
2 Draw picture if room unvisited, give short description
3 Draw picture always, give long description
4 Draw picture always, give short description
5 Don’t draw picture, give long description
6 Don’t draw picture, give short description
For the moment I’ve set things to always show pictures and long descriptions, but let me show long vs. short in the starting rooms.
You are on a road.
North you can see a wooden cabin.
North east is a forest path.
East you can see a road.
West you can see a road.
South is a wooden fence through which you can see forest.
?N
You are inside a wooden cabin
South you can see a road.
There is an empty stone jug here.
There is a brass key here.
There is an unlit oil lamp here.
The “short” version cuts out all the direction descriptions: just “You are on a road” and “You are inside a wooden cabin” without mentioning what is east/north/etc.
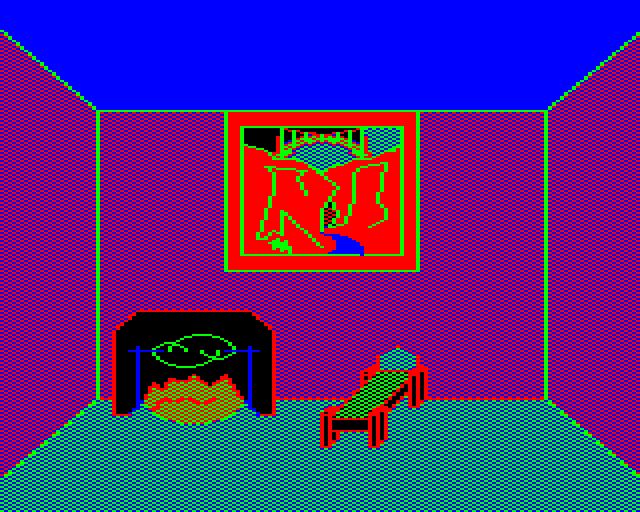
The cabin is where the treasures go.
The map is not only large but immediately open, so I’ll save giving the lay of the land next time, but one quick visit to another place:
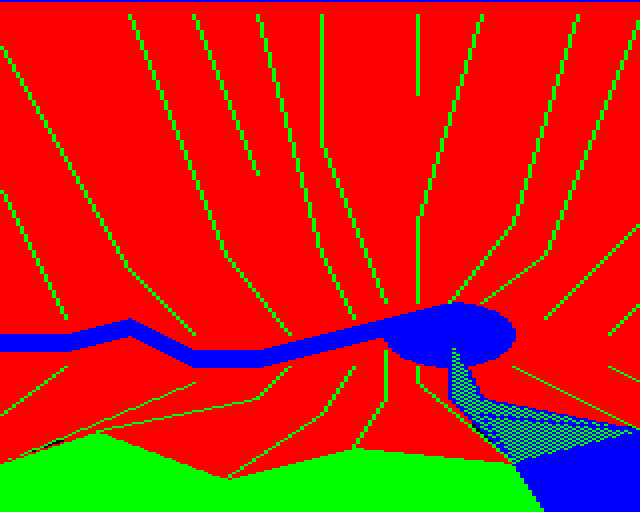
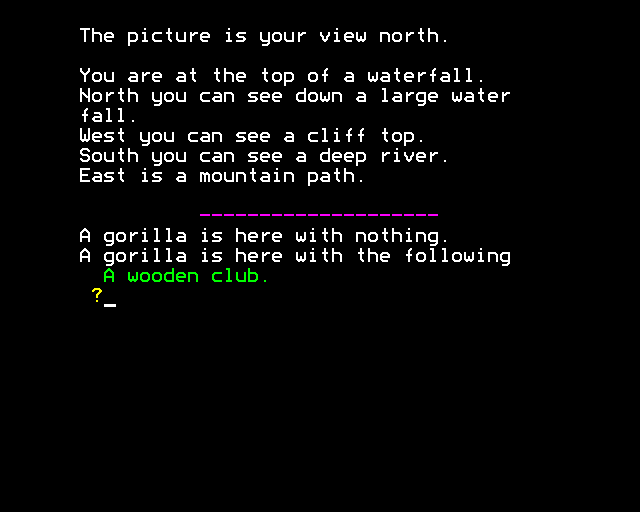
The gorilla is an enemy you can fight that can also follow and randomly thwap you with the club it is holding. The enemies can pick up weapons that happen to by lying around; again, this feels strongly like MUD behavior. An elf was nearby and later the gorilla had nothing and the elf had the club; it appears the elf simply stole the club.
A gorilla is here with nothing.
An elf is here with the following
A wooden club
Allegedly the puzzles aren’t elaborate (at least compared to The Hobbit) so this really does give a different feel than a standard adventure game. I’ll report back in next time if that holds up.