(Continued from my previous posts.)
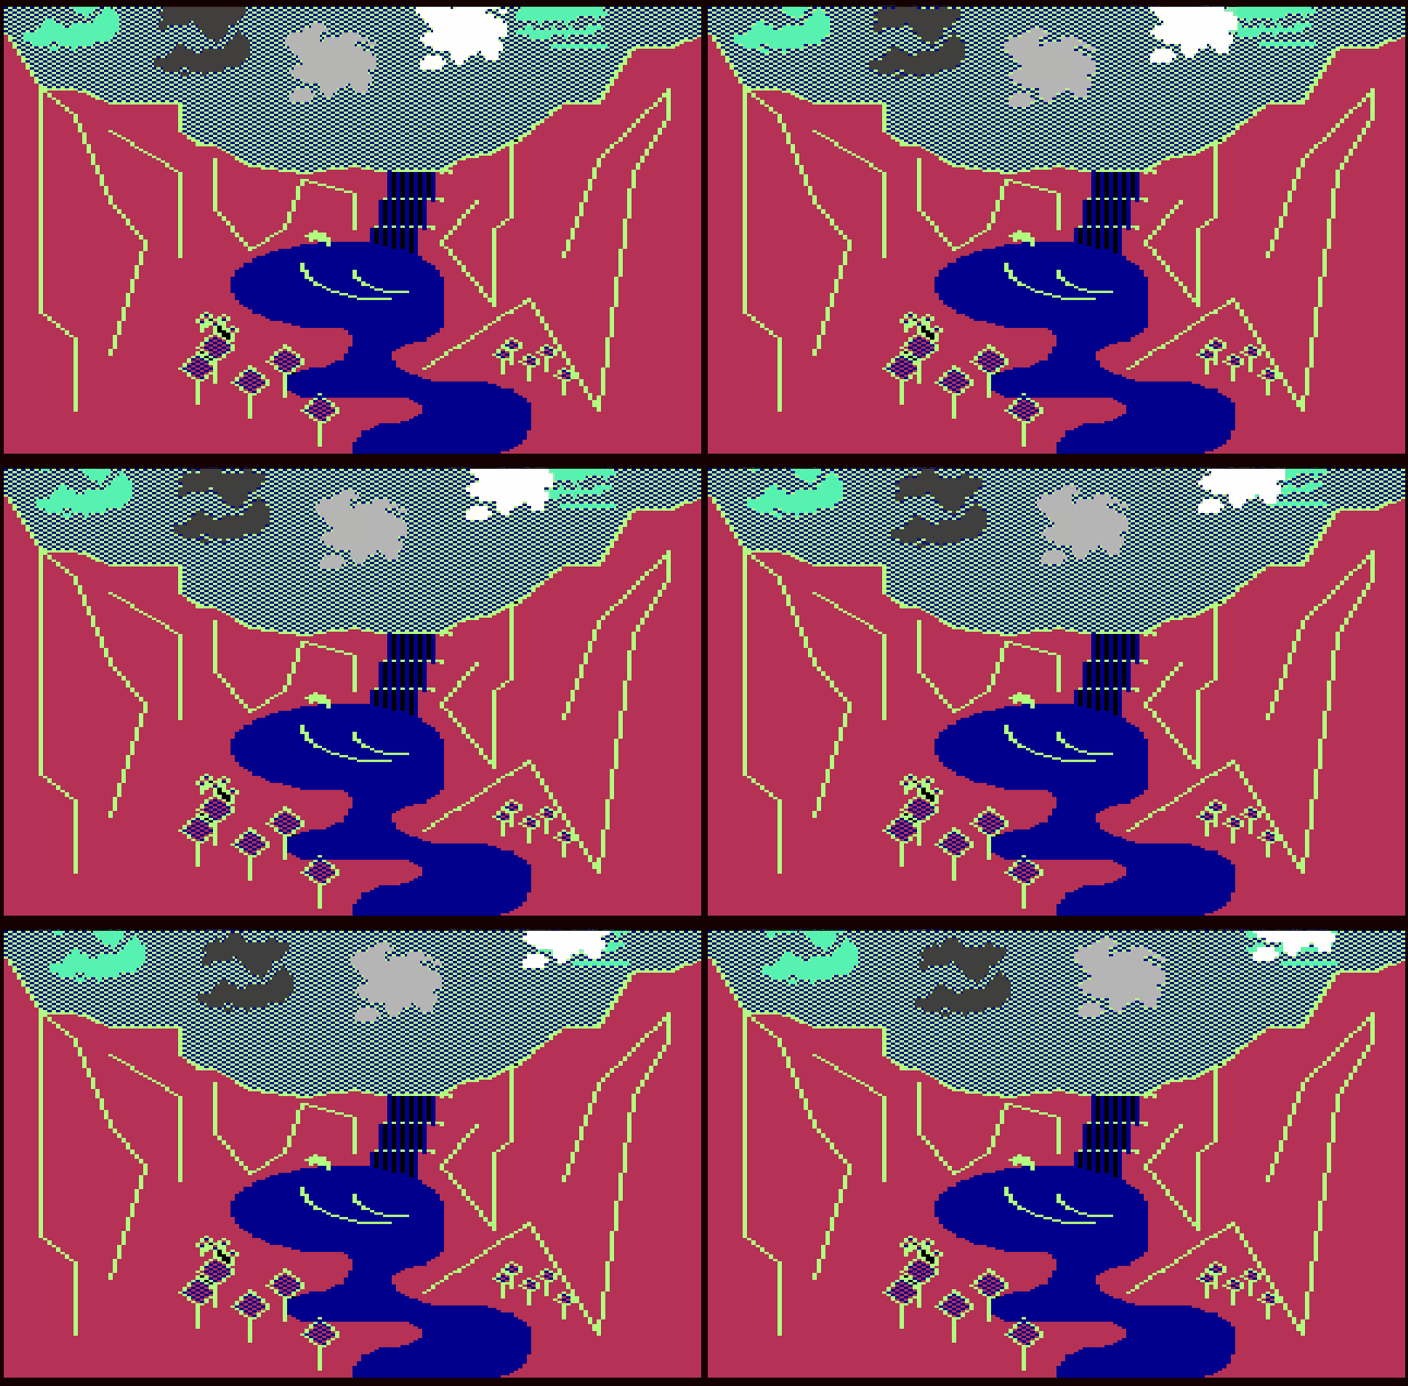
Some of the C64 screens have animated clouds.
Last time I left off on a narrow fissure leading to Watersmeet, and a cave nearby that’s a maze. Also, just for the record, I had a brass key (from the very start) and a bronze key (from the witch where I traded the crystal ball). There was one gold door I was unable to unlock; we’ll get back to that today.
Regarding Watersmeet, I knew something special was going on because there’s some text about it in the intro of the BBC Micro version:
It is believed that the lake itself has some mystical properties which, some say, are derived from the many potions of witches and so forth, which have been split into the rivers and streams throughout the ages.
It is also said that a wise man may look upon the secret of life, which lies nearby.
I tried filling a jug and getting the same “refreshing” message I did with beer, so I was puzzled for a bit.
I pulled out the verb list and realized it had “swim”, so I tested it and found that swimming in the water healed wounds. There’s something else special going on, but I didn’t realize it until later.
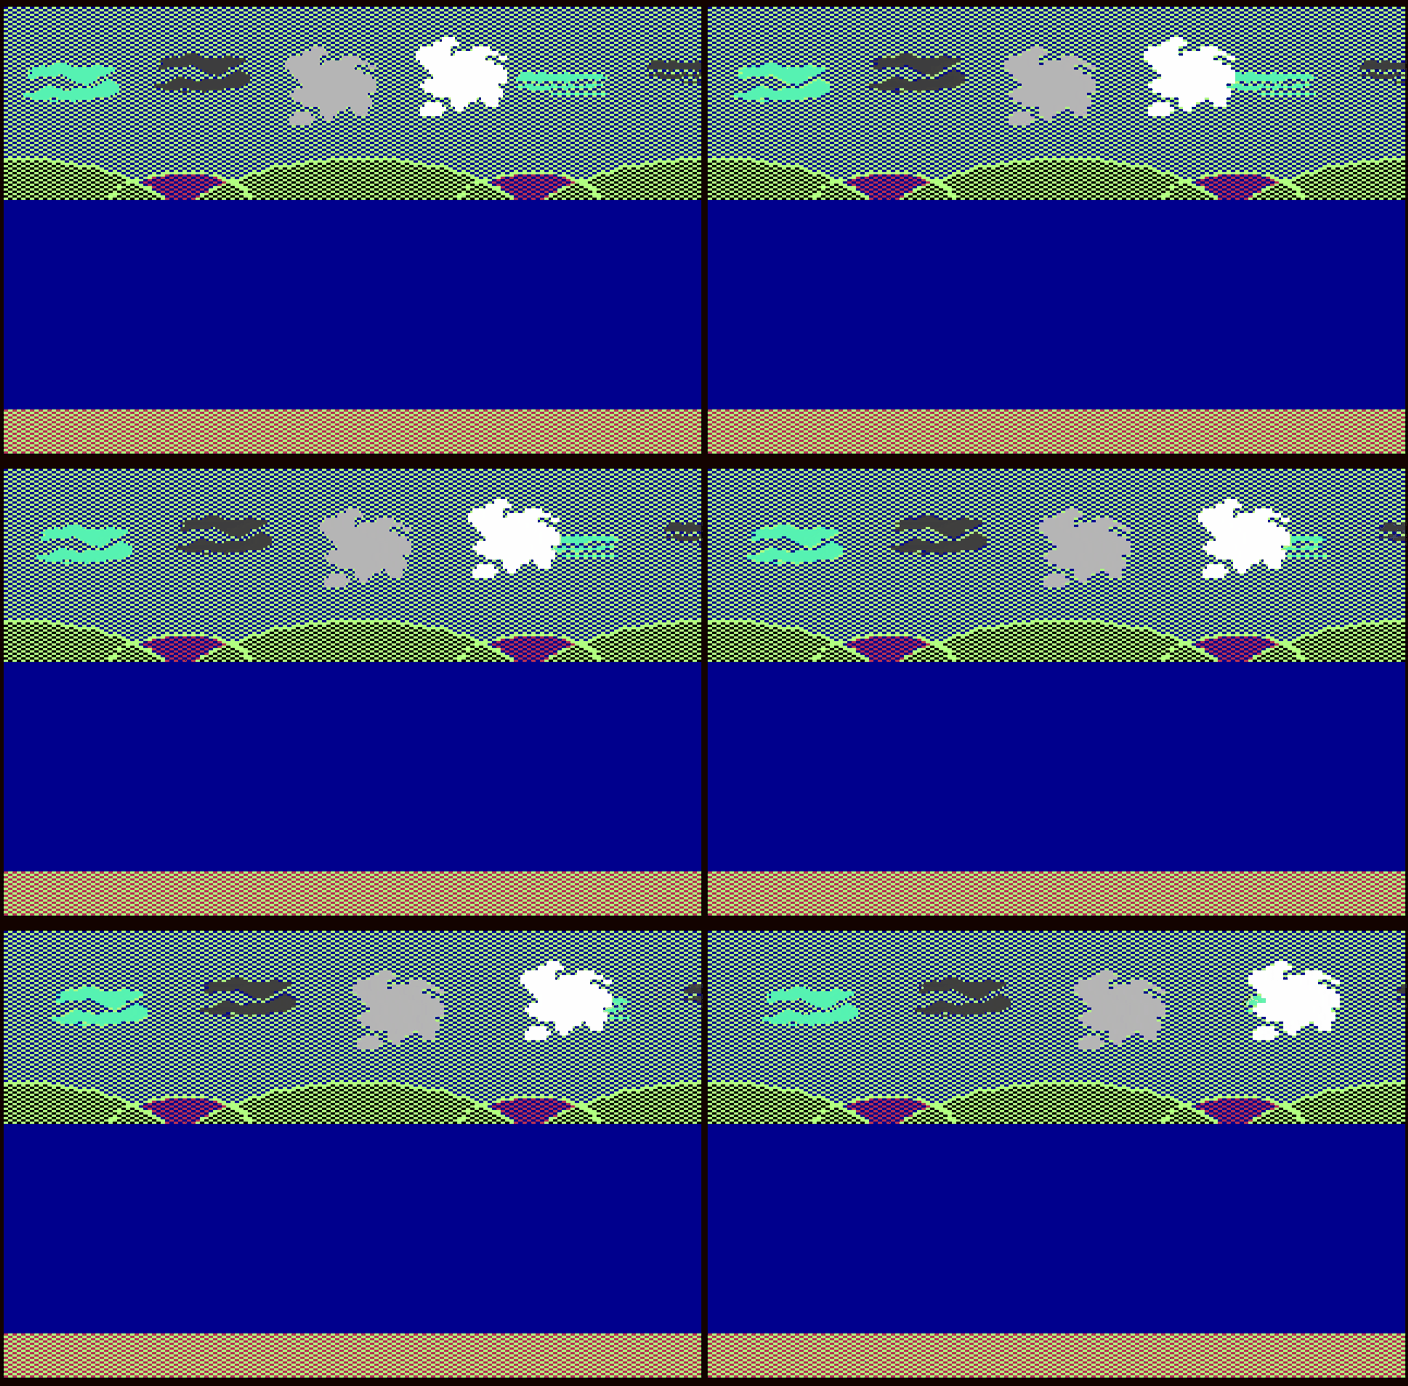
The C64 graphic conveys a little more clearly this is a place you’d want to swim.
Analogous to Adventure having one “all different” maze and one “all alike” maze, this one required dropping objects to map things out. Fortunately, it’s relatively small; if you knew there was nothing else hidden you could find the two things inside without much effort (the paths tend to lead to them, rather than away from them).
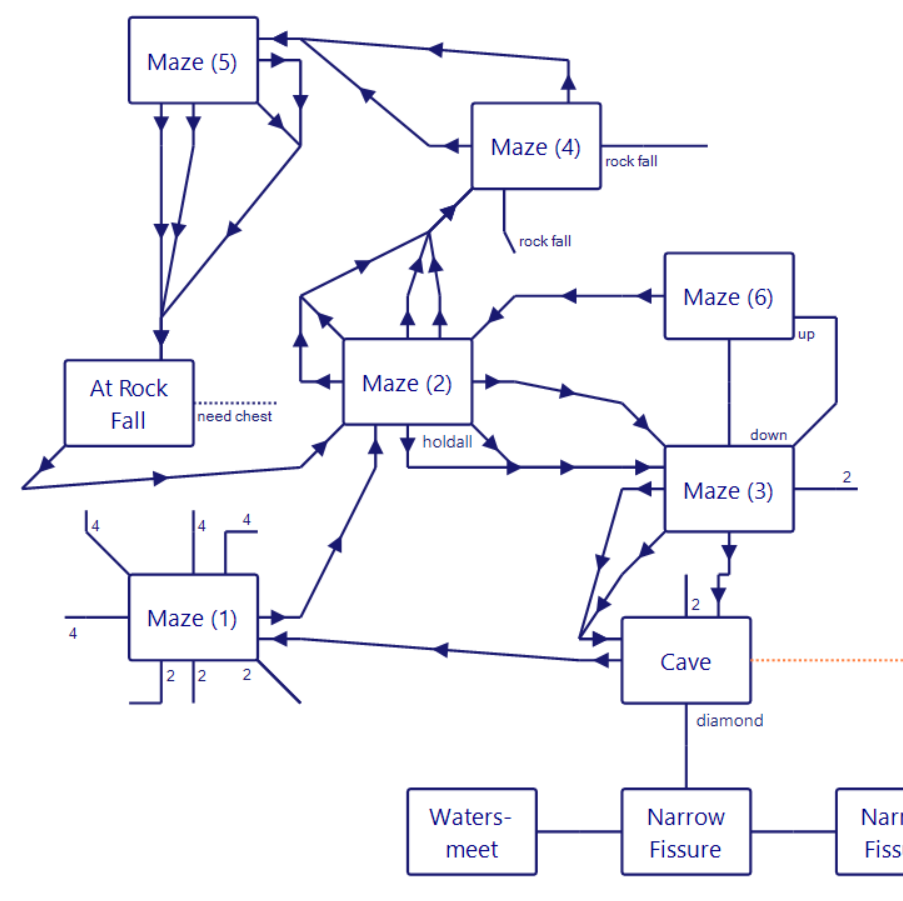
The first thing is a “holdall”, a duffle bag for those Americans out there. It increases your inventory limit, but is a bit fussy to operate. In order to get any items in, you have to FILL HOLDALL, and then the game prompts each of your inventory items one at a time.
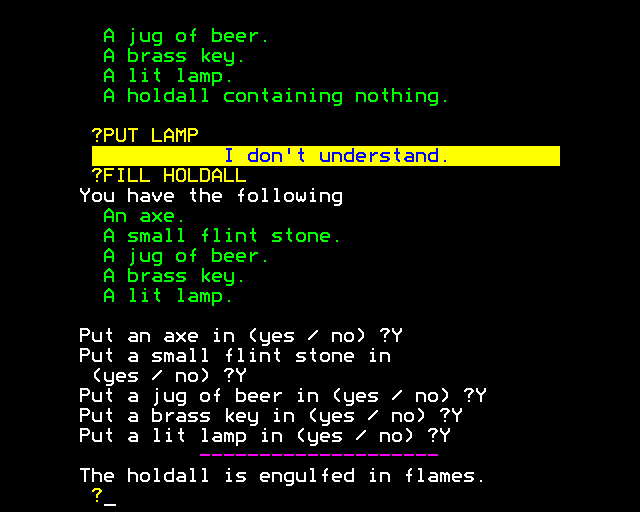
Also, make sure you don’t put a lit lamp in!
You can PUT THING IN HOLDALL to get something in just fine, but the only way I was able to get items was via EMPTY HOLDALL which dumped all of them at once.
For the second thing to find, you might notice from the holdall room four of the exits lead to Maze (4), and from there all of them eventually lead to a rock fall.
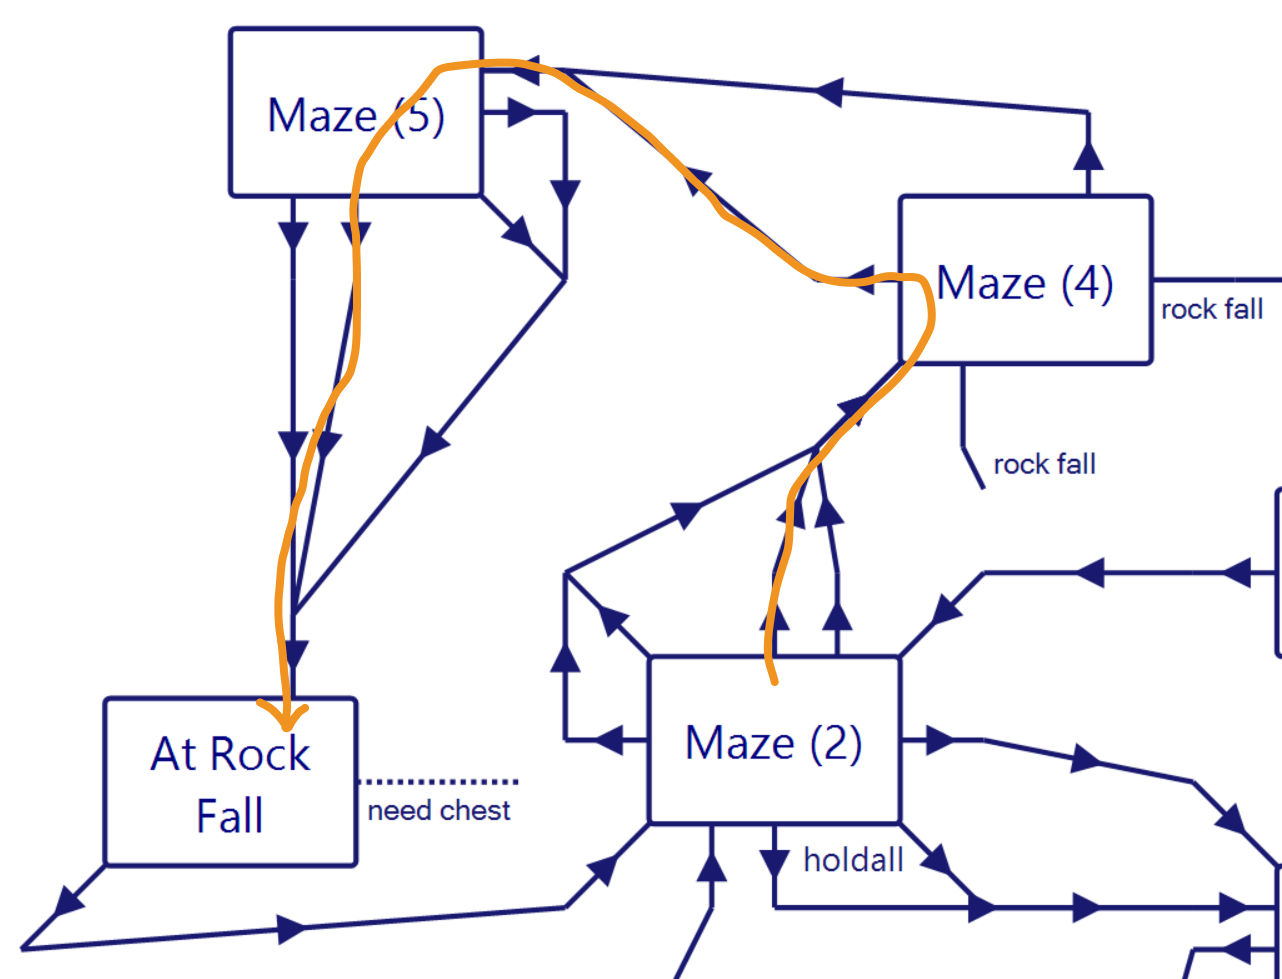
The upshot, in a maze-narrative sense, is that Hall wants the rock fall encounter right away, as opposed to making it a secret that may not be found for a while. A player normally wouldn’t have to do any mapping at all (except from their perspective they don’t know they’ve exhausted the maze).
At the rock fall you are informed you need to find the chest of the desert king if you want to pass.
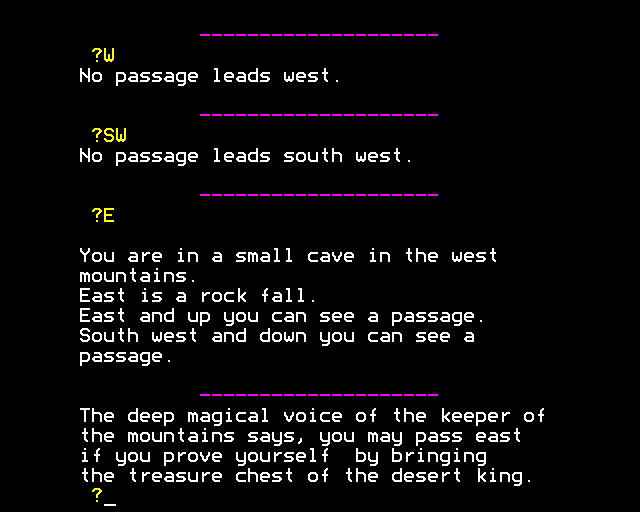
From here I was stuck for a while; without the next revelation, I’m not sure if any more progress is even possible (although this author does like putting multiple entrances and exits to things, so I can’t say for sure until I’ve finished the game).
Back at Watersmeet, if you DRINK WATER straight from the source without filling a jug first, you’ll get a special ability: seeing secret doors.
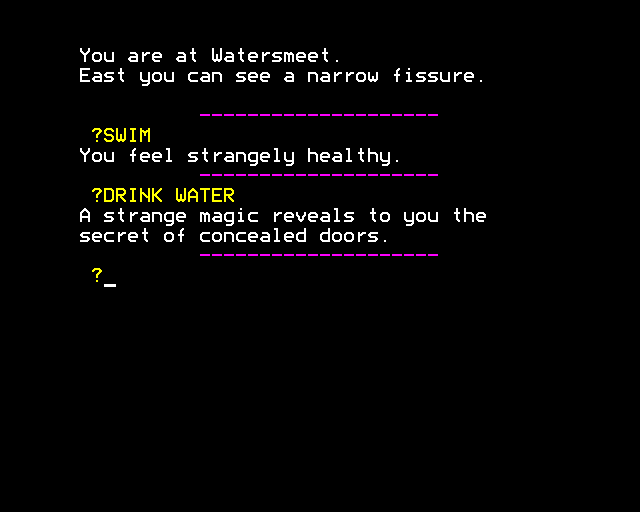
This is a curious moment insofar as many players would not realize there is an issue here at all; someone who drinks straight from the water first would not know (nor would it be likely they’d test) that the water loses its magical potency once in the jug.
Unfortunately, with me getting the ability so late, it means I have to check everywhere I’ve been on the map. I’ve checked most places; back at the room-of-bones in the witch maze there’s a secret locked silver door to the west; as I have yet to find a silver key I do not know what is behind it.
The important secret door anyway is back at the cave I was just in, right at the entrance before the maze starts: there is a small hidden complex to the east: bedroom, kitchen, sitting room. Inside the kitchen is a gold key.
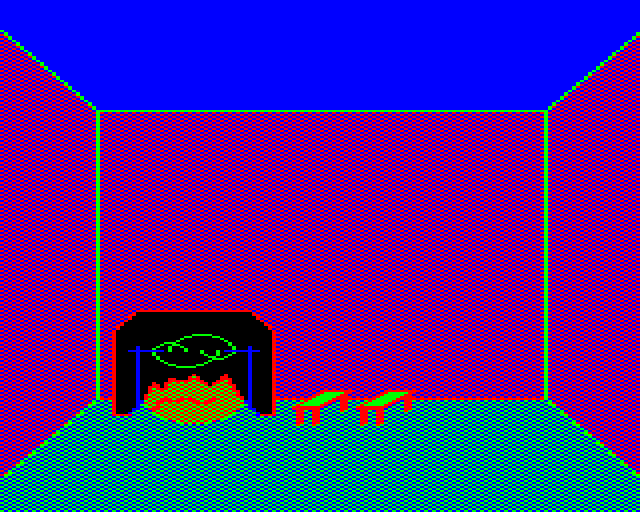
Conveniently, there’s a second secret door that leads right to the hall from last time that ended at a locked gold door. This goes to a dungeon which will eventually lead up to the domain of the Desert King, so the Forest King and Desert King areas are directly connected (you don’t have to go outside to travel between them).
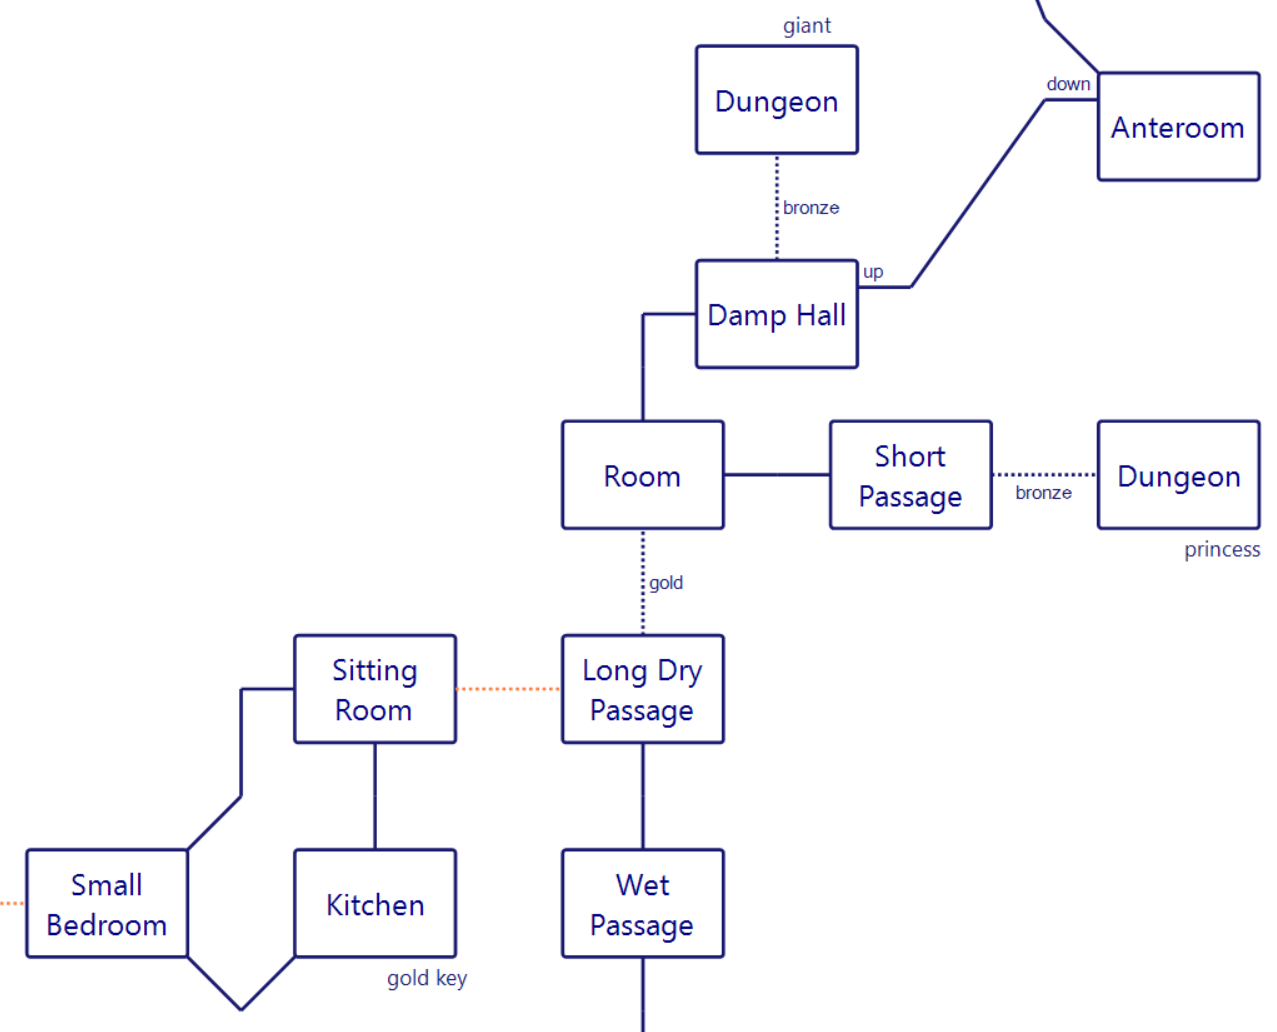
Right away there’s two dungeon doors that take a bronze key (the kind I got from the witch); opening the first one frees a princess.
UNLOCK DOOR WITH BRONZE KEY
It is now open.A princess flees. She doesn’t recognise you.
This happens so incidentally that it circles back to the author’s own mission statement about how you are not the main character of a story, but rather just the inhabitant of a world. It is possible the princess will come up later (I haven’t gotten back over the map yet to see where she ended up) but at least this particular moment felt like an anti-story of sorts (not in a derogatory sense, just in a “games can have different goals from each other” sense).
A second dungeon door had an “ill giant”. The giant was friendly so I tried handing over my axe; guards are on the floor above and it proceeded to wallop some of them off-stage.
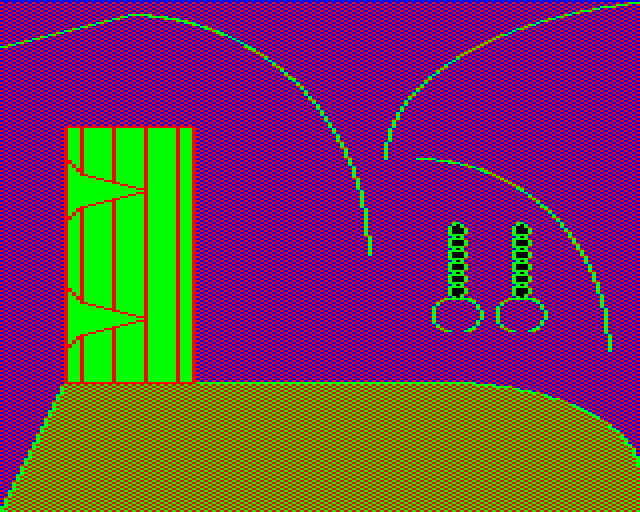
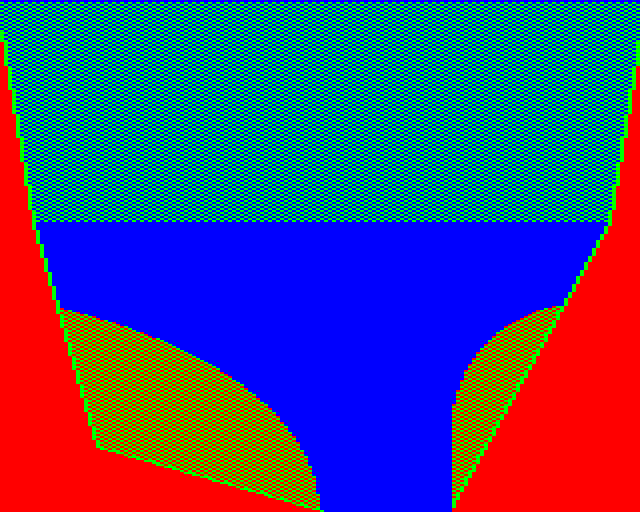
The graphic that gets used for all the “dungeon breakout” rooms.
To see the aforementioned guards, just go up a trapdoor to a new section.
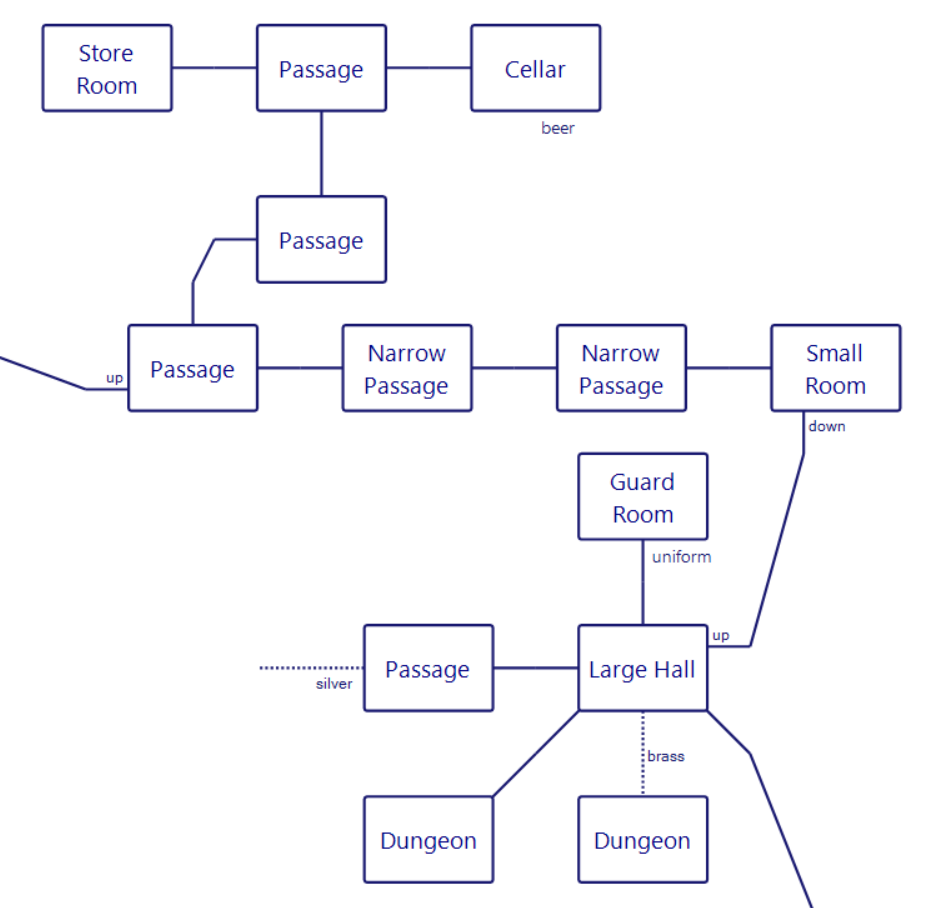
Remember, I don’t mark any of the wandering enemy locations because I don’t know where their “home base” is.
Once again (while mapping things out) I am mostly able to ignore the NPCs; I did get whacked once hard enough to die but I had a save close enough I didn’t lose any progress. For the most part the rooms are just scenery so information is progress.
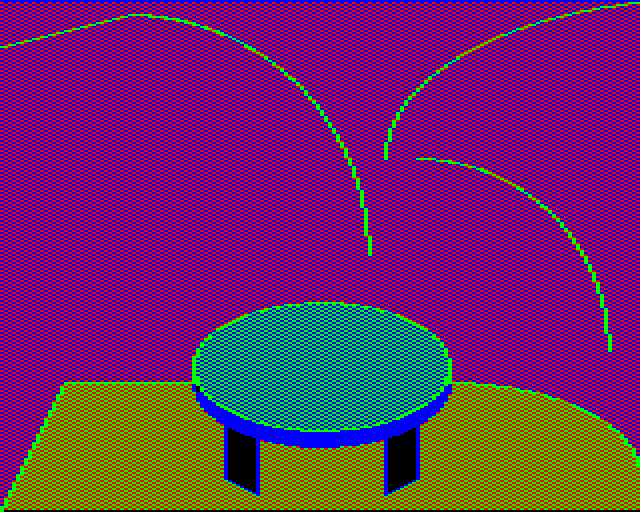
There’s one “guard room” as shown here with a “uniform”, but the uniform seems to have no effect on the guards. “Wear” isn’t a recognized verb.
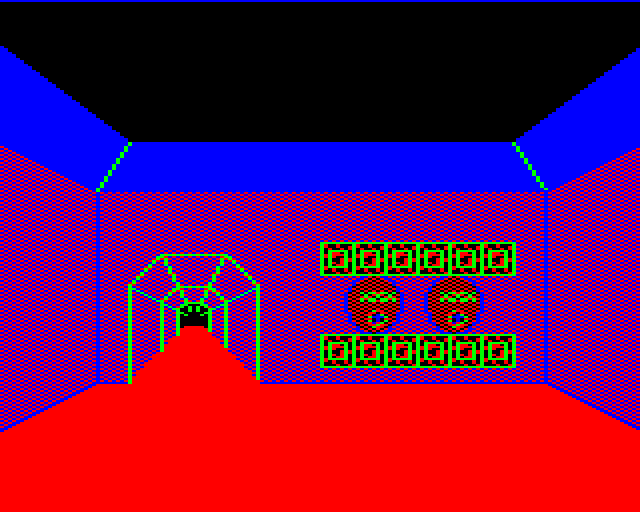
There’s a storage room and cellar that would normally be pure scenery except there’s beer in the cellar. The game does have a thirst timer and you will die if you don’t drink anything.
Just passing through and going up another floor leads to the main complex of the Desert King.
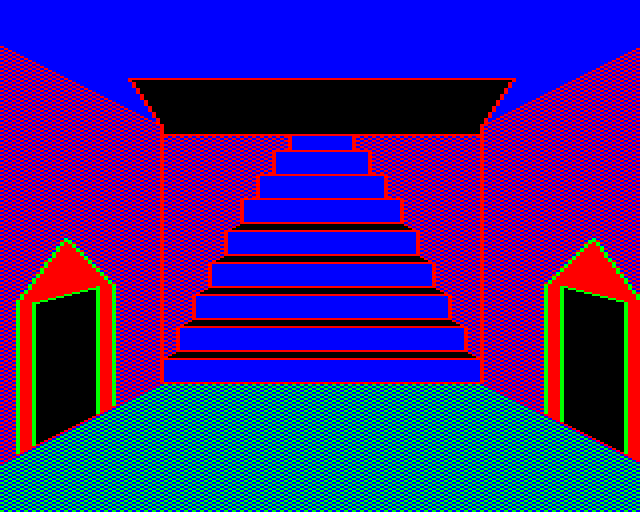
The ground floor has a study (scenery), dining hall (scenery), kitchen (scenery), and workshop (not scenery, there’s a cauldron of oil). My guess is in addition to a thirst-timer the game has a lamp-timer, but you can refill the lamp with oil from this cauldron.
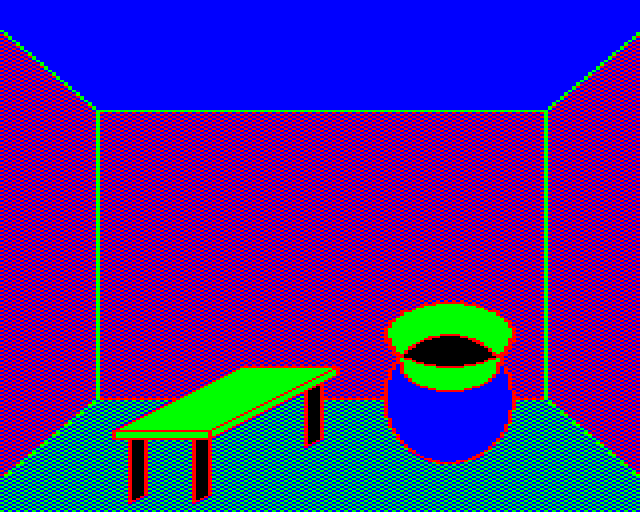
The cauldron is depicted in the room, unlike most items, but it also is so heavy you can’t pick it up (even with all items dropped, the game says “you can’t carry any more”.)
Going back to the main stairs, and going up to the upper floors…
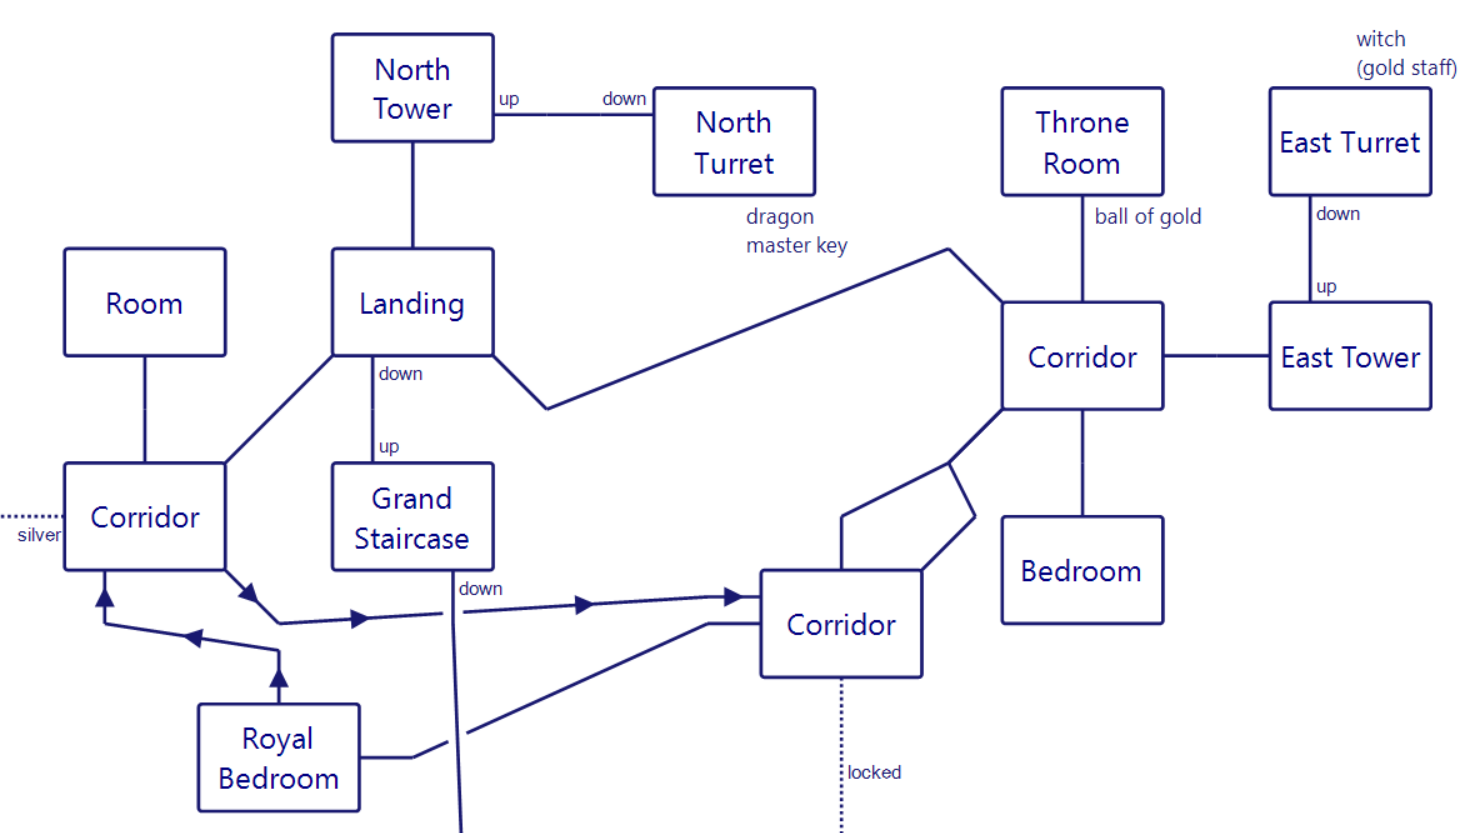
…it looks like from the map, other than locked doors, it’s still pretty much obstacle-free. It’s a little denser in guards, and you can find the Desert King himself wandering around, with a gold crown and a sword.
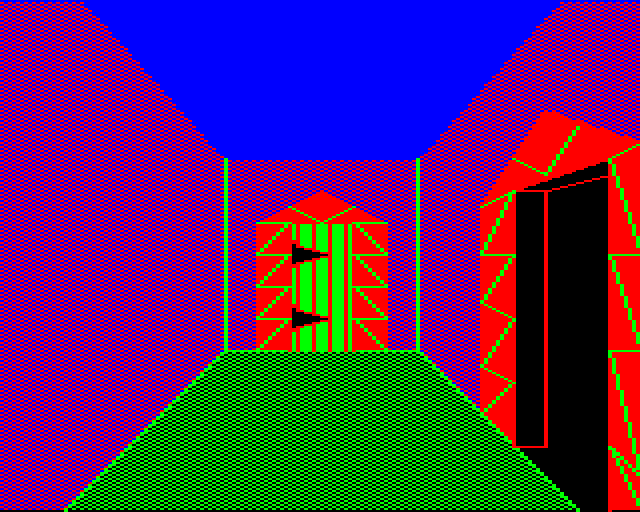
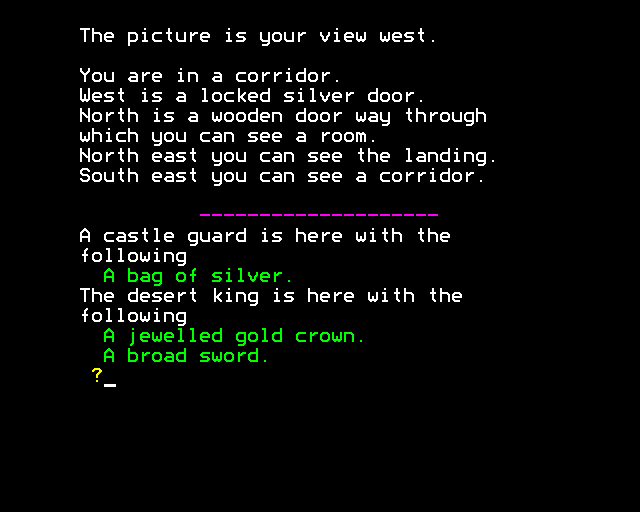
One of the doors is silver (like the one in the crypt) and one is given no metal-color at all, but I think that’s because to open it I need the master key. This is where the dragon from the cover art shows up.
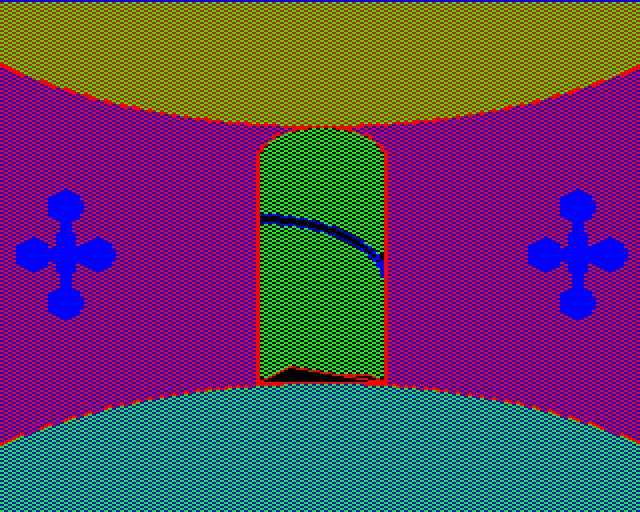
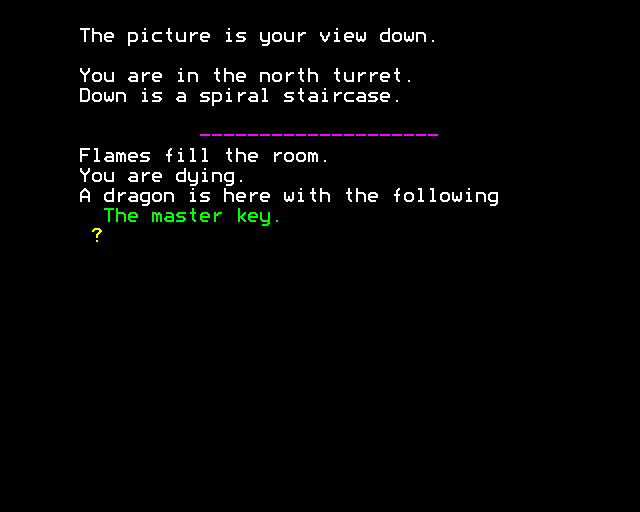
Well, sort of shows up — again, no characters displayed in the graphics. I’ve been able to get the Desert King to follow me, so I’m wondering if somehow I could have him get inadvertently fried by the dragonfire.
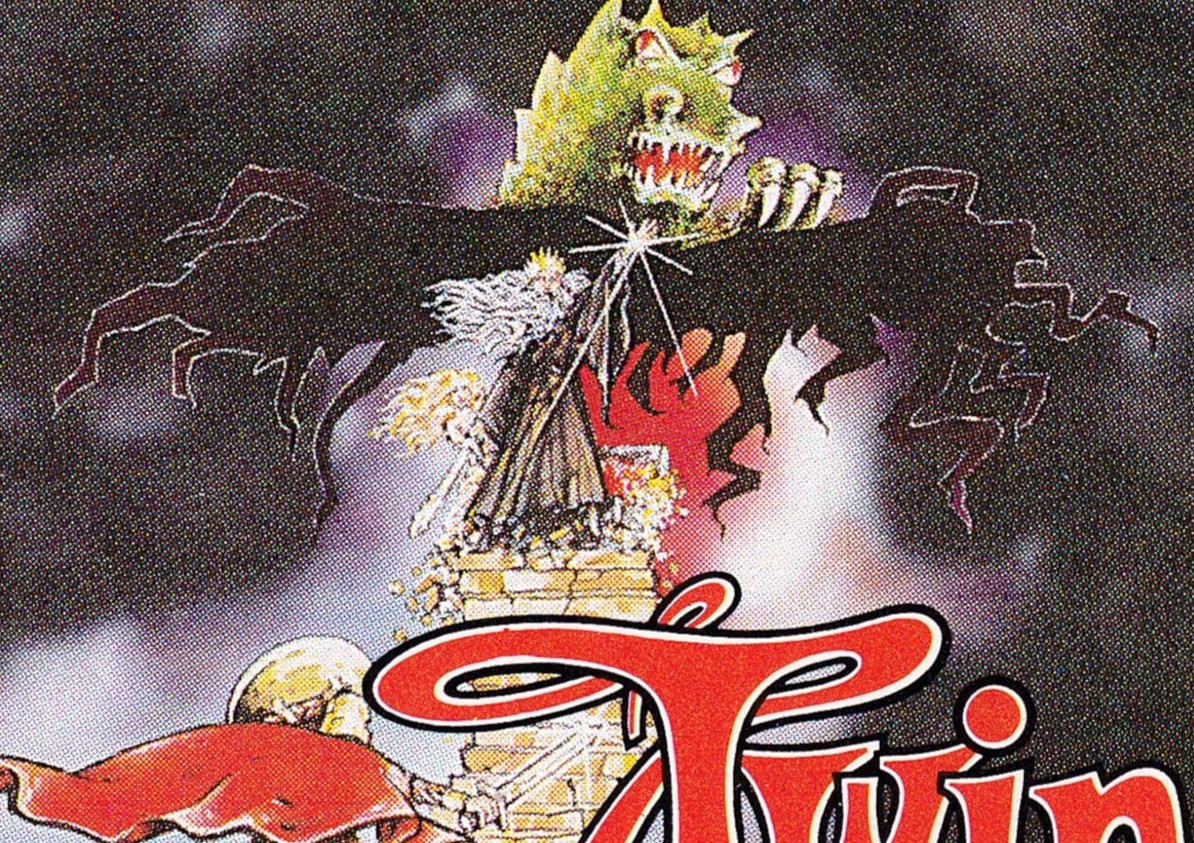
Cover zoom-in, from Plus 4 World.
There’s one more tower that has a witch with a “gold staff”. I have not tried tangling with her yet. You can also leave the castle out the front drawbridge but it just leads to the desert on the north side of the chasm; I haven’t tried searching thoroughly but it doesn’t look like there’s anything to find other than more scenery.
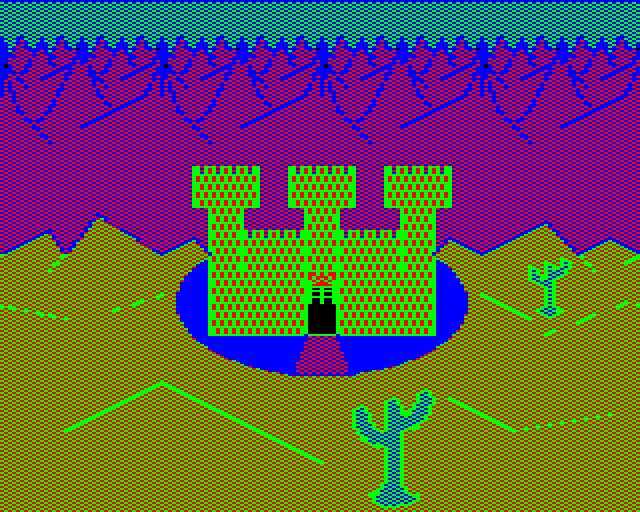
To recap my obstacles:
1. two silver-locked doors
2. one “no description” locked door that presumably needs the master key from the dragon
3. the witch and the king in the Desert castle
I assume the chest is behind one of the locked doors, so I’m not counting it as an obstacle. Looking back at previous content, we could also count the dwarf holding onto a diamond ring; I haven’t found anything to trade for it yet. I did manage to simply kill the dwarf, and this was a very sad encounter where it just kept running away as I chipped away at its health.
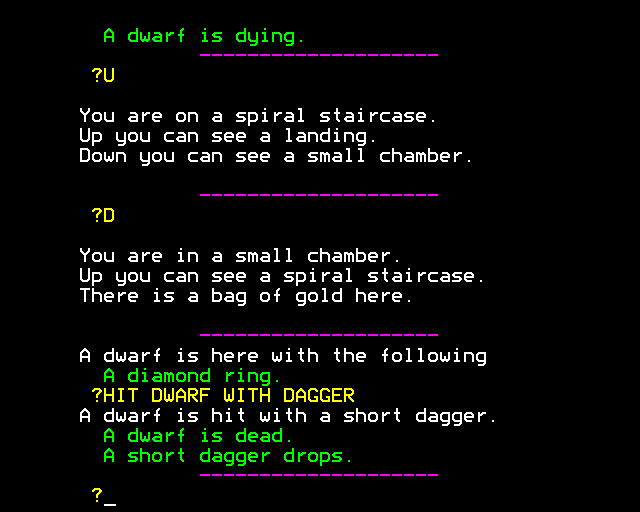
The heaviest moment of “you are just like the random enemy NPCs” in the game.
I haven’t tried my secret-door vision absolutely everywhere (secret entrance in the mountains, maybe?) and there’s the eternal issue of me simply missing an exit, but I think I’m hovering close to the end and I really need to enact a strategy to handle the NPCs rather than just run away from everything.
In general, other than the moment with the water, there haven’t been “puzzles” in a regular sense; knowing that a gold key should be taken to a gold door is closer to what I’ve termed a natural action, and the NPCs clearly have enough randomness and multiple approaches that they feel more like obstacles (akin to a CRPG) rather than puzzles.


Items also have pictures, not sure if you already noted this. Sometimes they provide clues.
how do you get that? LOOK or EXAMINE on the noun doesn’t work, nor does the command PICTURE, and I’ve run through the lot the game gives otherwise
maybe it’s platform specific?
LOOK noun should work. At least in the versions I’ve played (Spectrum and C64) it works on the picture in the starting cabin, among other things. Perhaps it falls back to just describing the room if there is no picture of that particular noun? Some of the item pictures provide clues.
LOOK AT should work, at least with the C64 and Speccy ports.
You can also look at some static objects, such as the picture in the cabin.
dunno on the other systems, BBC Micro mostly getting “seems ordinary”
can look at the picture in the cabin and for some reason, the dagger, and the rod
definitely a case of where after a few “default” messages I would never have expected something special
Link to “Plus 4 World” is broken.
I don’t thnk the game starts with the diamond ring in the dwarf’s inventory, it’s just that he’s confined to the same location until you open the door, so he’s most likely picked it up by the time you get there. Have you tried asking him to give it to you?
“your request is refused”
I do think the dwarf is picking it up but since there’s no way to avoid that, I consider it essentially equivalent to the dwarf holding the ring in the first place
finished, might be a few days before my post though
taking care of the dragon ended up being satisfying