To continue directly with the most immediately clear solve: the way the barrel works is as a teleporter. It’s not a new location at all, but rather is the dark place between the dungeon and the magician’s room. You can go east or west to get out; the reference to finding a nearby fire to light the candlestick is to the fire in the magician’s room I had already used before. The barrel is a 100% optional shortcut.
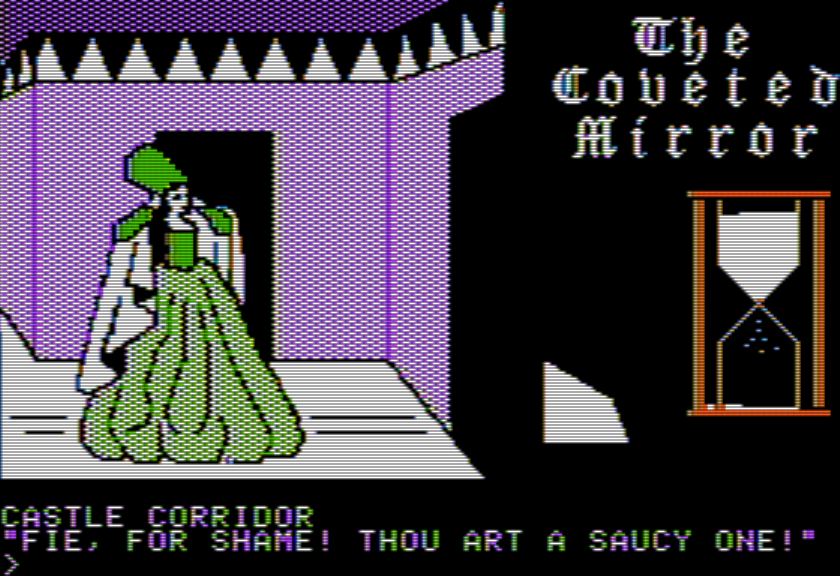
Speaking of optional, while struggling with a lack of vase I found one more optional puzzle, back at Lady Vainly.
The main thing to note here on the game is there are two kinds of interaction
1. using TALK and getting some sort of comment or hint
2. randomly using GET on some item that the character possess, and rather than them getting angry at you they just tell you what they want in exchange
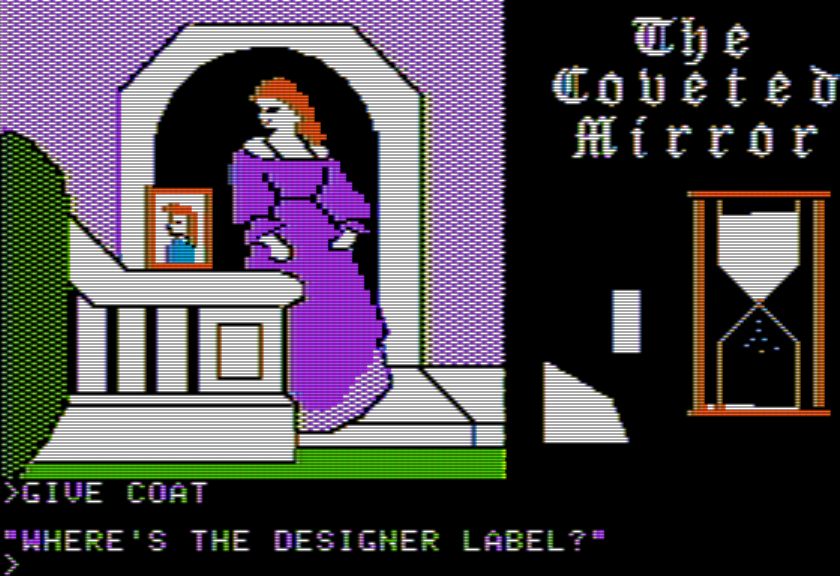
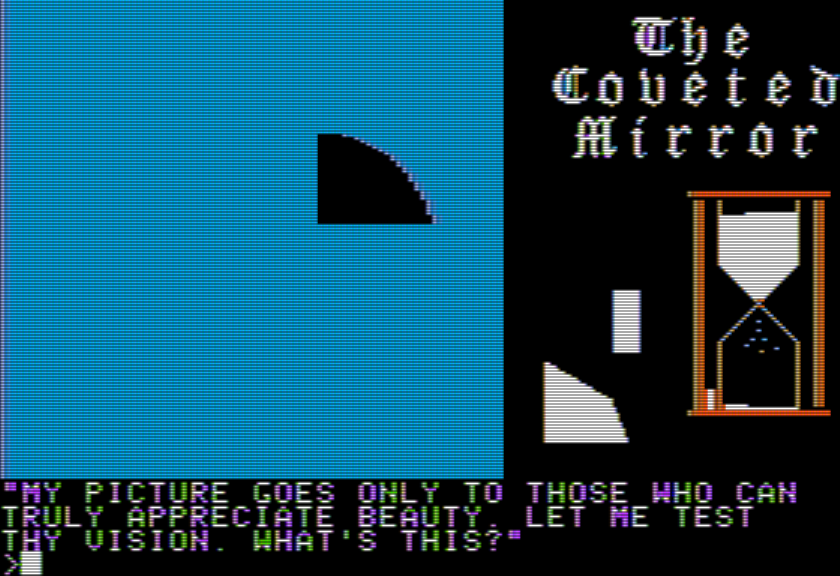
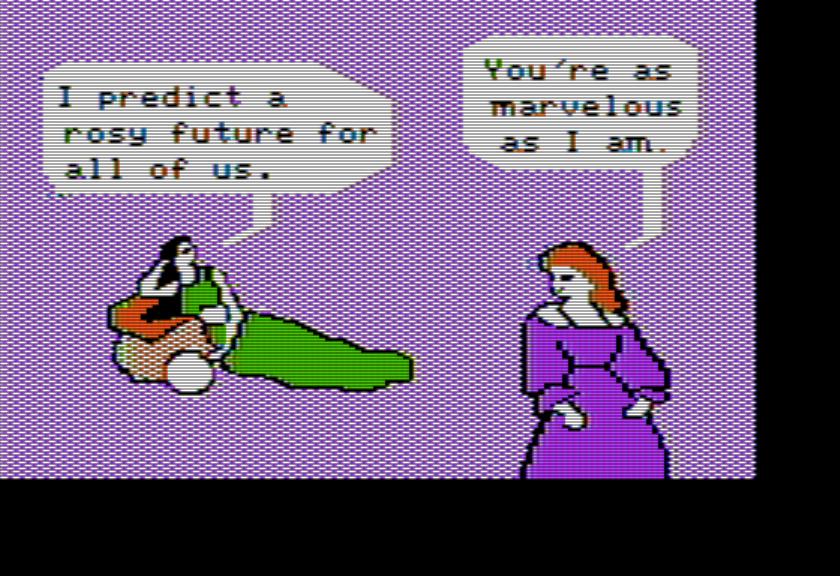
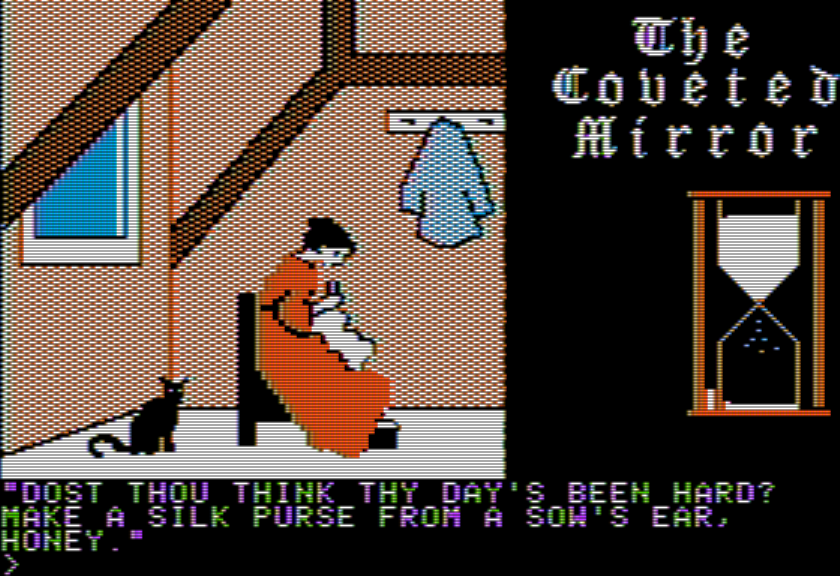
I had already discovered the GET earlier with the cookie at the baker (if you just TALK, it says nothing about the idea of trading chocolate moose for cookies) but it still wasn’t in my normal grab of tricks to simply swipe stuff in front of a character and see their reaction. With Lady Vainly you can try to GET the picture she is standing next to.
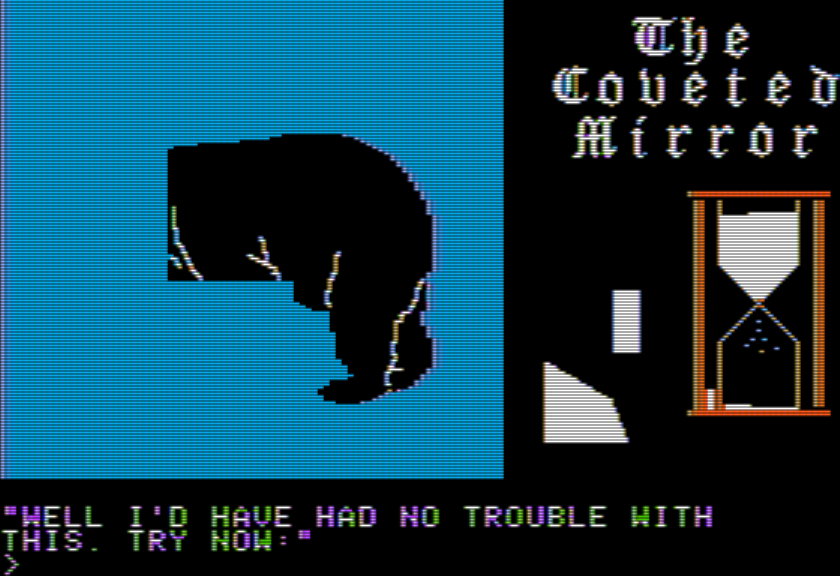
This is a BEAR. It strikes me as the sort of thing you’d find in a more generalized children’s game (not an adventure) but that seems to be the philosophical approach to the design in general (which is fascinating, and I’ll get more into that element after finishing the game).
She will give you the picture after you name BEAR, and she notes it is already signed. This picture is highly valued by the guard; I had plenty of items to give out (trying to be very efficient on my journeys) but I used this on my last pass before making it to the Peak of Shards.
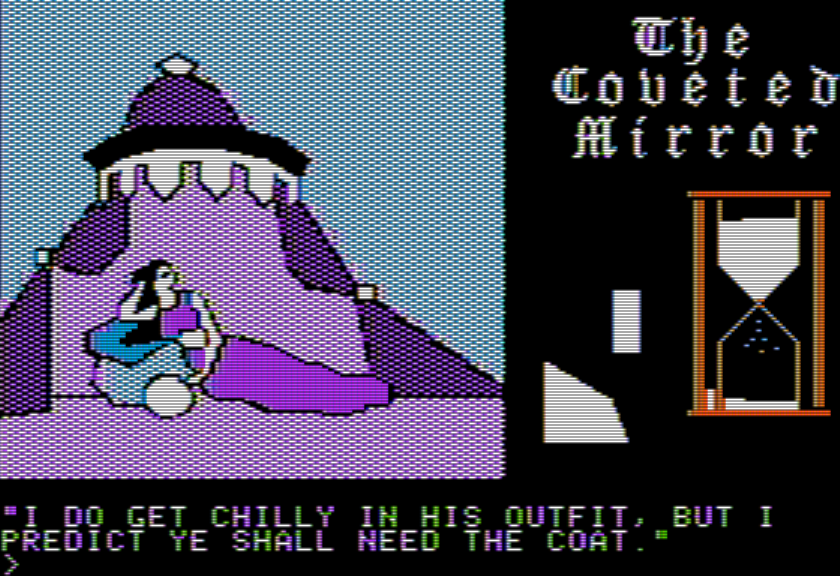
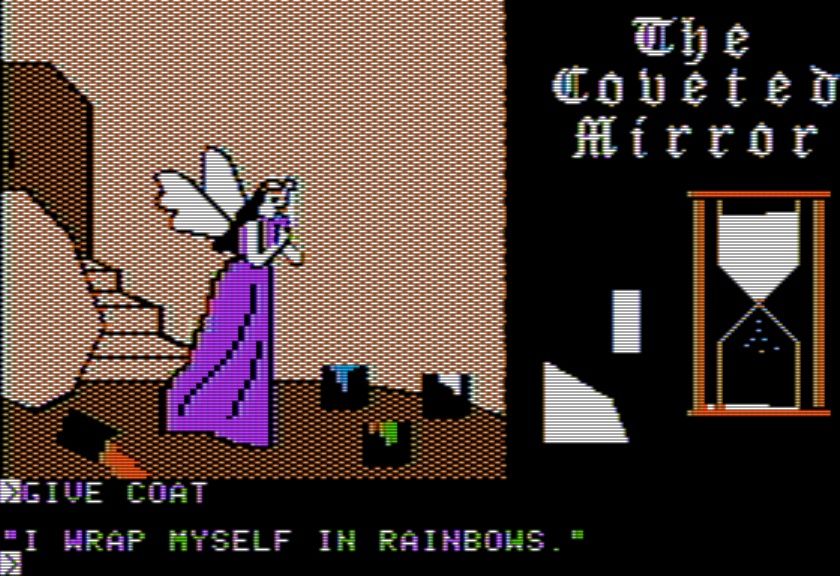
Past that, I decided the chocolate moose would only be solved once I came across the right item, and I finished trying to give the COAT to every single character in the game (all who have unique messages to that in particular!) The fortune teller gave a message that hinted you needed the coat for yourself, not for a trade.
That meant I was left with the pesky vase. I had earlier thought it might be hiding in the “treasure room” in the maze, but was not having any luck.
I tried referring to every item in the picture, being very unclear as to what nouns even to use; for example, trying to open a BAG (noun doesn’t exist) or move what appeared to be a TAPESTRY (noun doesn’t exist) or a CURTAIN at the back (noun does exist, but the game just says to try walking that way). I was thorough enough that I discarded this for a while and tried USE COLOR in every single room in the game, looking for an invisible vase appearing. No luck.
It was time to whip out the big guns.
This is a page from Kim Schuette’s Book of Adventure Games, the most popular book of hints from the 80s (including maps of every single area in Time Zone, for instance). I checked the back hints for the vase that holds shadows, and was mystified to see a mention of the vase in a cupboard. The only cupboard I remembered was in the magician’s room, but trying OPEN CUPBOARD and GET VASE led me to finding no vase. Hmm.
That thing I thought was a tapestry in the treasure room was actually a cupboard.
Even after the fact, that doesn’t look like a cupboard to me. What’s with that black portion on the bottom?
The funny side effect of all this is you can find the vase almost right away in the game; for such a player, the mystifying part might be its use, but I had already staked out where to find the shadow of a child.
I found this deeply unsettling.
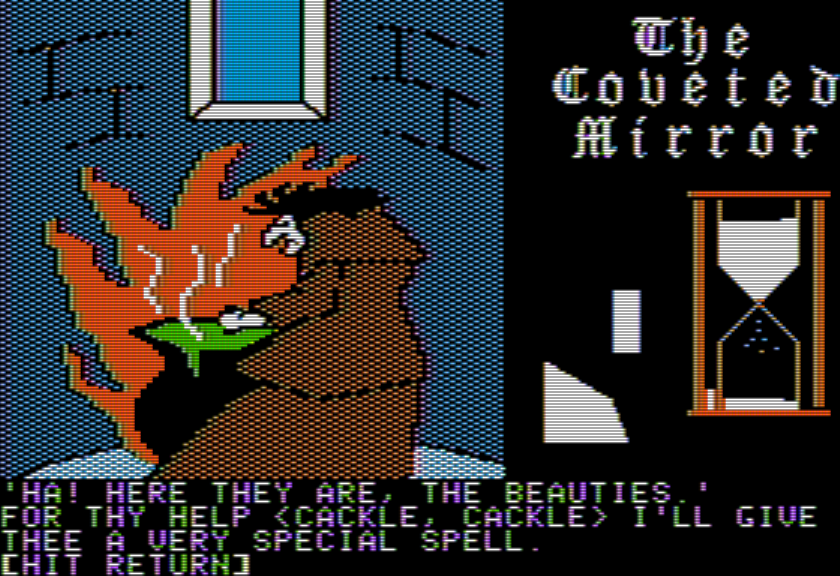
Returning the shadow to the witch…
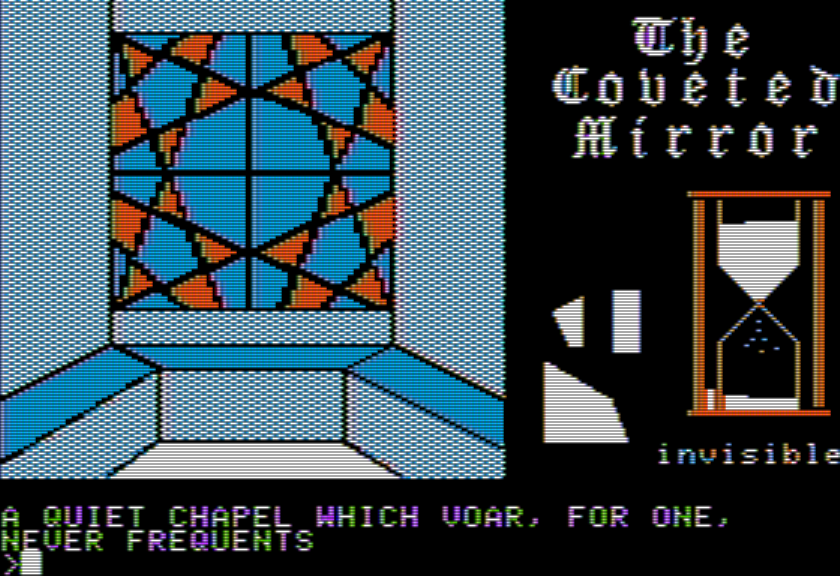
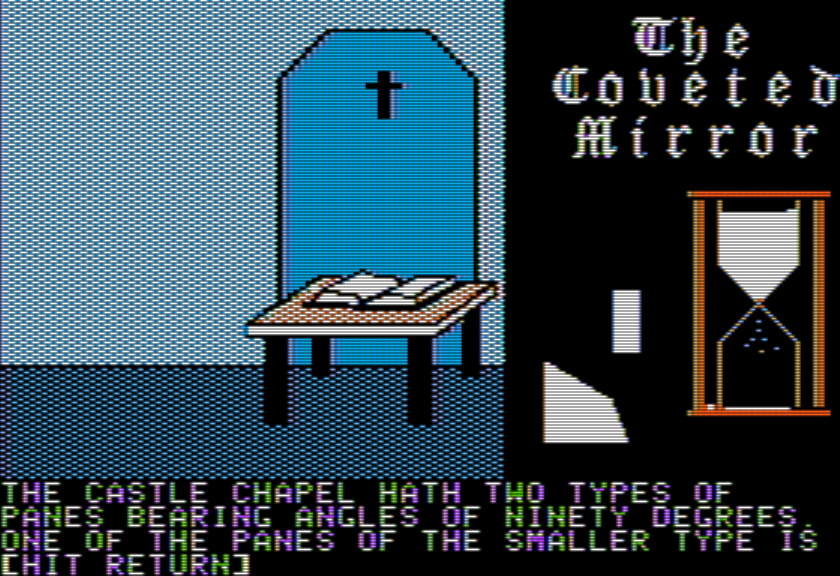
…I now had USE INVISIBILITY and USE VISIBILITY as spells. Finally I could wander the castle! It turns out the trapdoor-navigation lets you visit most of the rooms; only a handful were inaccessible. The first is past a guard stationed by the kitchen, which goes to a church. Since I heard the hint already about the location of the shard, I automatically got it added to my screen just for entering the room.
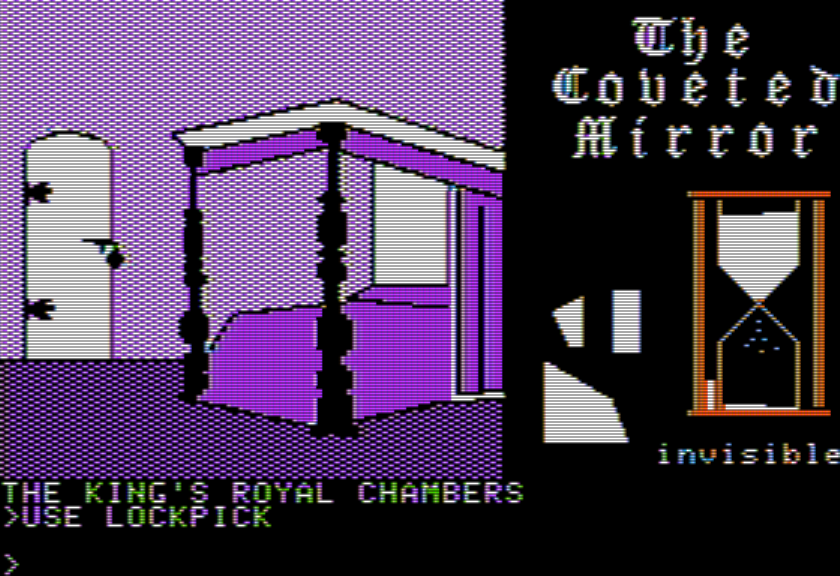
To the far east is another previously-unseen room, the King’s Royal Chambers.
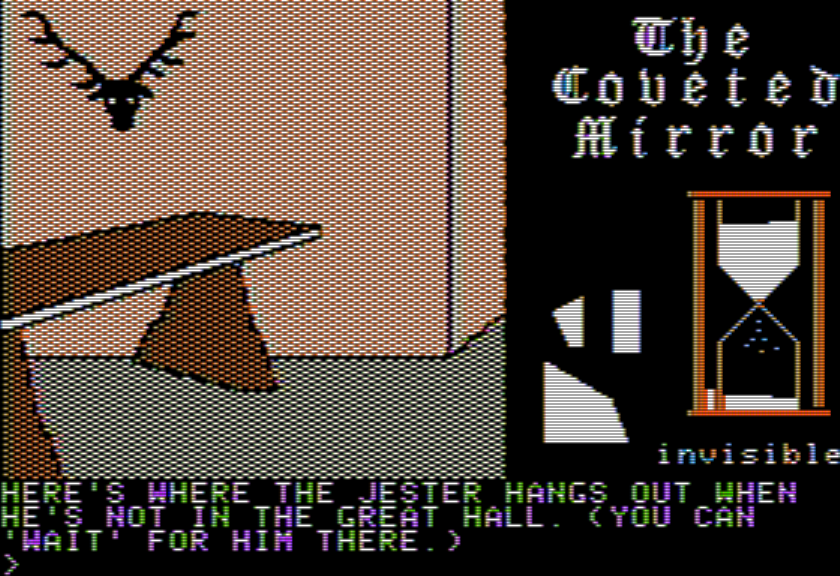
Going south from here leads to a place the jester hangs out, but also a moose on the wall.
The moose is what the baker wants, but the cookie just serves as another bribe for the guard, so I ended up not using it.
The Royal Chambers have a locked door to the north and trying to unlock the door indicates Voar locked the door and swallowed the key, so I admit I spent a little time trying to trick him into eating a cookie while invisible and causing him to throw up the key somehow. Except: I still had the lockpick! (The game isn’t into object re-use otherwise, so it took me more time than it normally might have to come to this realization.)
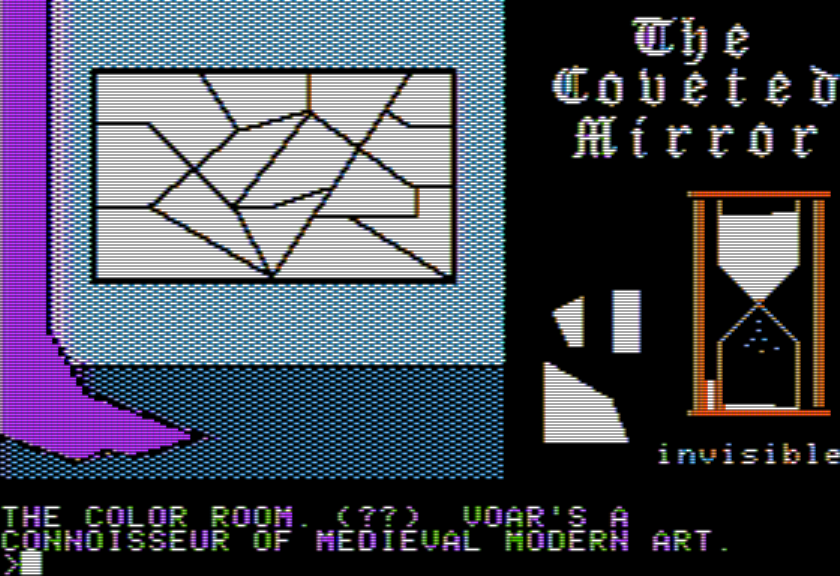
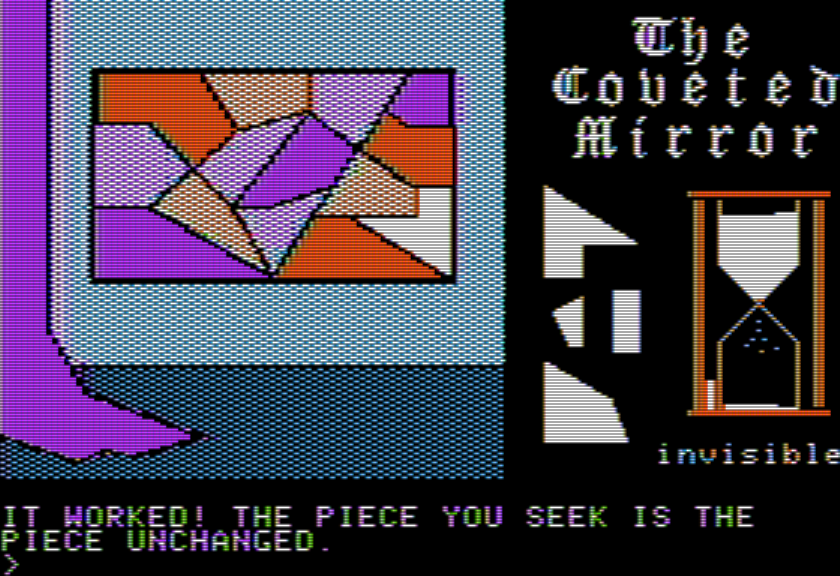
Having applied it on every single other room, knowing to USE COLOR to the painting was immediate.
That’s all the shards in the castle! Following my guess earlier, I then went to the tavern to see if Brother Jon was there to teach sign language. (There’s a hint from the bard about getting wine after you’re prepared, although I only realized the connection after the fact.)
Having entering the tavern be a softlock prior to this point (since you get everything stolen, including required items) is astonishingly rude even for a game not targeted at children.
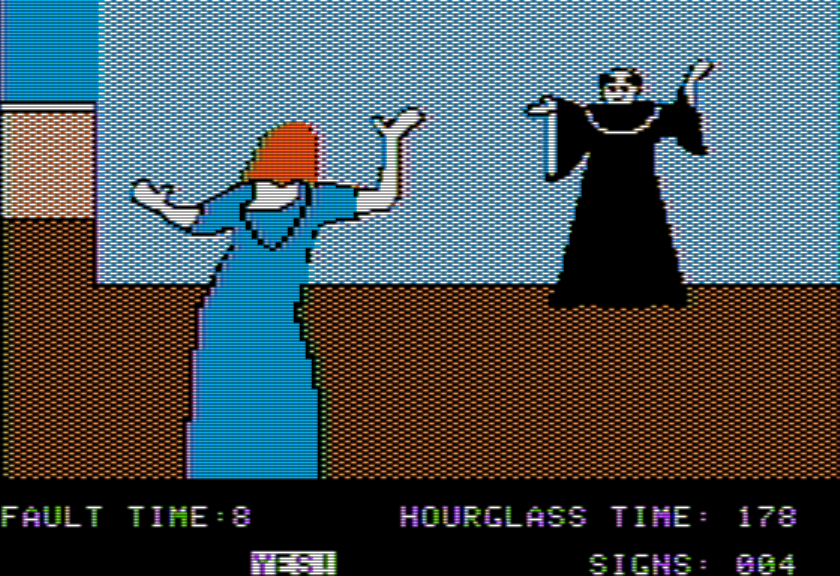
TALK now enters a mini-game. It’s just Simon but with hand motions. Q/A/Z for high/medium/low on the left hand, O/K/M for high/medium/low on the right hand, copy what the Father is doing enough times and you win.
Solved the first time, but I honestly preferred an easy mini-game to the nonsense I had to deal with while fishing.
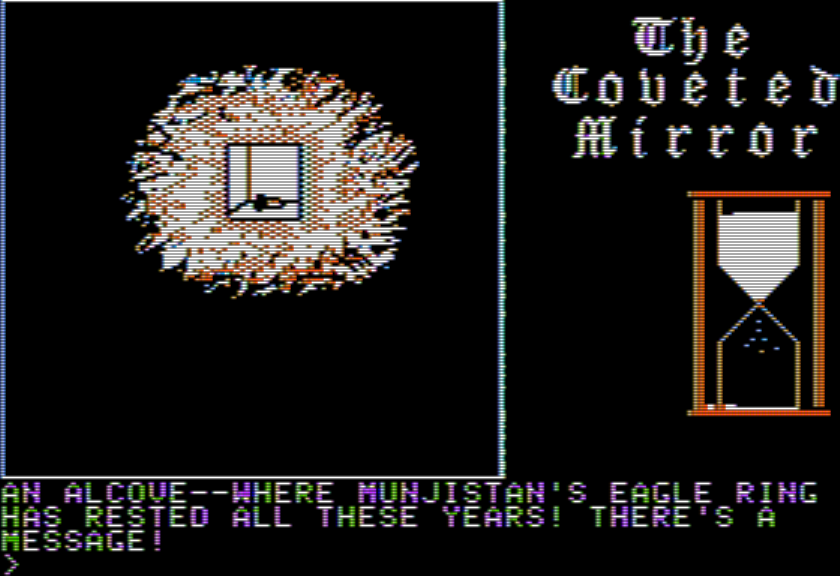
Now, with ring in hand, you can go over to the forest and TALK to the old man when he shows up.
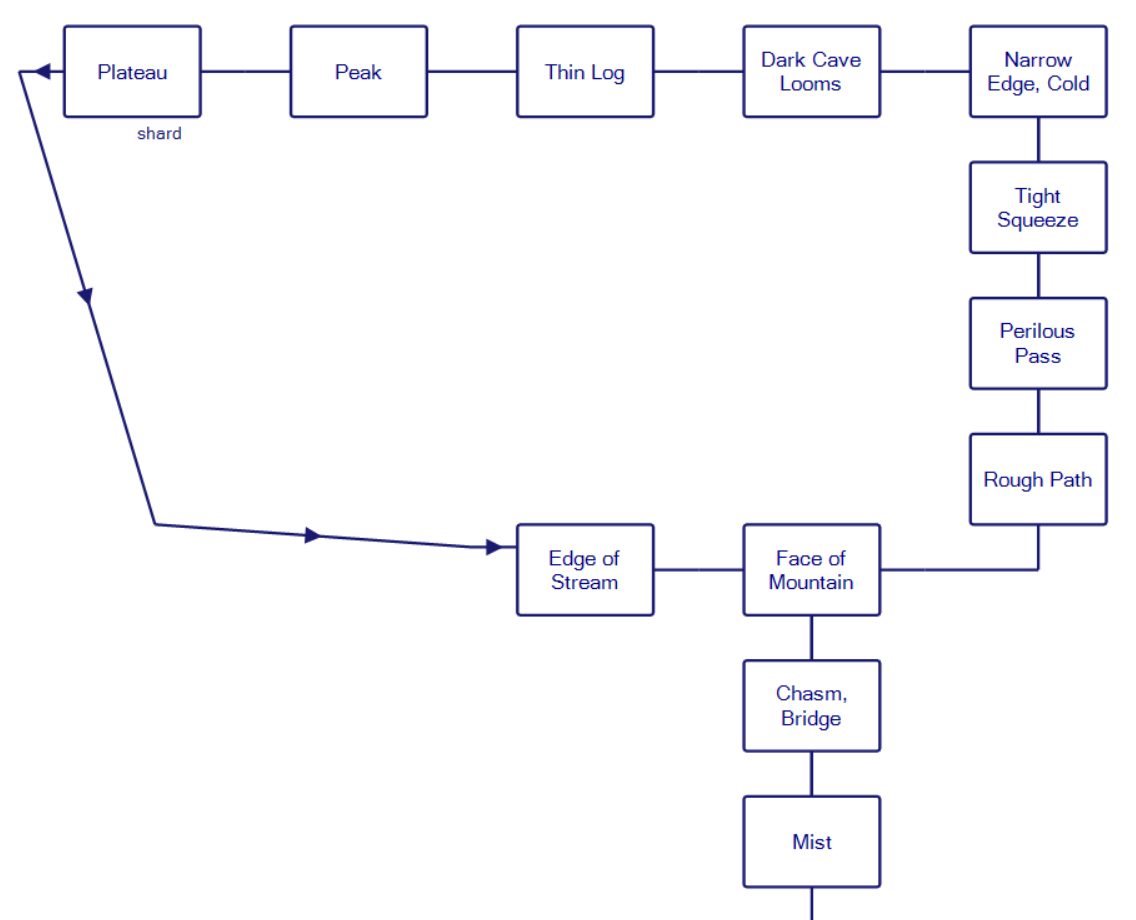
This allows you to get to the endgame section, which is mostly linear.
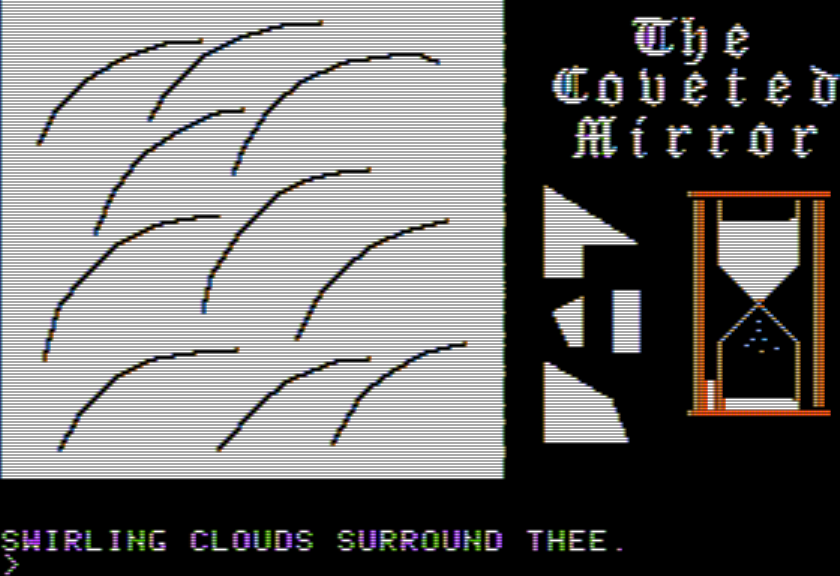
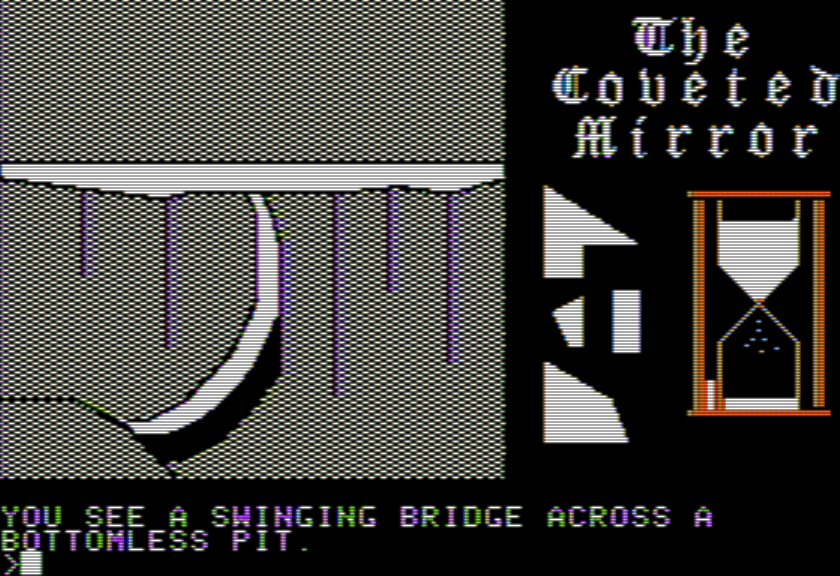
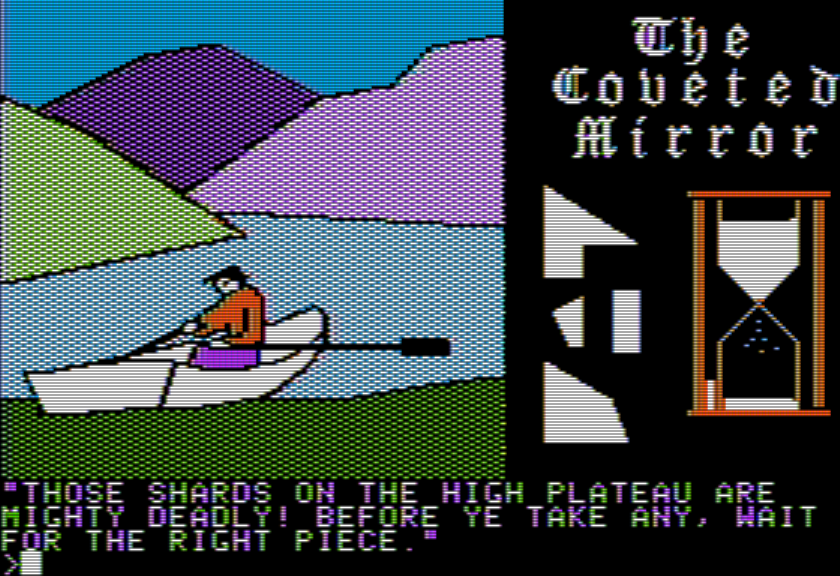
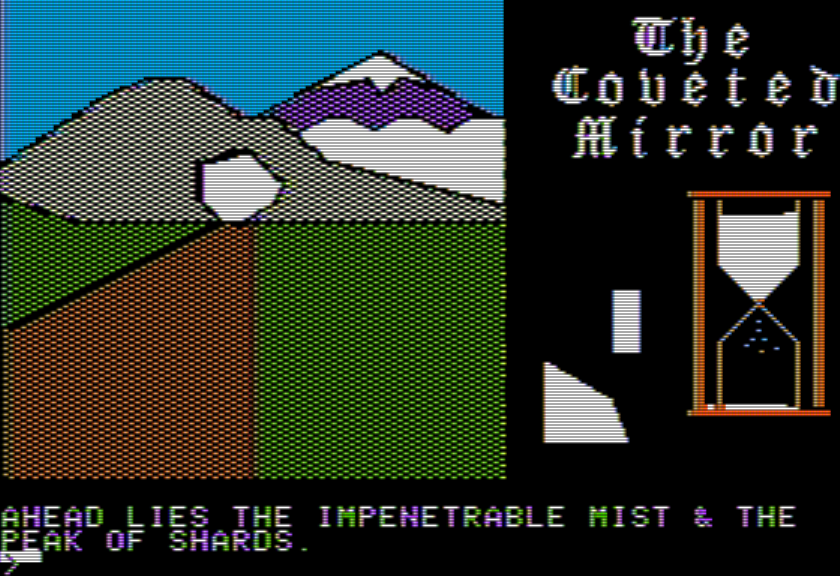
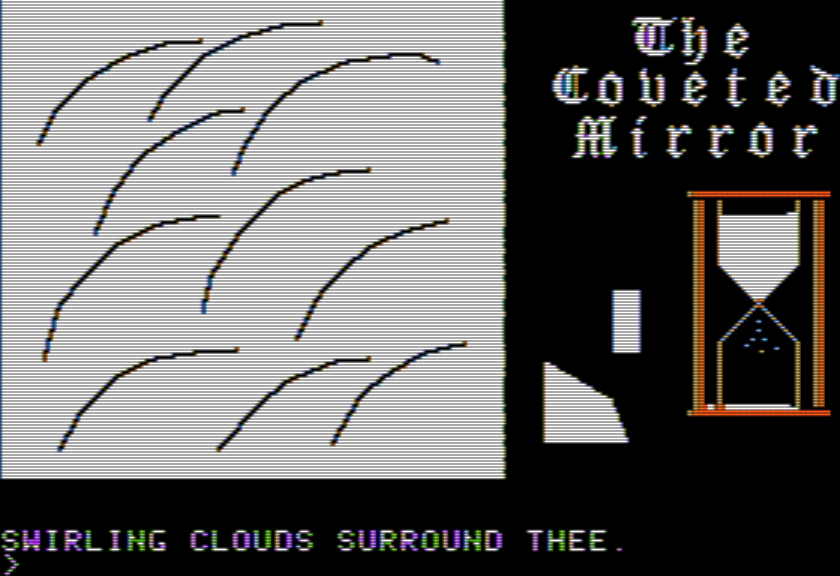
Once past the mist there’s a bridge (I was worried there was a puzzle here where you can fall, but it’s just meant to look epic) and then one side route where you can meet someone fishing at a stream and get a hint.
This is a random encounter like the others, so there may be nobody here. The map is designed so you can accidentally loop back here; I met the person here on the second-loop round.
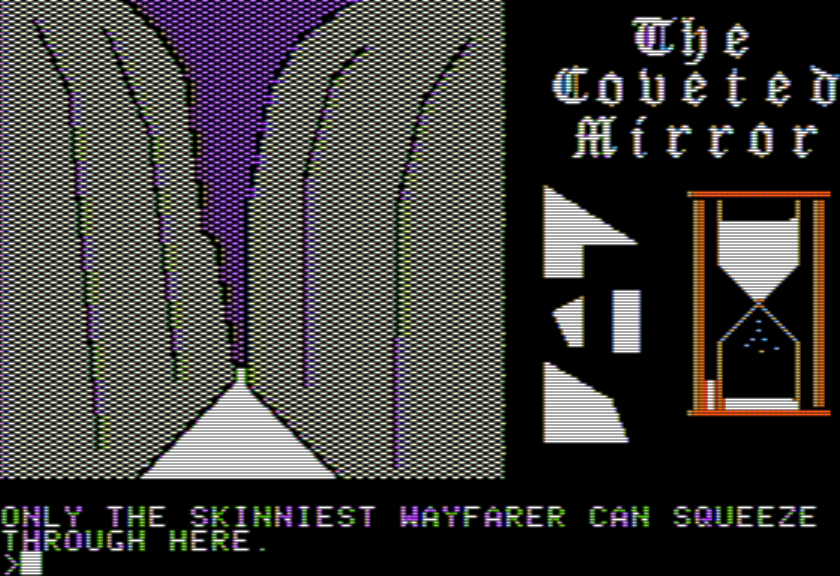
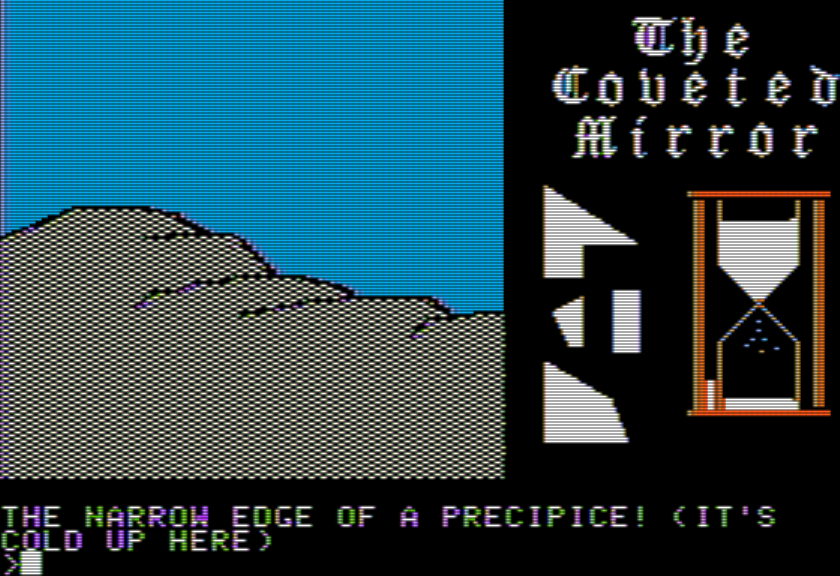
The mountain then gets cold as you travel upward, and there’s a “tight squeeze” where you can only carry one item. This is meant to make you actively think about the coat as being useful (that is, the puzzle otherwise would likely be solved by most players “passively”; by actively making them choose the coat, the puzzle isn’t just solving itself).
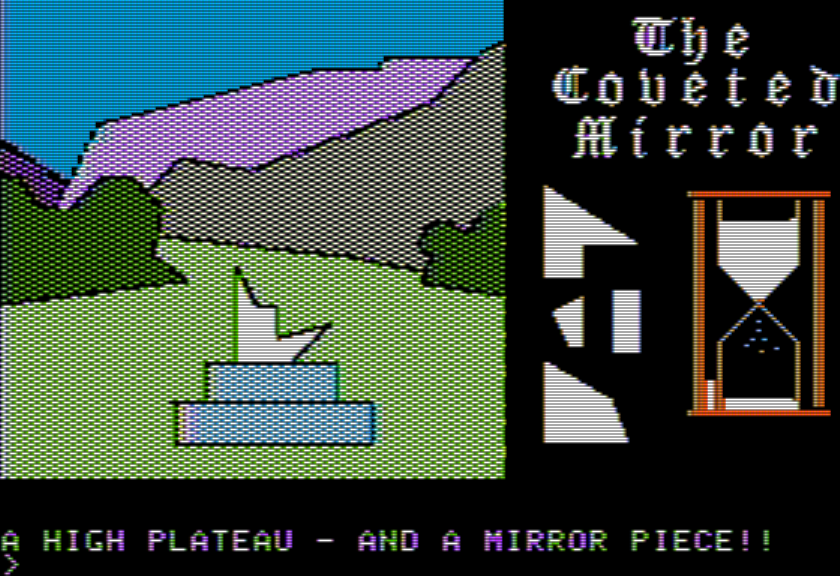
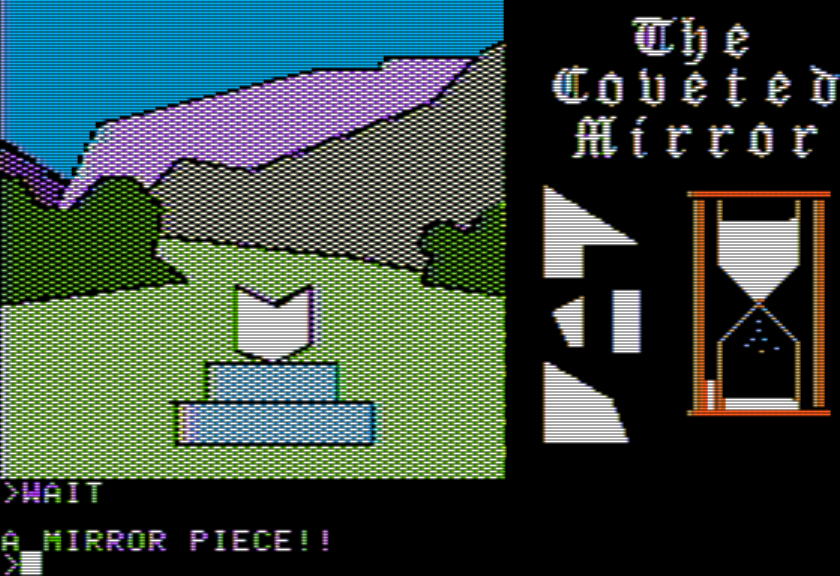
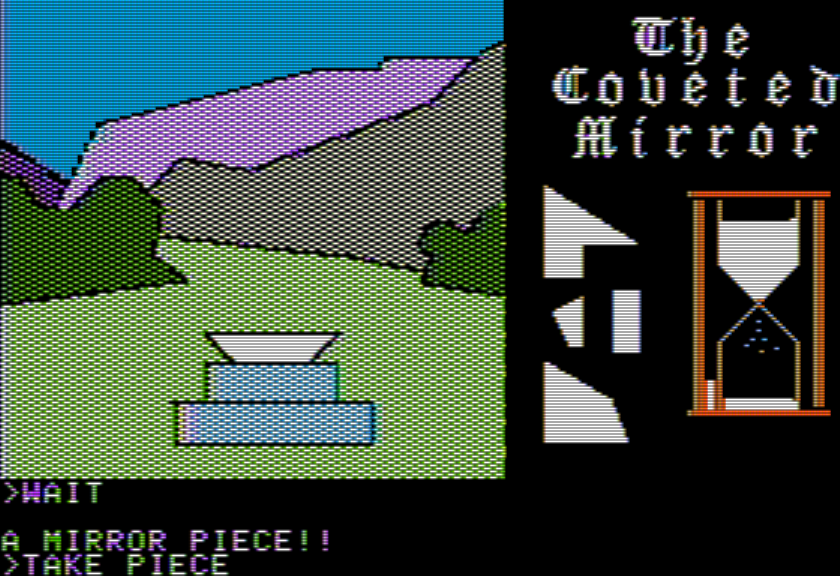
Above is a trap: trying to take the mirror shard now leads to a wailing alarm and you get captured. You need to WAIT for the right shard to appear in order to complete the picture. This entire setup does not make sense to me in a plot-coherence sense (why, if Voar was able to secure the mirror with fake mirrors, does he even have the real one show up at all?) but the entire game has played it loose with plot beats so I just rolled with it.
Or at least I tried to, but as mistertaster had been warning me in the comments, the shards don’t actually fit together correctly. I admit I went a bit meta; there’s that picture from the later printing…
Via the Museum of Computer Adventure Game History.
…and one of the shards from that picture shows up if you wait long enough.
While I wasn’t clear before without playing the game, all the references to non-violence in the historical background hinted to me this was aimed as a “children’s game”. I now think this is the case and it isn’t a bad thing. It led to:
strong emphasis on visuals that looked like they were supposed to, with many animations
emphasis on interacting directly with the visual environment (not that words are bad, but the game took a genuinely original approach that went past anything Sierra On-Line had done yet)
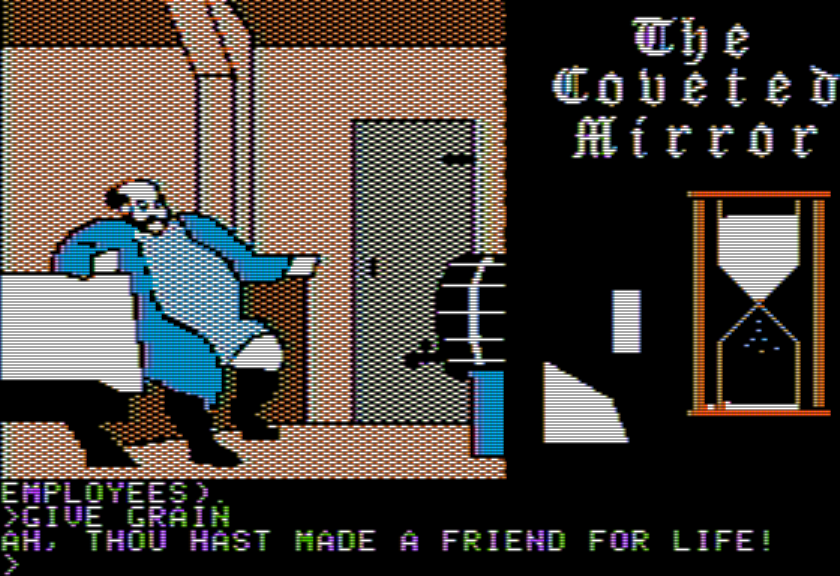
many straightforward puzzles throughout where you either told directly what is needed as long as you ask correctly (a crystal ball for the fortune-teller, grain for the inn-keeper) or at least the connection is not hard to make (fish for a cat)
more feedback on giving items than is standard for a game of this era, so there’s some engagement even when the player is doing the “wrong thing”
Essentially, the authors leaned more to the easy side of things; while there were some hard and even obnoxious puzzles (the vase being the most extreme example) it was framed by enough simplicity I didn’t feel like I was being crushed. There was enough environmental atmosphere (and optional encounters) that it was genuinely enjoyable to just bop around the map looking for something new. Despite it not being in the character-in-an-environment format Sierra On-Line would start following after King’s Quest (evolving into the “point-and-click” adventure), it followed a similar sensibility (and was even willing to show the main character during the mini-games).
Mind you, not everything went well. I understand why the authors put a limit on the number of times Voar could catch you (otherwise all the work putting bribes for the guards lacks in importance) but in the end it’s like Hezarin trying too hard to keep a player from guessing at a puzzle solution and breaking the game; there isn’t enough benefit to punishing the few people that will go 25+ loops, so all it really does is create anxiety for players.
(Long term time limits are, in general, a horrid design choice. Fallout originally had a time limit for finding a water chip at the start and then ripped it out. I’ve been tempted to play Xtal Soft’s breakout CRPG, Mugen no Shinzou, but the game gives a turn limit of 30,000 meaning you might be 80 hours into the game and have to restart because you weren’t efficient enough. Something like Ancient of Domains of Mystery works better because “corruption” increases over time, but it can be managed rather than forcing a hard stop to the game.)
Some historical points to tie up before closing things off:
I had promised to bring back Michael Kosaka. Specifically, he is mentioned in the manual for doing the art for the joust.
This would normally just be side trivia, but it’s more interesting than normal because his later career (as I already indicated) generally emphasized sports games, including Budokan: The Martial Spirit from 1989 (for Electronic Arts) which has combat with some aspects of the jousting in it.
Only a few years later he was positioned as Commissioner of the EASN.
You can thus draw a direct (if faint) line between The Coveted Mirror and the modern Electronic Arts sports empire.
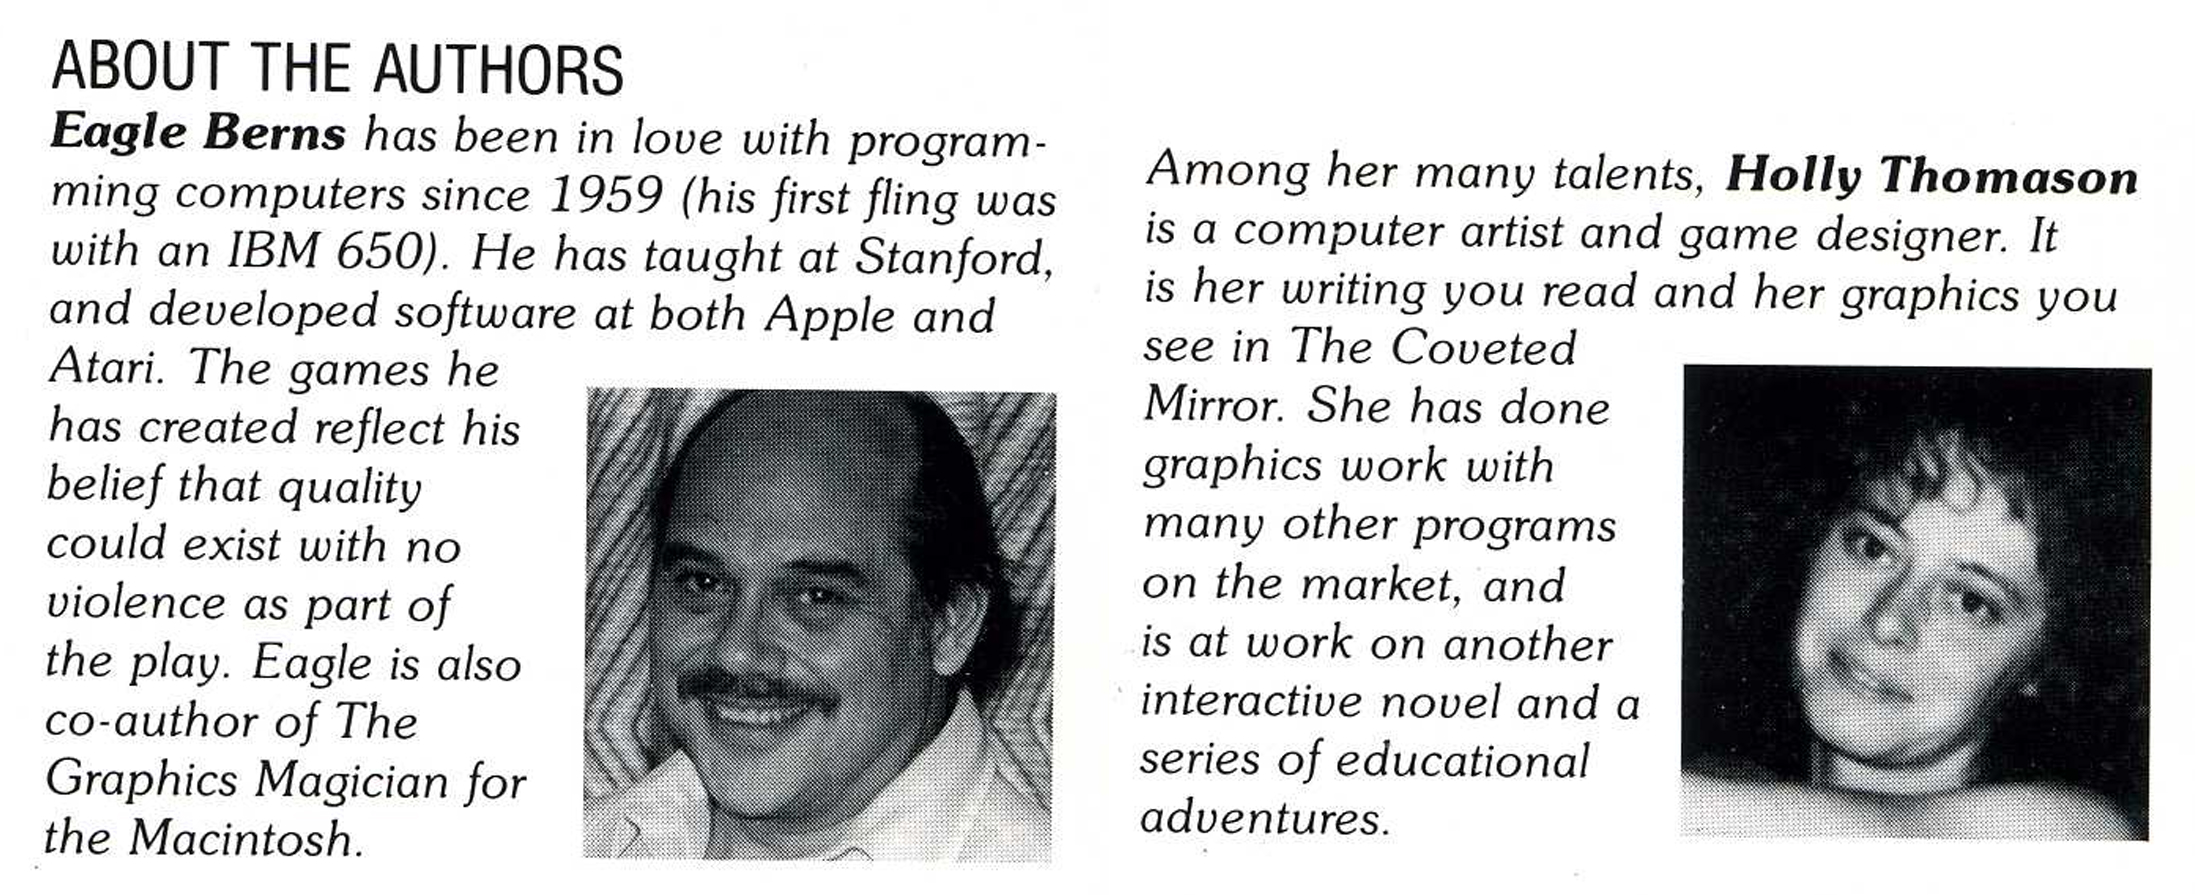
Also, both Eagle Berns and Holly Thomason kept up a relationship with Penguin. Holly did the graphics for the Macintosh version of Transylvania; Berns worked on COMPREHEND (Penguin’s later “general” system for adventure games) as well as the Mac version of The Graphics Magician.
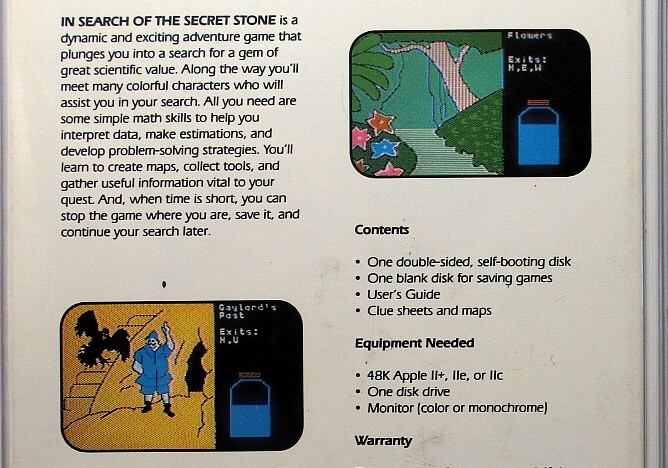
While it’s a little harder to find than her Penguin Software work, Ms. Thomason made another original game: In Search of the Secret Stone (Creative Publications, 1986). It is an “educational” game quite directly this time meant to teach mathematics, but it is also quite clearly an adventure game with graphics in the same style as The Coveted Mirror.
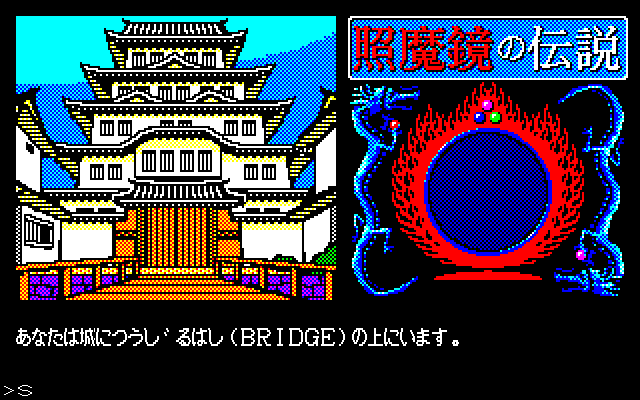
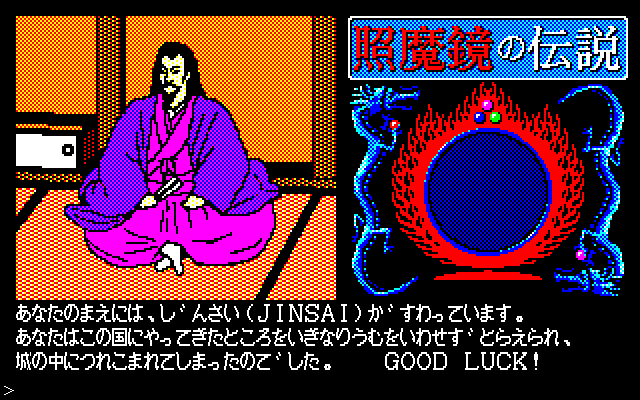
Finally, it’s worth at least looking at the screens for the Japanese translation of the game. Starcraft did the translation (just like with the Sierra On-Line games, such as the Time Zone game where they re-drew every single screen). What I find fascinating here is they tried to do heavy localization, changing the setting to Japan and radically modifying the graphics. Two screenshots of the PC-98 version via Mobygames:
According to Rob in the comments, it changes gameplay aspects as well, like removing the mini-games, removing the 25-capture limit, and making the vase visible in the treasury. The pickpocketing is both more forgiving and meaner at the same time: it doesn’t happen instantly when you enter the tavern, but if you wait long enough you’ll get pickpocketed without any kind of warning.
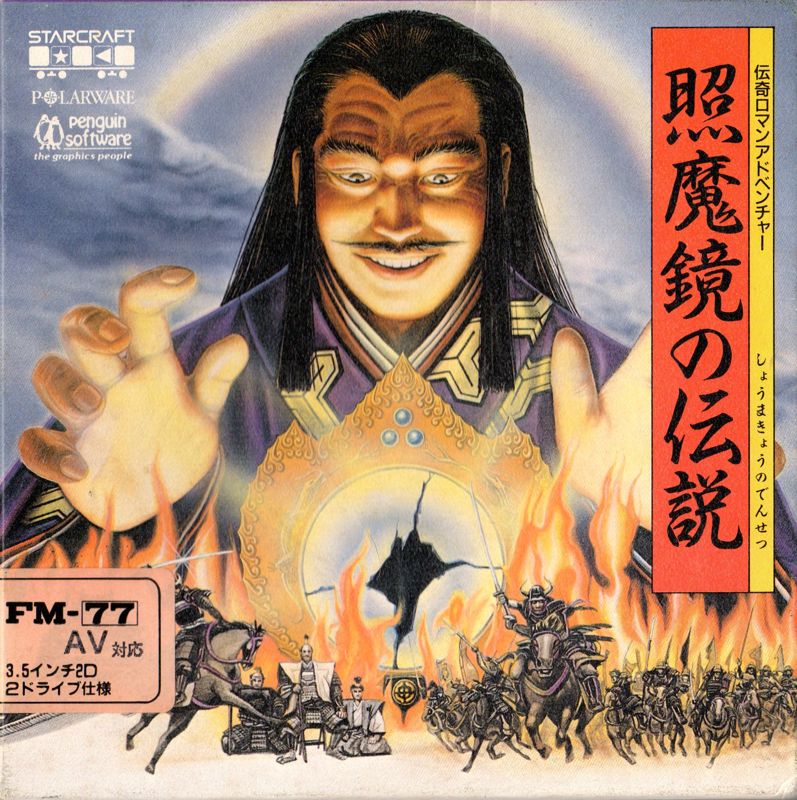
FM-7 box cover from Mobygames.
Coming up: An absolutely enormous game that was lost until quite recently.
Progress, but not quite as much as I’d like. Still, I think I’m one or two posts away from the end.
My main target for today.
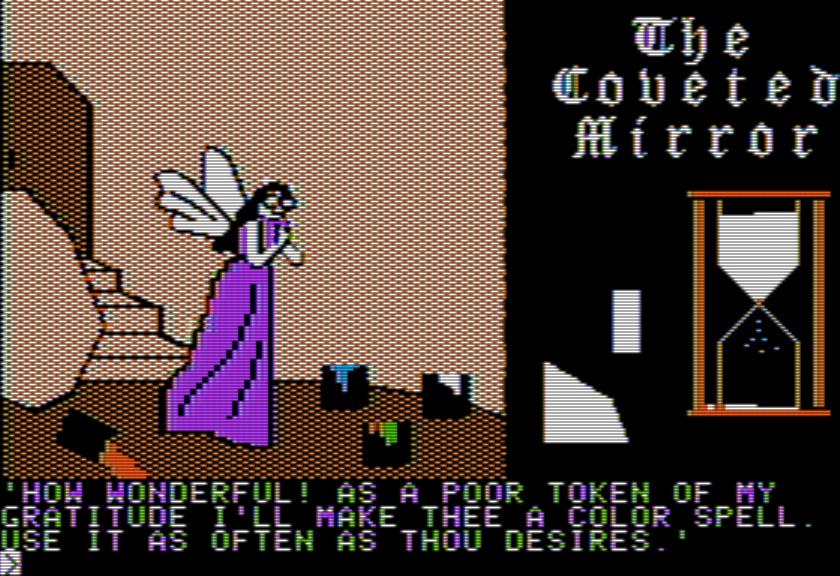
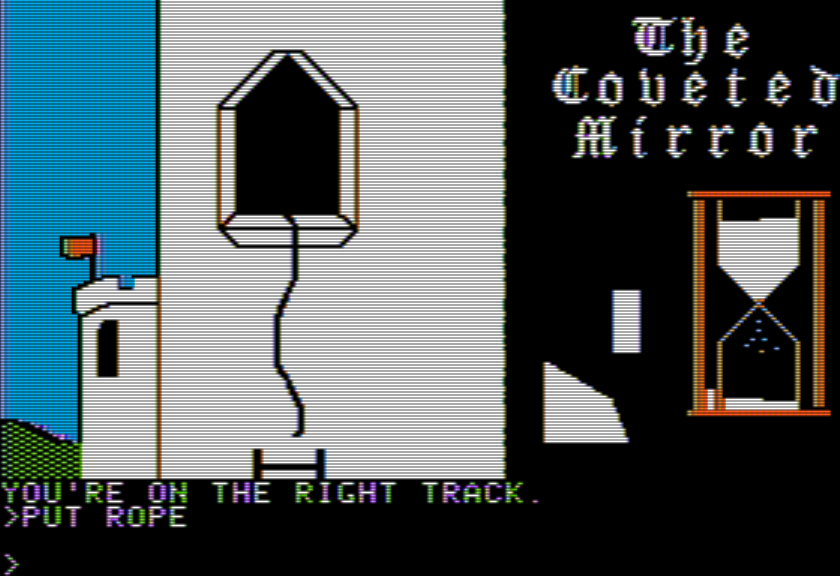
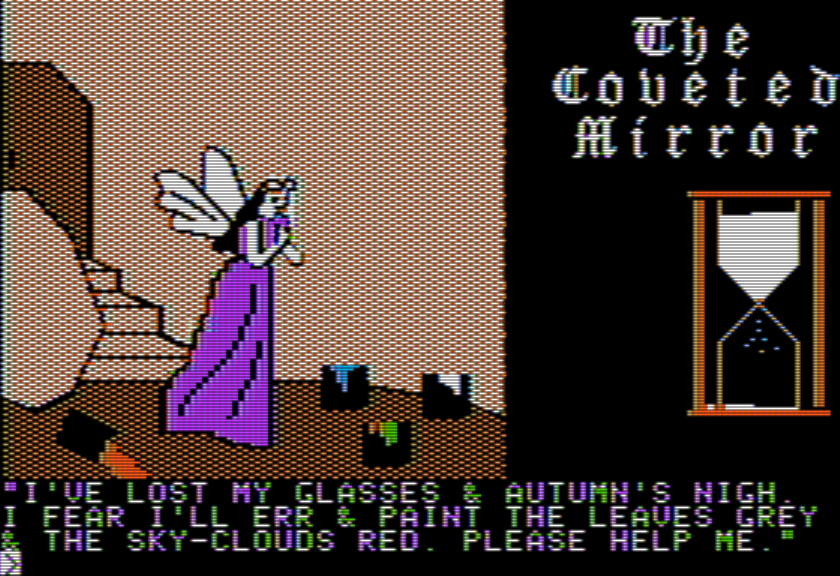
The most immediate thing I solved — roughly five minutes after making my last post — came from one last re-read of the fairy looking for their glasses.
I realized that it might not be a tiara or hat on the fairy’s head (as my brain was originally interpreting), but rather the glasses themselves (especially since the game already had the “hidden in sight” puzzle with the lockpick). It took a little fussing to actually work out what to do, though, since you can’t just GET them (the game does politely say you’re on the right track). HELP gives the majority of the verbs that are available, though.
GET, PUT, MOVE, OPEN, CLOSE, USE, OFFER, READ, TALK, GO, WAIT, CLIMB, LOOK, INV, OR A DIRECTION
(Not all of them – you can LIGHT CANDLESTICK back at the magician’s room.) I was trying to do POINT and SHOW and so forth but consulting the list the only thing that seemed like it might work was MOVE.
It’s wildly unusual at this point in gaming history to have a puzzle like this; most of our graphics up to 1982 have been too squiggly (even some of the games with very good art, like Lucifer’s Realm, did not have their art done in 1982; it was added later). Even then it took some squinting and a leap of faith because of the pixel size but at least it gets very directly mentioned in the text.
Unfortunately, the effect here has not led me to solving any new puzzles. This gives access to USE COLOR (which incidentally took some noodling to figure out — even with a mostly-complete verb list it’s not always easy to work out how to communicate things, and it’s still not clear what action the player is doing to cast the spell). This causes the screen to change color briefly before returning to normal, but I have tested it in over half of the rooms in the game with no effect. There is no textual message given, and I wonder if it’s meant to find something hidden.
That is, in this moment of color inversion, you might see something secret.
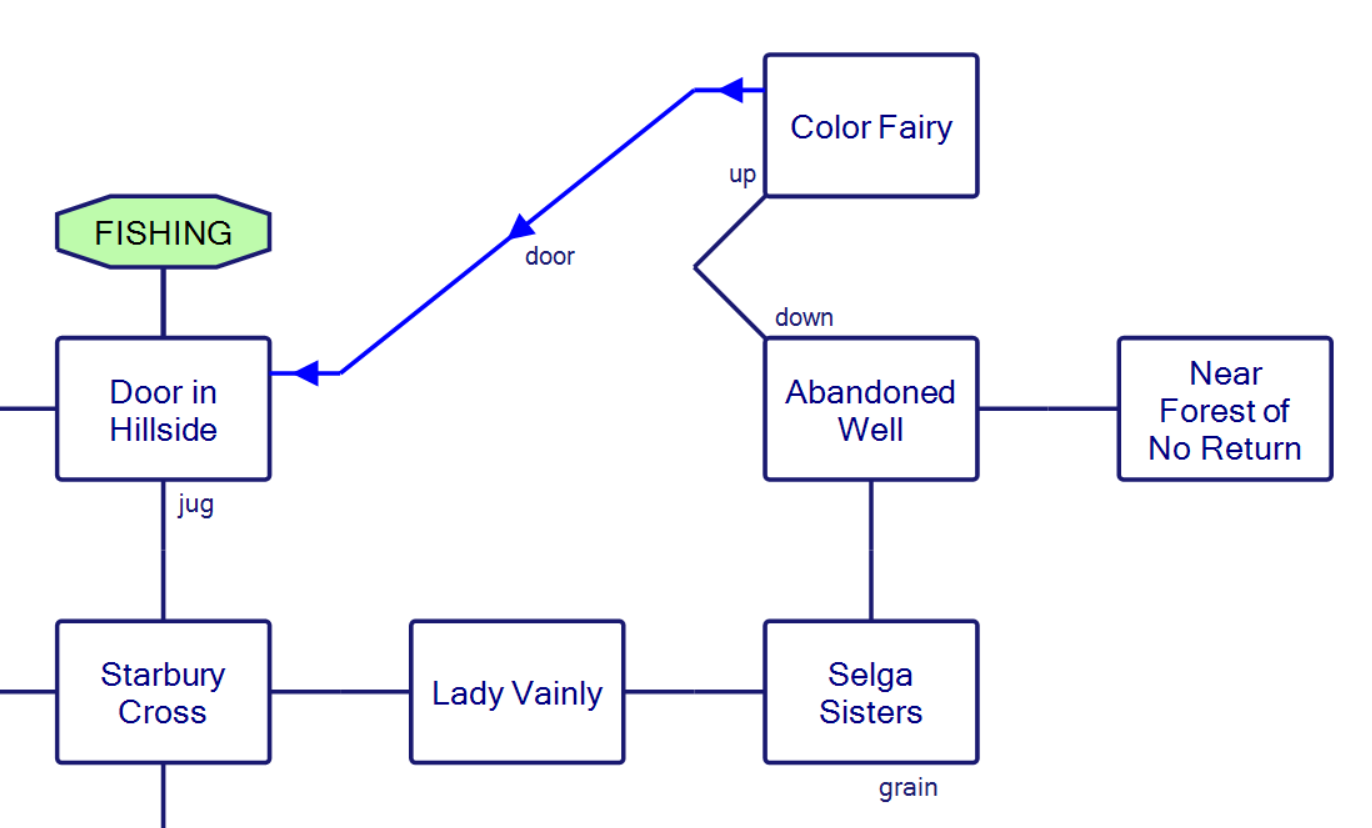
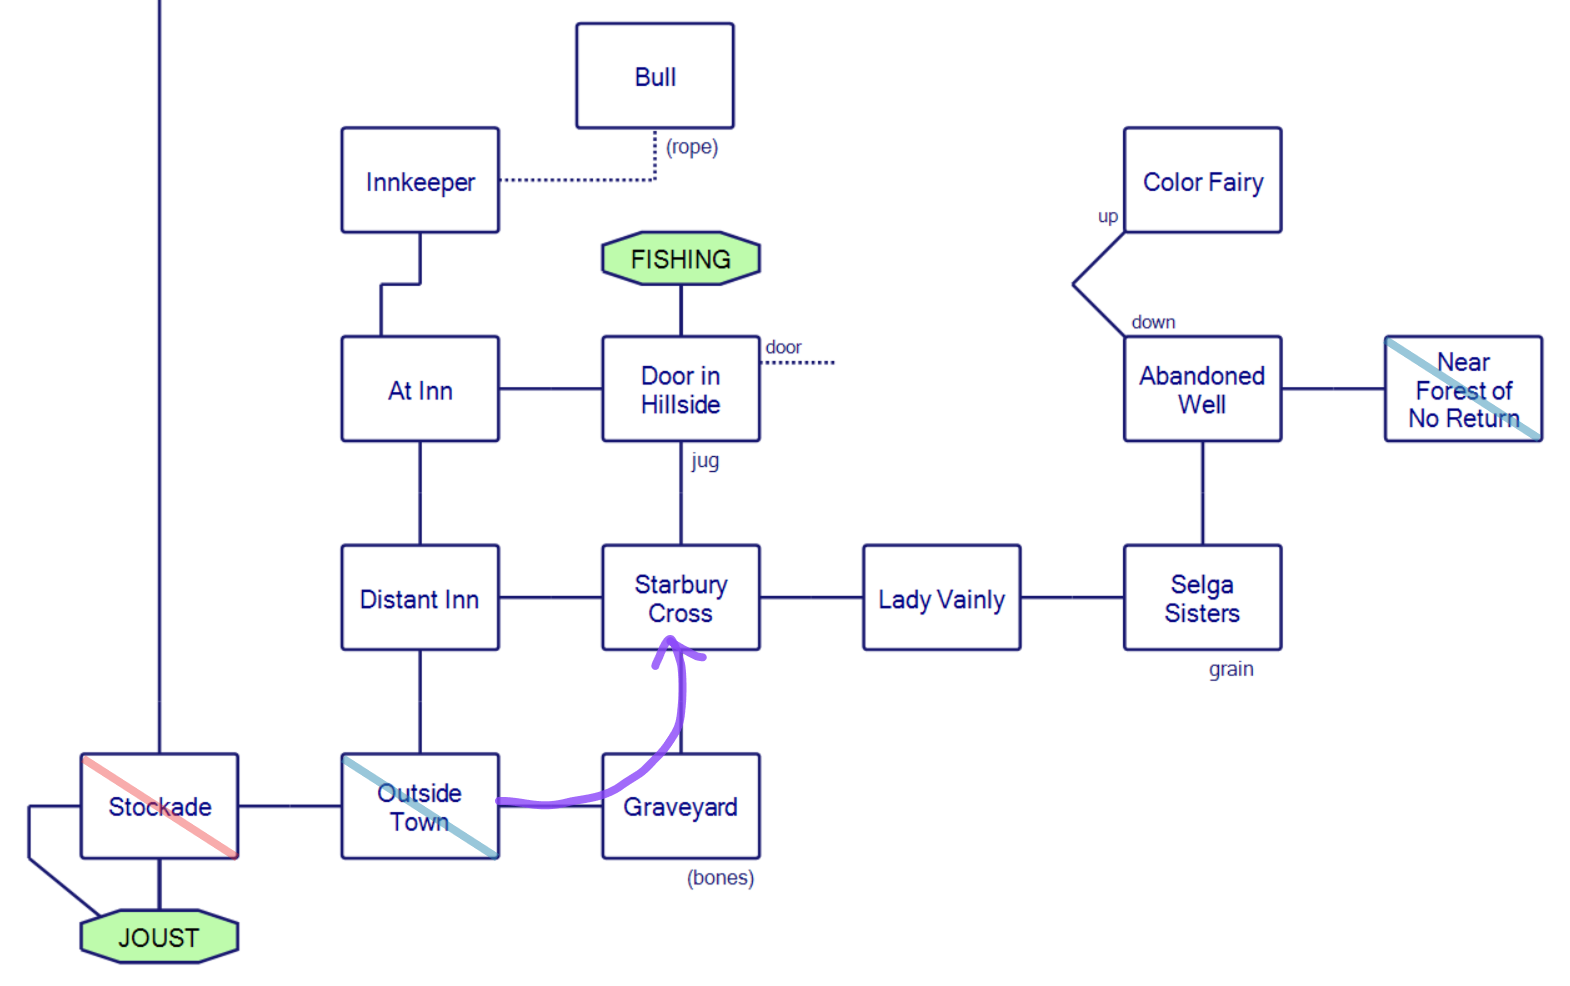
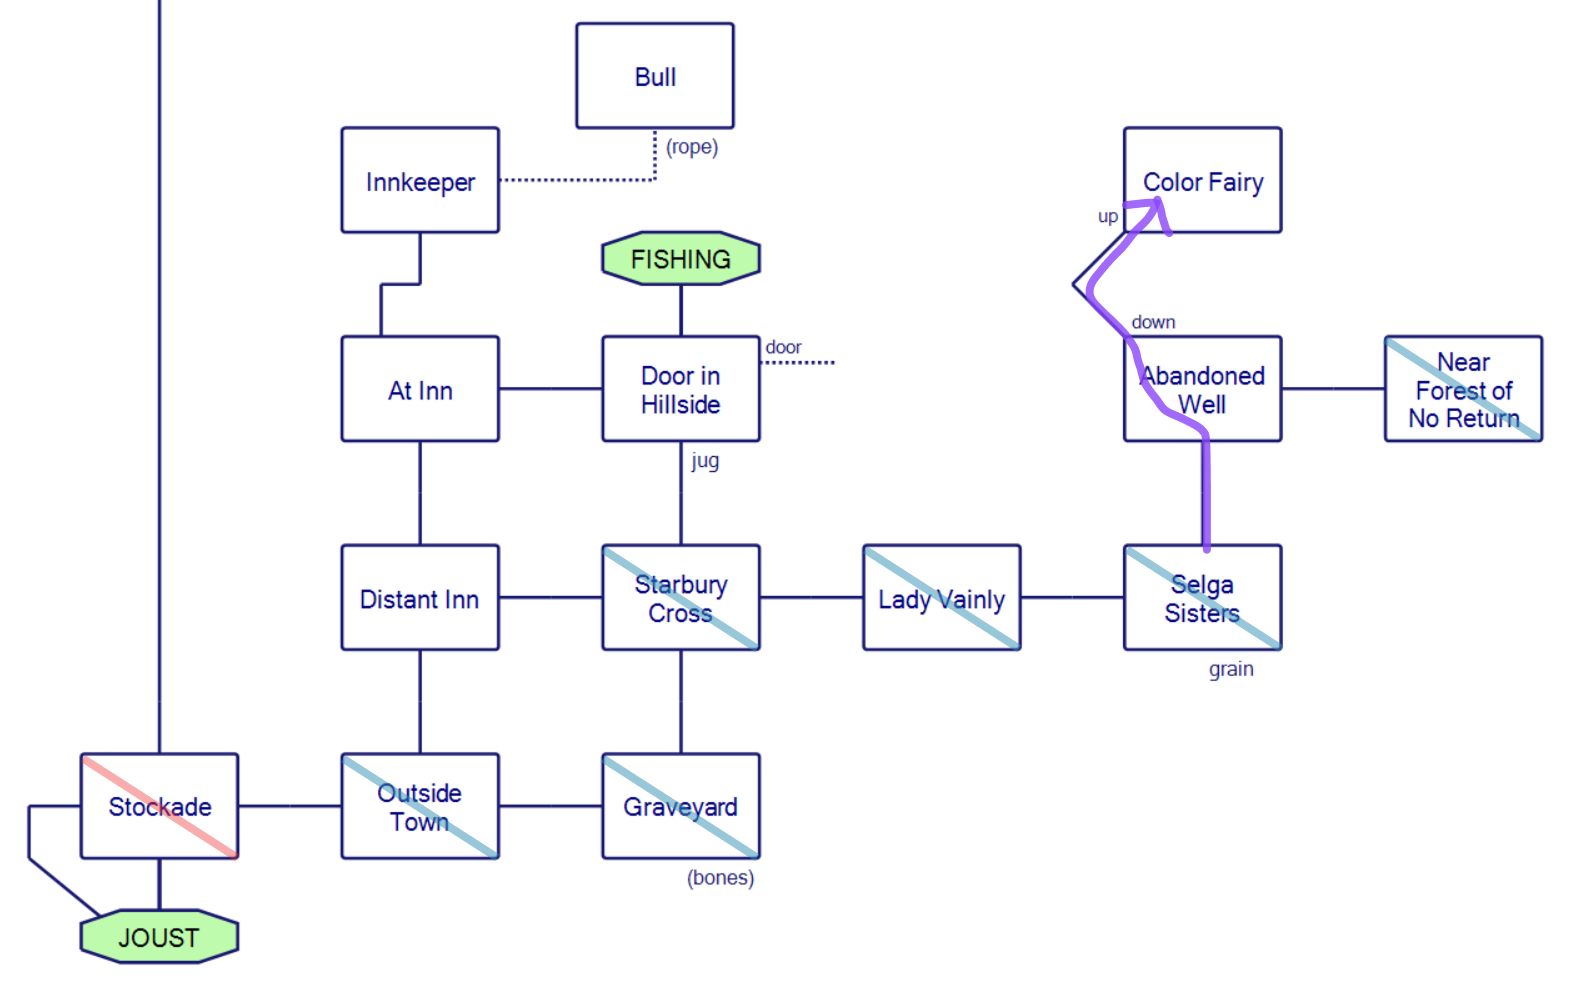
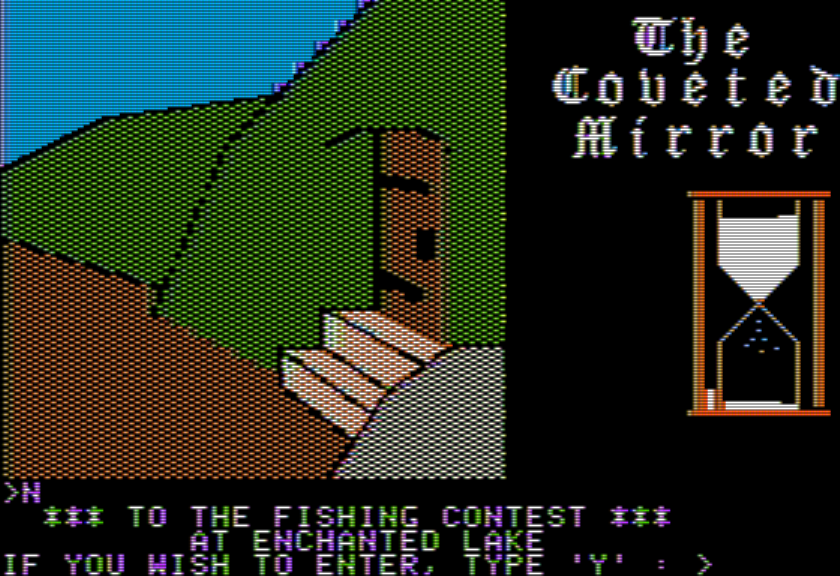
Before leaving the fairy, I should mention I was misinterpreting another part of the image. There’s a door in the back but I thought it was simply the way we entered in on (the room only vaguely looks like the bottom of a well, so I thought there was some extra step being implicitly taken by going down, and you can easily go back up again). However, you can OPEN DOOR and find yourself on the other side of the hill. So that issue is resolved.
New route marked in blue.
Nearby all that is the inn, and I misinterpreted yet another image.
I thought that was a door behind the bull, and it represented the way back into the inn. It does not: it’s a passage to the outside, through the back of the Inn, leading to a brand-new area. Mind you, not one that I have gotten too far into yet, but some screenshots to explain:
Putting together the clues from before, I need the ring and the sign language to communicate with the man in the Forest, who will then take me through the Fog here to the fifth and final mirror shard. So it likely should be saved for later.
Speaking of saving things for later, my suspicion on the tavern where supposedly we can learn sign language (but our stuff gets stolen instead)…
…is that this gets saved for last. That is, I need all four other mirror shards, and something will happen in the tavern which will allow a scene to go forward. I suspect this because the hint talks about Brother Jon only showing up “rarely”.
With that set aside, one last piece of progress is I took every single available item over to be appraised and found that the ones that work as bribes are not obvious treasures. Specifically, of the items I have…
AX, ROPE, BONES, CANDLESTICK, JUG, BROOM, LOCKPICK, COAT, SHOVEL, RING
…the AX, JUG and BROOM are all valued as bribes. I’m particularly surprised about the broom, since it was just taken from a room in the castle; the AX seems like a utility item, but now almost certainly not. Unless I’m far off base, anything that counts as a bribe does not otherwise get used as an item for puzzle-solving. This means the rope, bones, and coat are the only items left where I’m completely unsure as to where they go (I haven’t applied the ring yet, but the game hints amply where it will show up later).
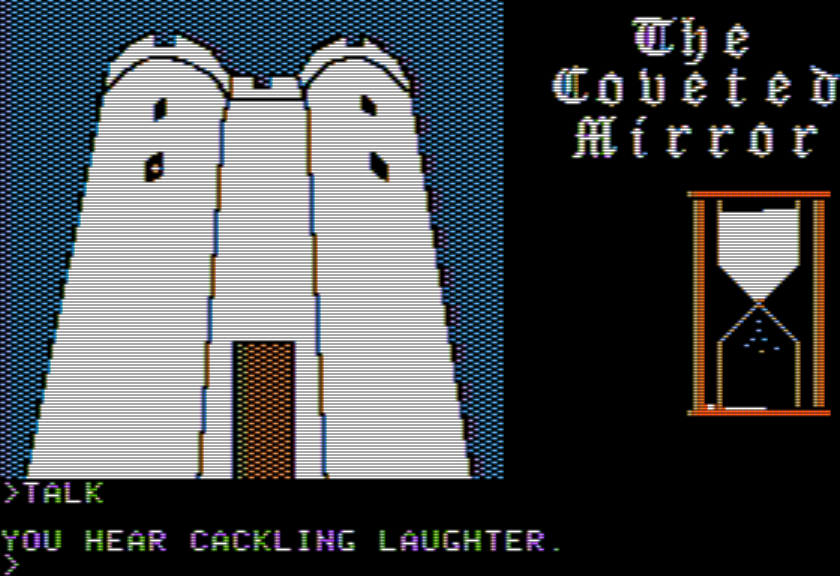
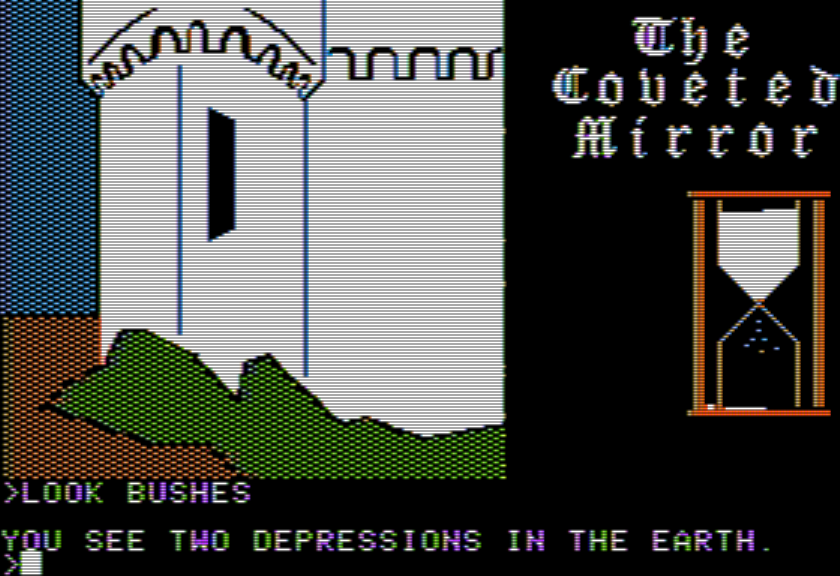
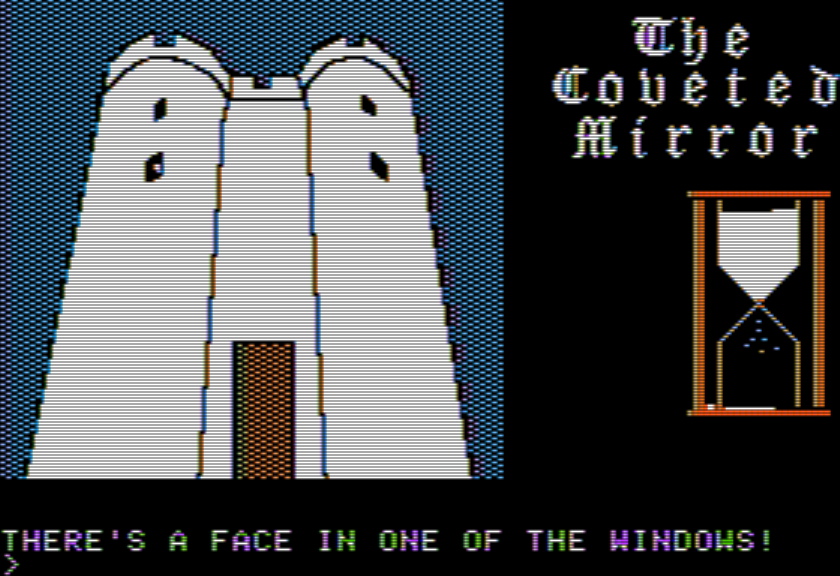
I decided next to do a big push on the tower; while the person inside laughs if you TALK, the face also “beckons” you if you do LOOK. I decided this had to be the missing witch. Given you can see the tower from the outside, I wondered if you could enter from the outside, given there were two holes in the bushes just outside the tower.
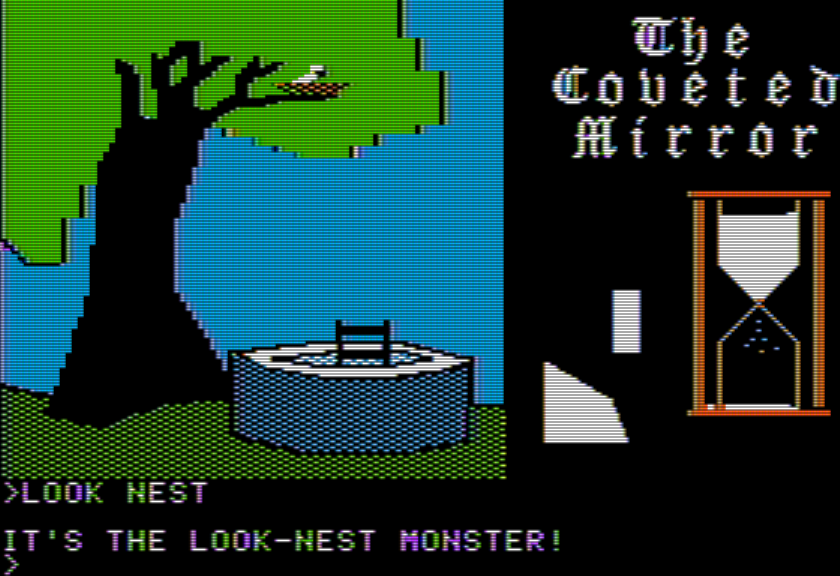
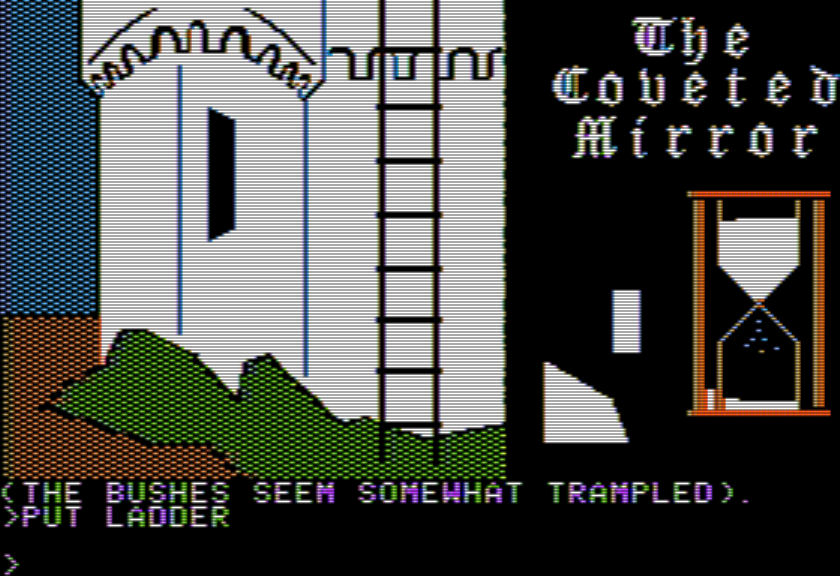
Further experimentation (especially considering the verb CLIMB on the help-list) led me to realize that climb was being recognized in that room, I just needed extra conditions, or more specifically a ladder. (The noun LADDER is recognized.) We’ve already seen a ladder, though!
It is not obvious in the slightest from the picture that you can just rip the ladder right off the well — I would think it was mounted — but you can just take it, and then PUT it at the castle.
This doesn’t quite let you go high enough, but I also had a rope I hadn’t used yet, so:
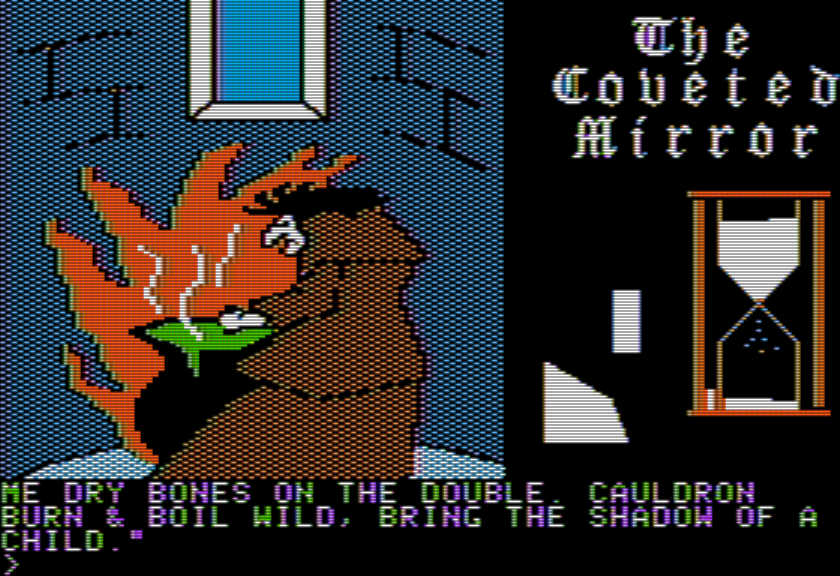
Finally the witch!
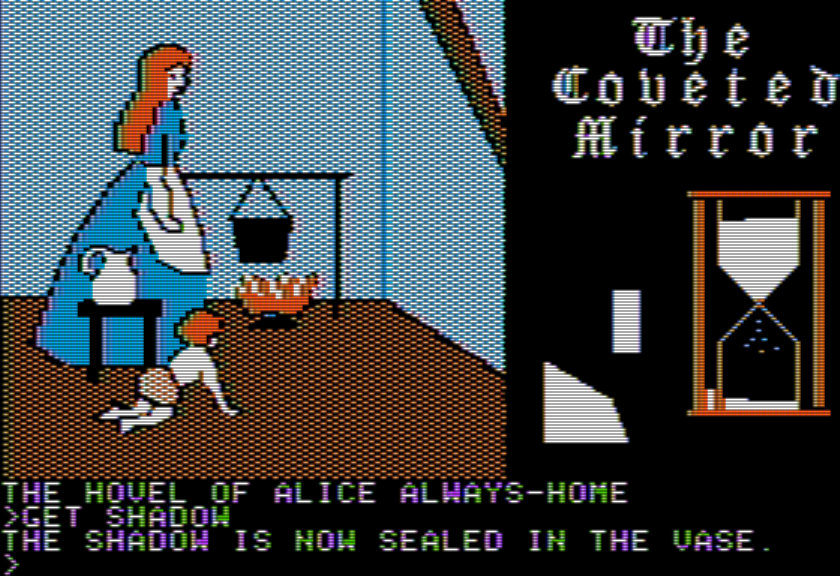
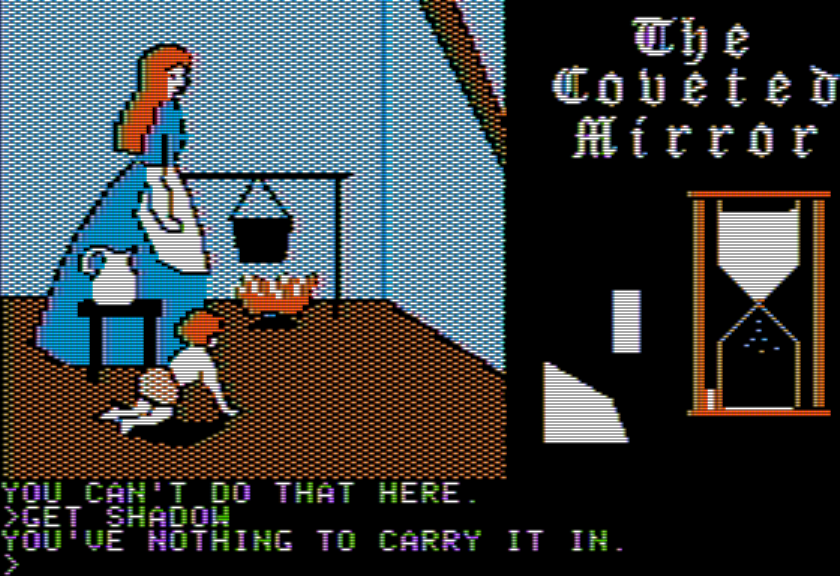
The witch requests bones and the shadow of a child. The bones were easy (I was already holding them freshly dug from the graveyard) but I still don’t have the shadow. The vase that holds shadows was hinted at by the fortune-teller, but I still don’t know where to find it; I do know if you are at the hovel which has a child in the picture, you can try to GET SHADOW and it says you don’t have the right container for it.
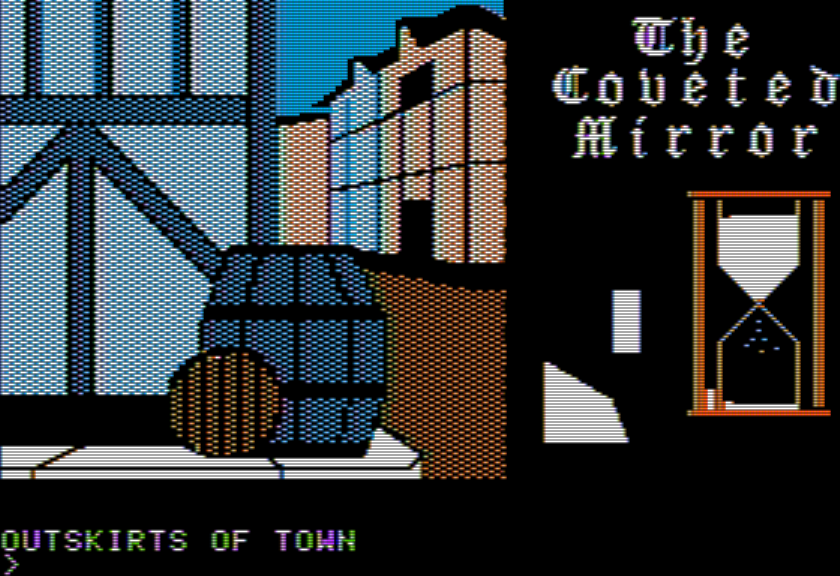
One last bit of progress, kind of: on the south side of the town there is a barrel in the picture (not mentioned in the room description, just shown in the picture). I found I could MOVE BARREL and get the top off, and even GO BARREL afterwards.
The problem is that the barrel is dark. LIGHT CANDLESTICK (like I did at the magician) says something about lighting it at the nearest fire, so I went and tried to light it at the alchemist, and the baker, and the glassblower, and the blacksmith, and in all cases it said it didn’t understand the command LIGHT CANDLESTICK. I could go all the way to the magician and light the candlestick but it apparently is unlit by the time you walk over to the barrel. So I’m not clear what to do here.
Just for an open-problem update:
a.) finding the vase that holds shadows
b.) figuring out the barrel
c.) chocolate moose ingredient for the bakery to get the cookie
d.) figuring out where to use the color spell (this may only apply at the endgame)
This is a much shorter list than before which is why (despite me still only being a two pieces of the mirror) I suspect I’m winding closer to the end, at least closer to the point where I’ll be able to enter the endgame.
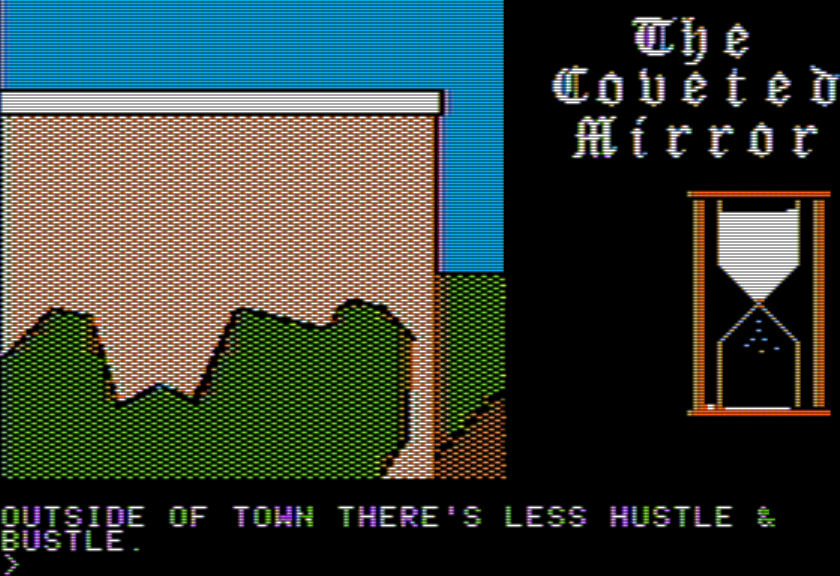
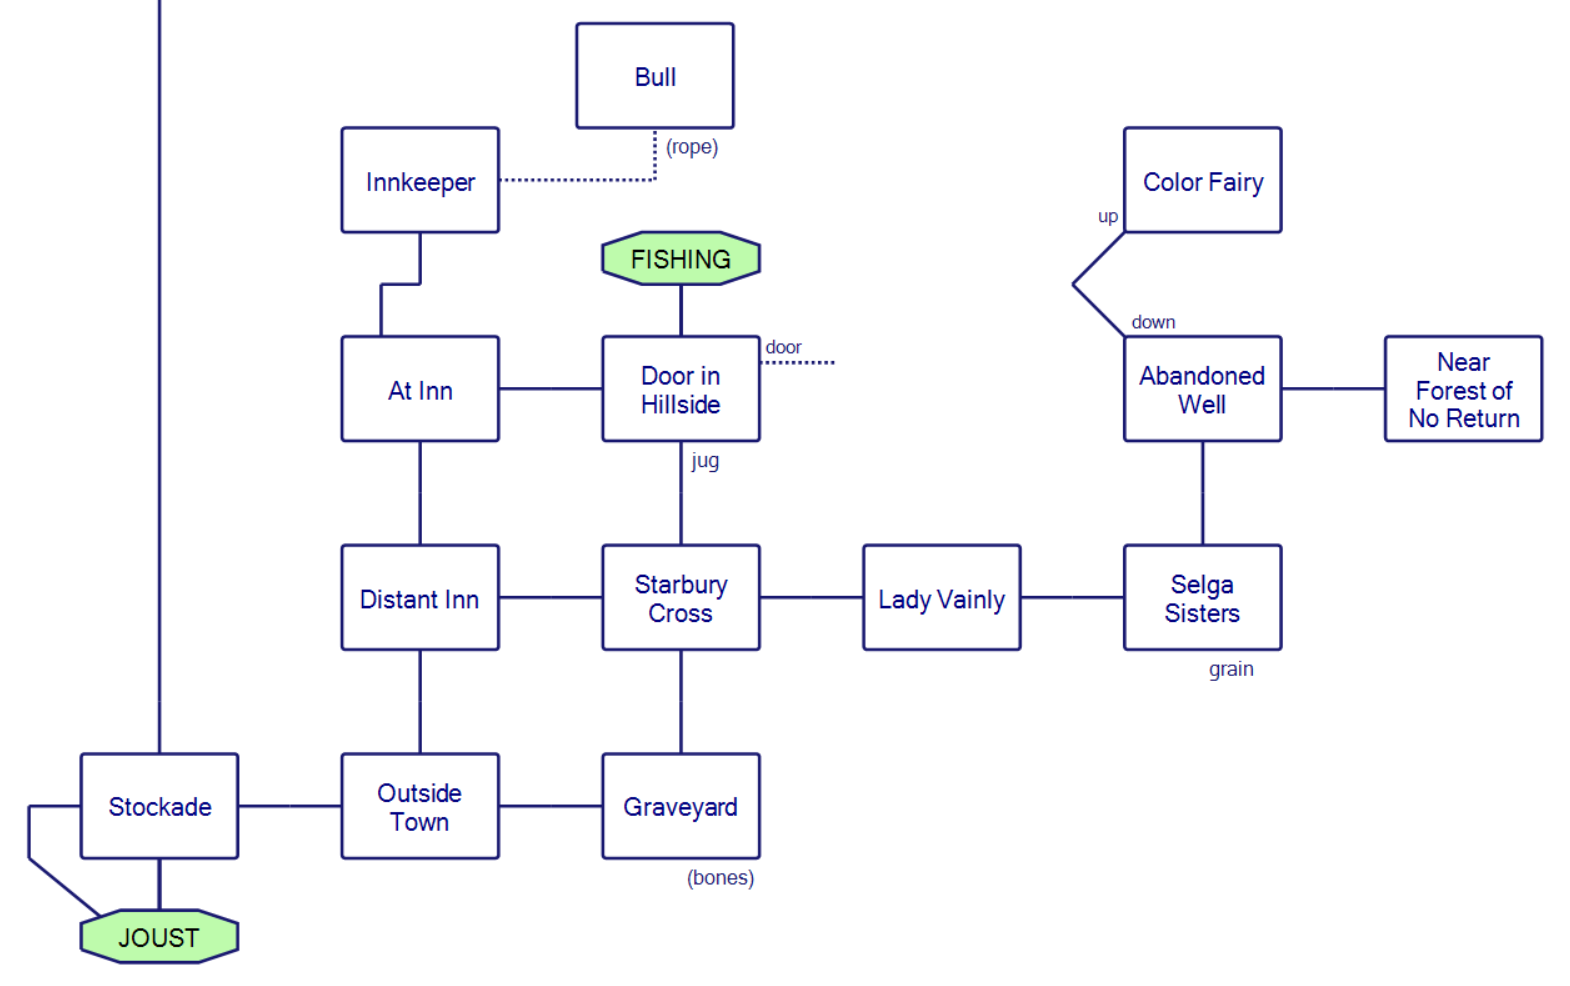
Before getting into the puzzle solving, let’s tour the last part of the map, where “there’s less hustle & bustle”.
This is just past the main town, to the south. Just west of the room above are the stockade (with the scene I discussed last time) and the jousting.
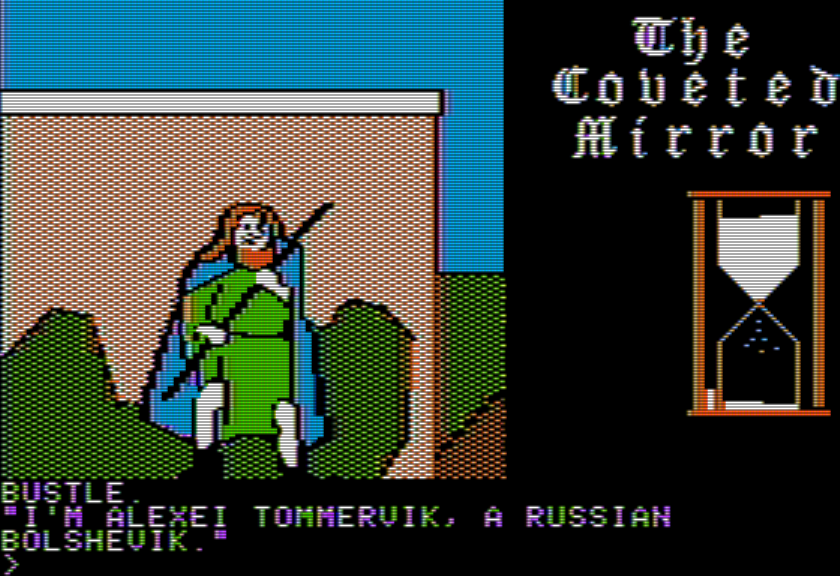
Just like with town, the various rooms have random encounters. It isn’t nearly as bad as it could be, and I’m guessing they’re programmed in a way that forces a rotation rather than hoping the random number generator doesn’t make it so you might have to test each location 10 times. In the location just past town, you might see nobody, or you might meet a Bolshevik.
TALK here gives SOFT–AND CARRY A BIG STICK. Some of the characters give random hints (like talking to random town members in a JRPG) although it is also possible to try to GIVE items, so I don’t know if any of them represent puzzles. This isn’t the only encounter you can have here!
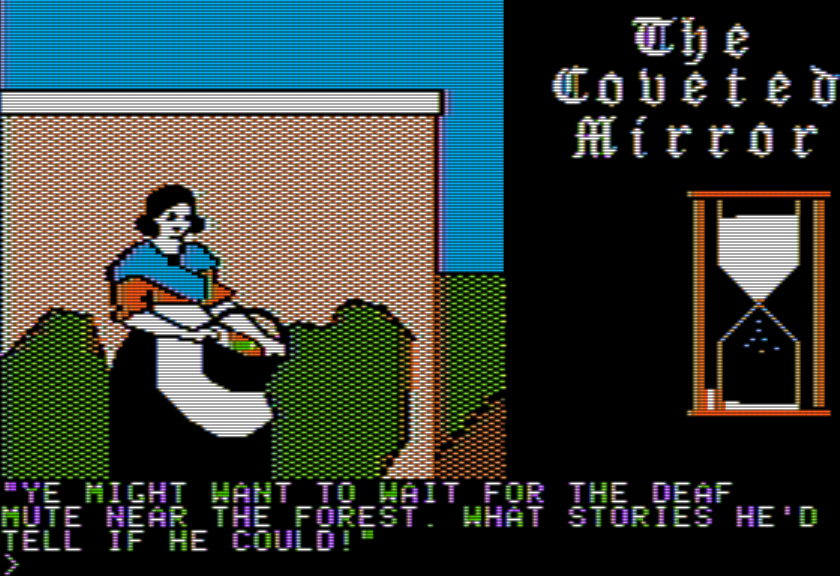
I met her on my fourth-pass through, rather than having to go back and forth ten times. I’ve most recently written about the perils of character appearance RNG with Ringen.
TALK gives a more active clue, about an NPC I had gotten lucky with and met on my first visit to the room in question.
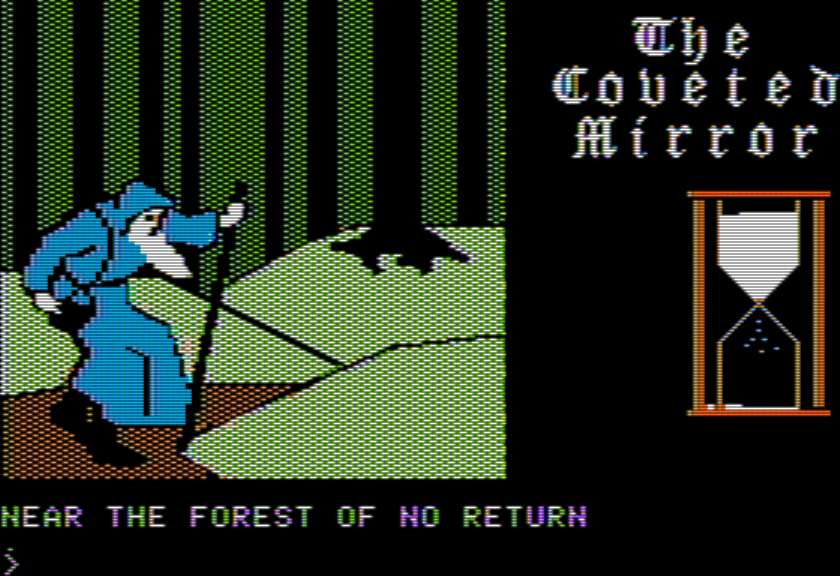
Let’s just hop all the way over there — it’s on the far east, marked Near Forest of No Return on my map.
This man’s appearance is less frequent than other characters, which I suspect is why the hint is there. He’s also hinted at by the bard, he mentions MUNIJSTAN & HIS SILENT FRIEND and how you need to WAIT WITH THE RING AT THE DARK FOREST’S END.
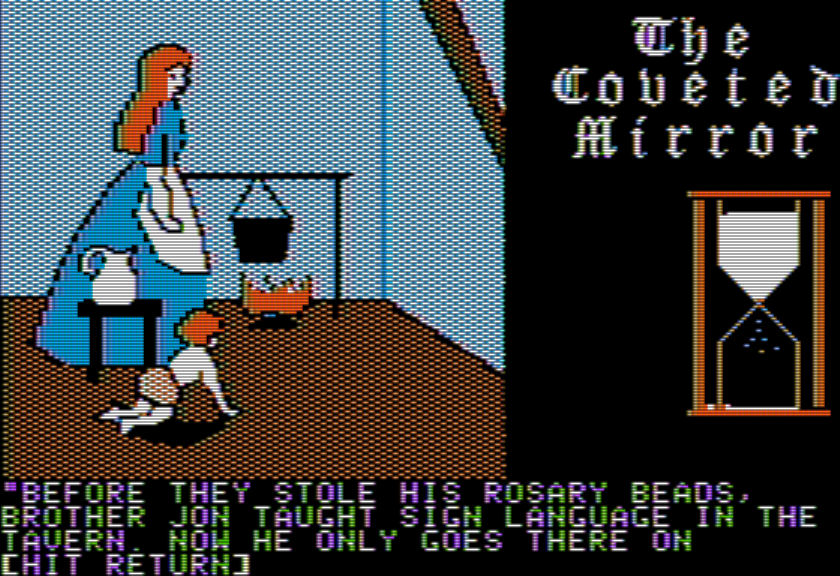
Trying to TALK gets the response HE GESTURES IN SIGNS YOU DON’T UNDERSTAND; we’ve also had the sign language reference given by Alice at the hovel, but I don’t know how to learn the sign language yet. My suspicion, based on Alice’s hint about sign language at the tavern, is that someone hanging out in the tavern (where the pickpocketing happens) knows, but that’s one avenue I’m still dead-ended at (talking isn’t useful, nor waiting around, nor coming back and forth a bunch of times).
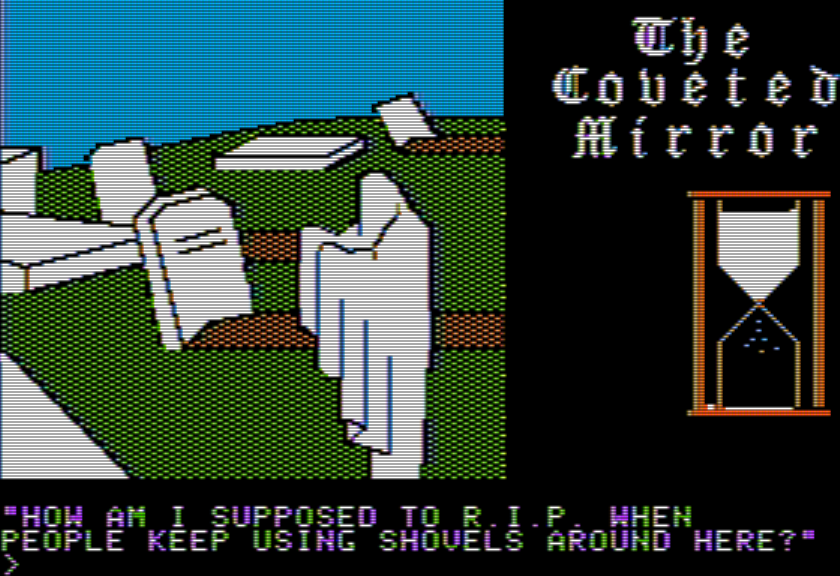
Let’s zip back to Outside Town and take a path by a graveyard next.
The graveyard sometimes has a ghost. The ghost makes a reference to digging.
Last time I had found a solving path (release person in stockade helps get the candlestick, candlestick gets bellows from the alchemist, bellows go to the blacksmith who gives you a shovel) that gets a shovel, so I tried it out and got some bones. Unfortunately, I don’t know what to do with the bones yet. (Giving them to the dog, the dog says — yes, it talks — that it prefers steak.)
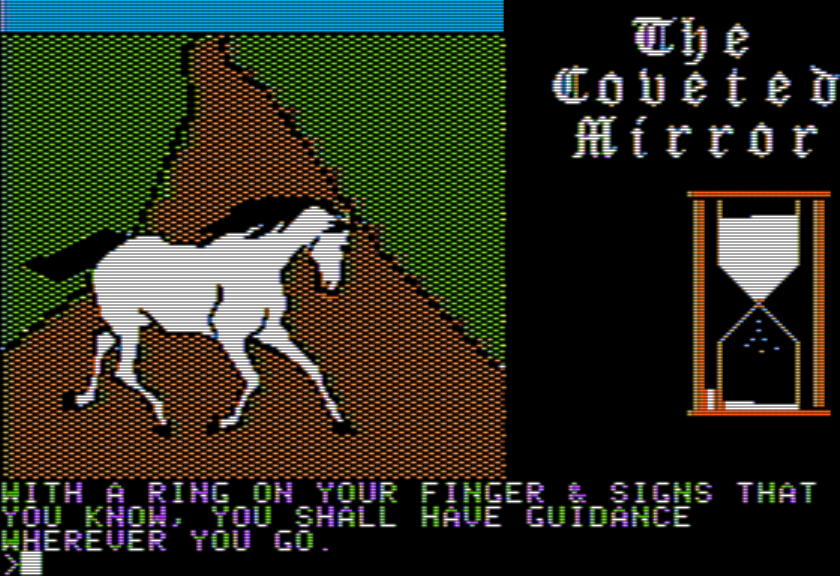
Heading north, there’s another multi-character room, a crossroads. Encounters include a talking horse that lets you know again about the ring-forest connection.
If you try to ride the horse, the game lets you know it is a FREE SPIRIT.
There’s also someone who gives out elixirs for health that can sometimes appear and I think he may be there purely for color.
This shows the result of me trying to GET ELIXIR.
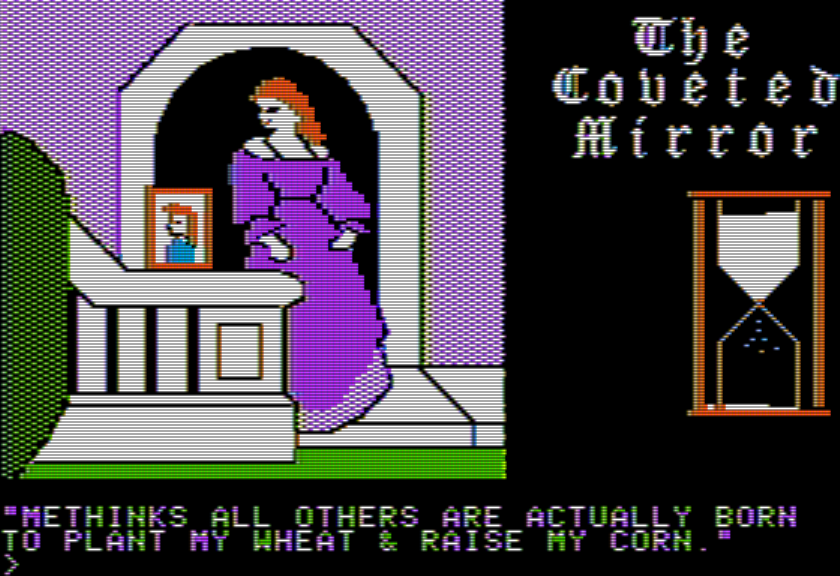
With that done, let’s swerve east which turns out to go into a house, the residence of Lady Vainly. (Some games, architecturally, will always put “boundary” rooms to set up transitions between outdoors and indoors; here this game is being a little more freeform.)
The dialogue above is the result of using TALK, and it is meant to hint that if you go east…
…you can GET GRAIN. Nobody says a peep about stealing or the like, the game just says OK and it lands in your inventory. We’ll be using the grain somewhere else shortly. First, a visit to a fairy.
Heading north from the grain is a well, with a bird in a nest. Again, I think the nest may be just “for color” — I’m still unclear how much content in this game is meant for pure atmosphere — and going down leads to a fairy.
The fairy asks you to find her glasses. I’m not sure where to even begin to look so this is one of those puzzles that will eventually solve itself.
Swerving back to the intersection with the talking horse, and going north, there’s a door in a hillside (locked) adjacent to a jug (which I have yet to use anywhere, and trying to take it to the tavern just gets it stolen). Going north from here is where the fishing is, which I will talk about (along with the jousting) in more detail later.
Neither mini-game is a proper “room”; the game just prompts if you want to start the game when you go a particular direction.
Finally there’s an inn. There’s a hint elsewhere (given by a woman randomly in the town) that the innkeeper likes to receive grain.
I guess he’s so keen on grain he gets kicked out if tries to go for Lady Vainly’s fields so can’t just walk over and grab it himself.
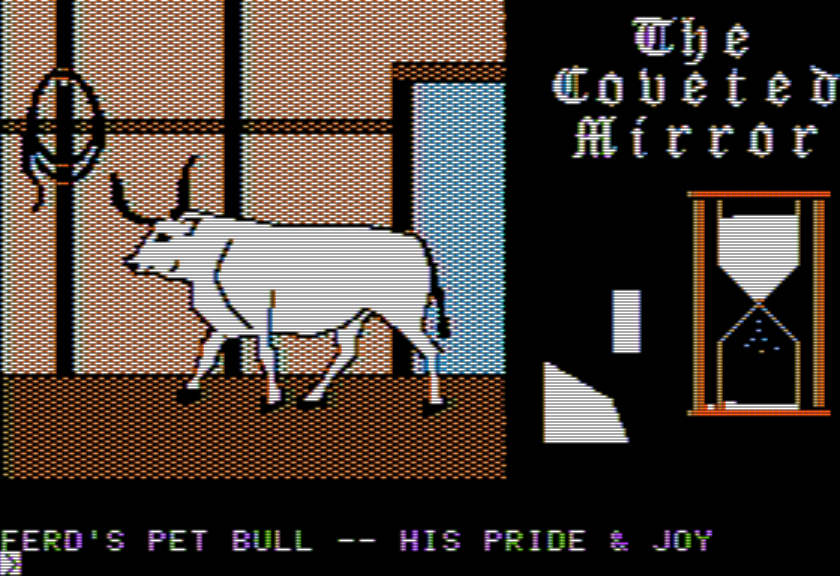
The reason he wants the grain is to feed his beloved bull; you can enter the door and see the bull assuming you’ve handed over the grain. There’s a rope in the room you can then take.
I originally thought that was a whip.
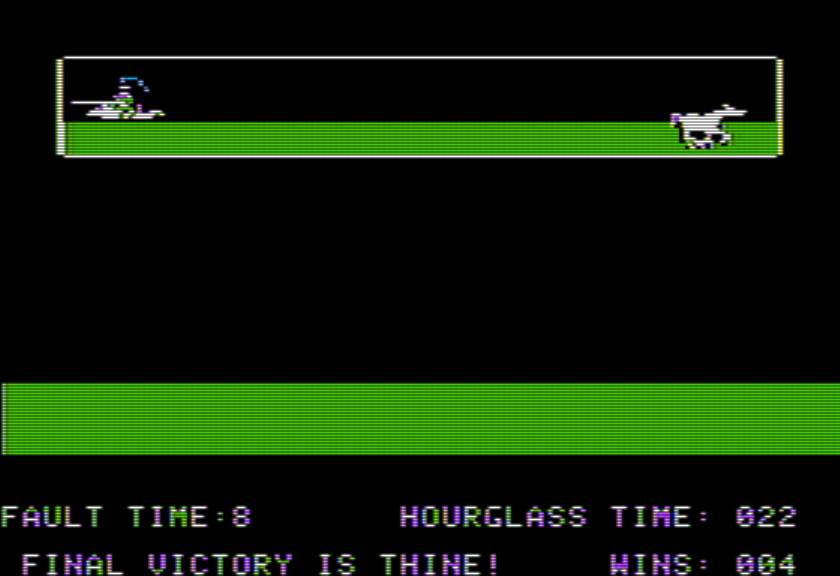
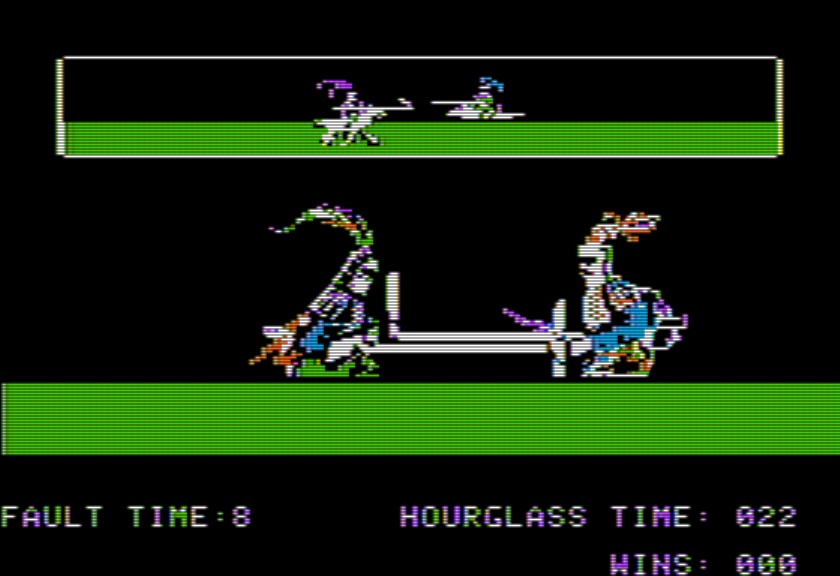
I did finish the mini-games but with a lot of save-state abuse. Starting with the joust, you have a series of clashes where you control your lance with A and Z (high/low) your shield with semicolon and period (high/low) and press SPACE to charge.
We’re controlling the person on the right.
There are two issues, one likely with the emulator. The first is that the game simply moves too fast at default settings, and I had to change the computer to be half speed. (Nothing else in the game, including the fishing, has this issue.) The other issue is that I don’t understand when you win or lose. The scene above looks to me like the right-side lance hit the opposing knight and the shield is placed correctly to block, but the scene shows a LOSS. I never could figure out a pattern and just kept reloading a save state and hitting buttons randomly until I won a match. Four wins means you are through and done with the game.
I assume the ATHLETIC PROWESS works to defeat another puzzle I haven’t seen yet.
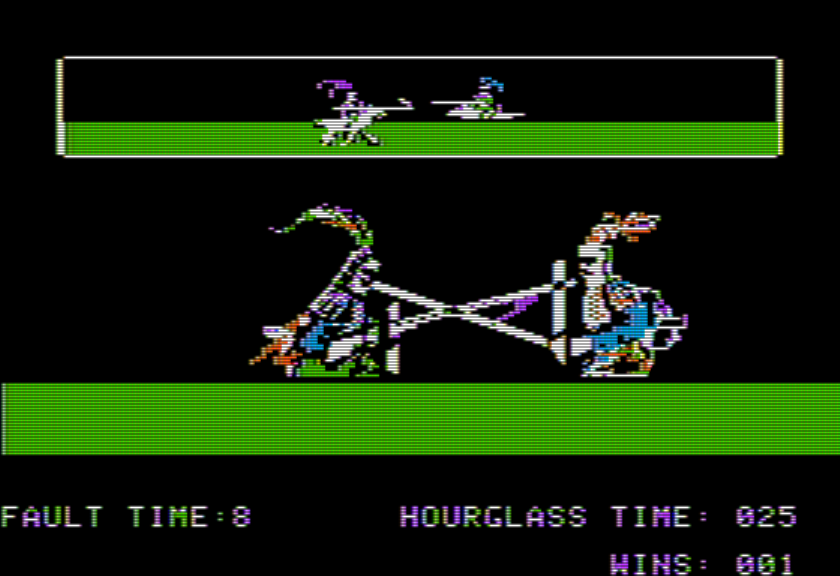
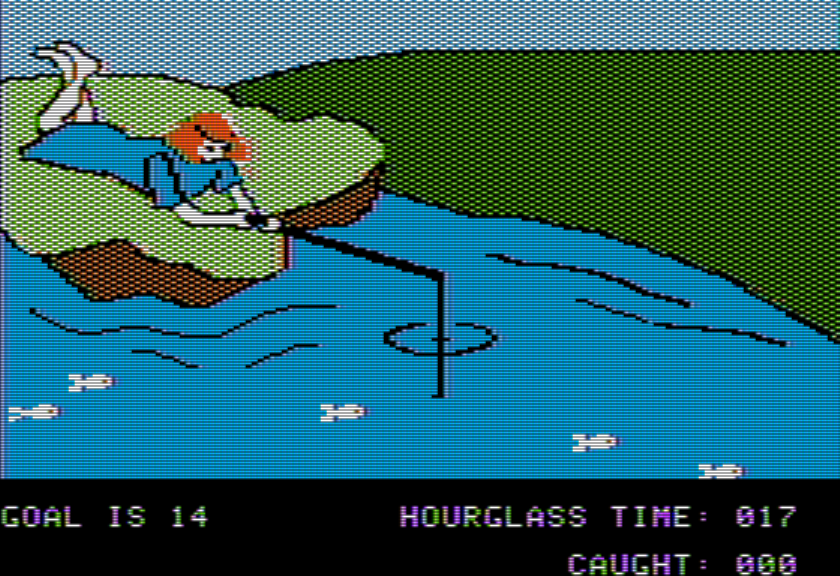
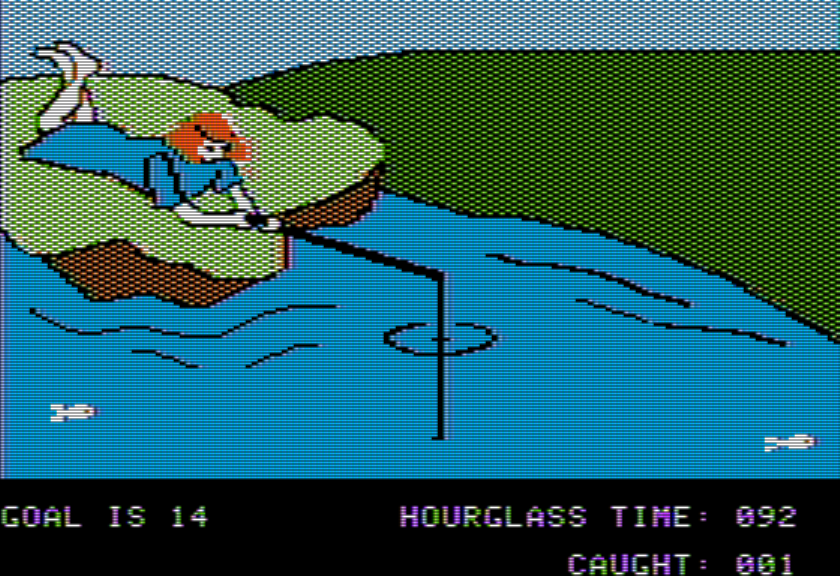
The fishing is at least comprehensible, although still finicky enough that I resorted to save states again.
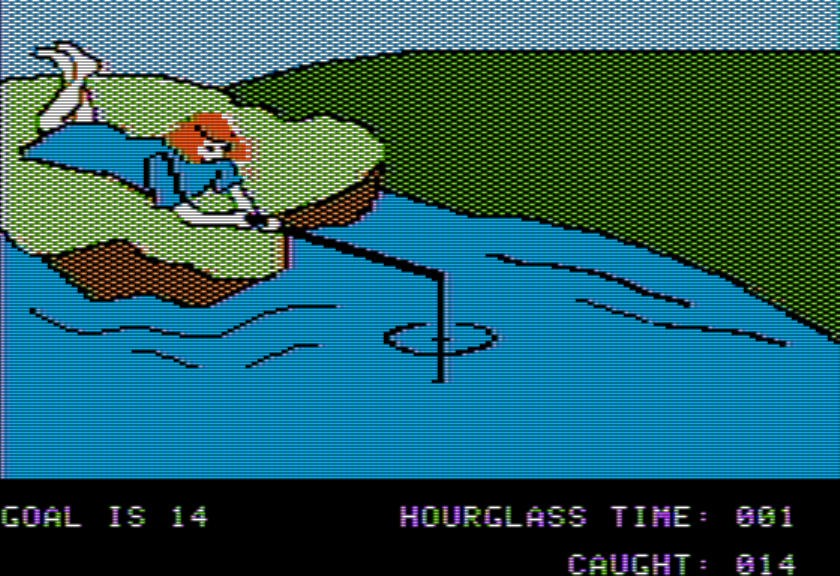
A and Z move the hook up and down, and the fish swim left to right, and you try to hit SPACE when the hook and fish match places. Your goal is to catch 14 fish before running out of time; time is not “real time” in a normal sense, but rather, the hourglass counts down by 1 if either a fish is caught or a fish is missed. You’ll notice I was cutting things tight above (goal of 14, 17 hourglass ticks) but I already knew from previous tests I was going to do save state abuse, and I was trying to fit both the jousting and fishing in one trip (without using up a bribe in order to increase time).
(Speaking of bribes: the only treasure I’ve found is still that necklace from the start. Given how long certain sequences take, I’m paranoid if I use the bribe early, I might get some later section that I won’t have the time to do on one jaunt before getting yanked back to the dungeon with the mirror shards.)
The main issue is the hitbox on correct presses of SPACE; there were many times it looked like a fish was properly being caught but it got away. I think there’s a slight offset (the fish maybe should optimally be a little below the hook?) but I never could figure out a pattern that worked consistently, so save state abuse ahoy.
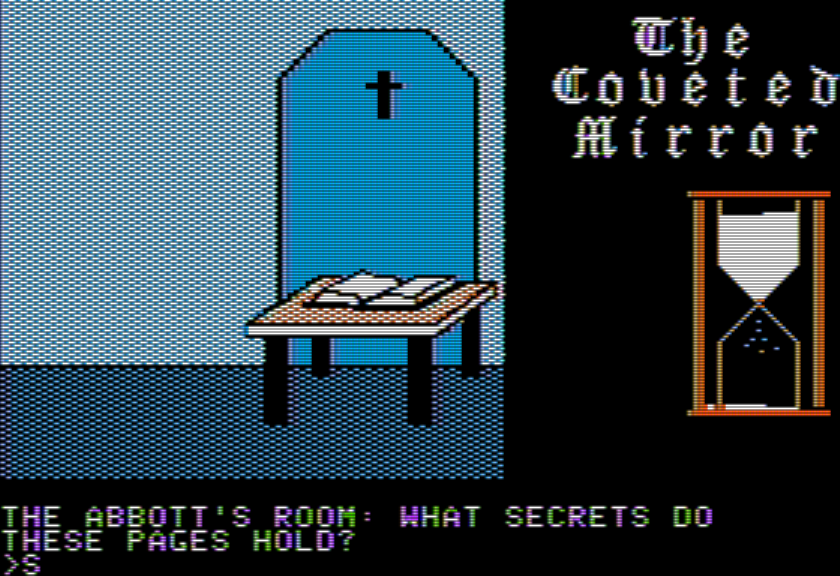
After winning at fishing, the game informs you that you’ve obtained enough patience / quietude in order to stealthily read the Abbott’s book without getting caught. It’s nice when a puzzle solve is so direct! The book also quite directly tells you that one of the pieces of the Coveted Mirror is in the church at the castle.
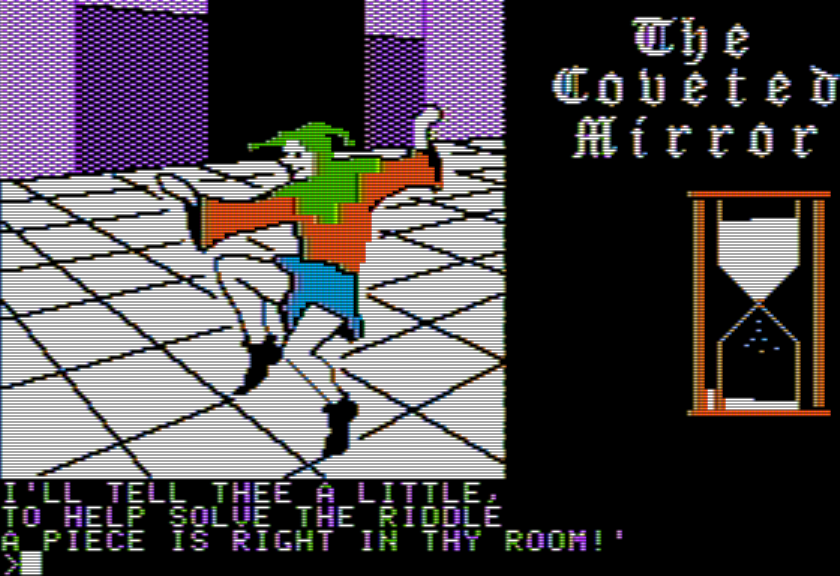
This is definitely a case where you need to see the information before the mirror gets registered (so it isn’t like we did the mini-game for nothing). I know this because there’s a similar situation involving another mirror piece that I did find, which you’ve been seeing on some of the screenshots, one in the shape of a rectangle. To find it, bring the horseshoe to the jester (who wanted luck) and he’ll give a poem explaining there’s a mirror shard right in the dungeon at the start.
Once you know that, going back to the Dungeon is enough to trigger the mirror piece showing in “inventory”. (You can’t even refer to it in the room! It just has the picture appear.)
I unfortunately have yet to make it to the castle’s chapel so I can’t get the third piece marked down yet.
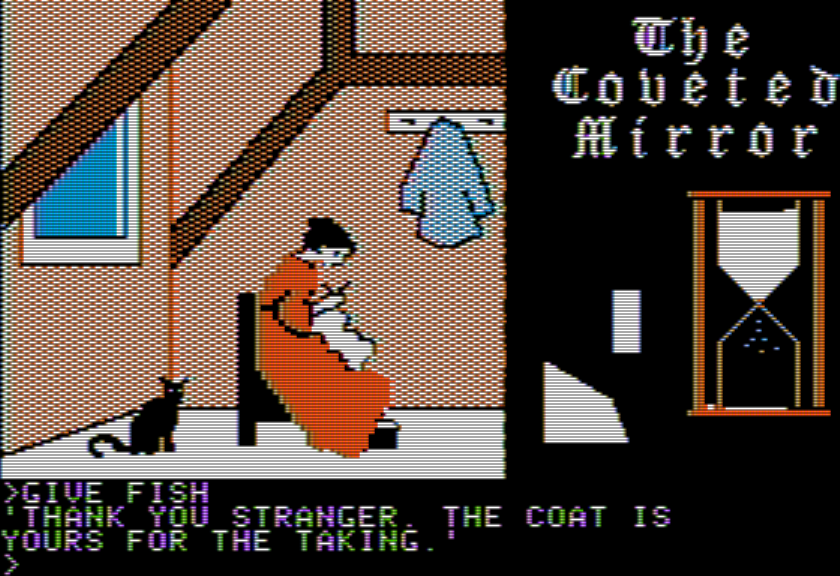
I managed to eke out one more puzzle solve, by taking the fish from the kitchen (only available via trapdoor, and you have to get caught right after, but you can retrieve the fish from the treasure room in the maze). I took the fish over to the sewing shop. I knew the woman there wanted a fish because I tried GET COAT and she’d indicated she would trade.
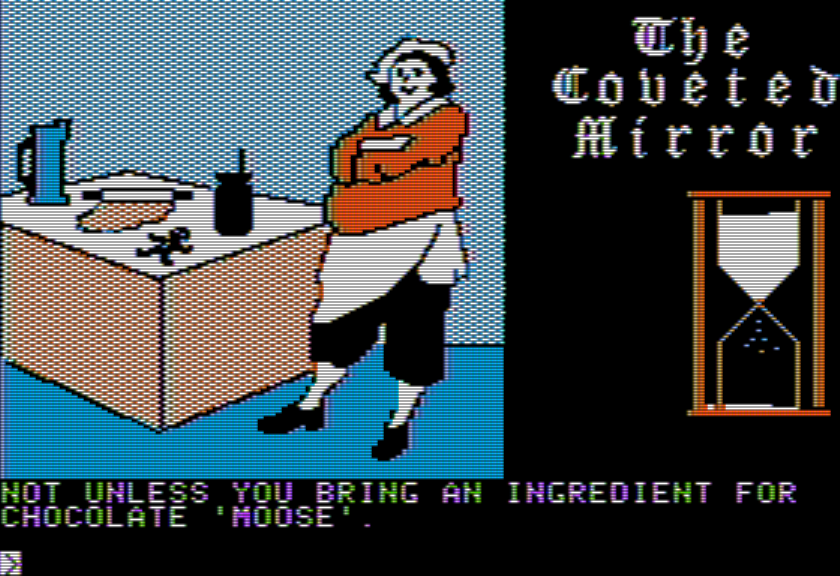
Some characters will say what they want if you just TALK, some will only say what they want if you try to take a particular item. The baker, for instance, doesn’t let you know about the chocolate moose ingredient until you’ve tried to GET COOKIE.
I do not know where the coat goes. I can’t USE COAT so I assume I give it to a person. There’s no obvious candidates. At least, there are custom messages when you give it to the wrong person, which is a very nice touch that makes the whole situation less frustrating.
It’d be hilarious if we then need to make a fake designer label, but this isn’t that kind of game.
To recap my issues, some which carry over from last time:
a.) two locked doors, one in the tower at the castle and one outside town at the hill
b.) I still need invisibility
c.) the people at the tavern (and the cryptic mention of sign language); relatedly, learning sign language for understanding the man at the forest
d.) the astrologer who pines after the fortune teller
e.) the “moose” ingredient
f.) the glasses for the fairy
g.) does Lady Vainly need anything or was that whole scene just for the grain?
h.) what to do with: bones, ax, coat, broom, and rope.
The game is keen on USE X so I may just need to start grinding (check every room for use of bones, ax, coat, broom, and rope).
I’ve got most of the map laid out, and things are open enough that I’m not really “stuck” but I wanted to report in anyway.
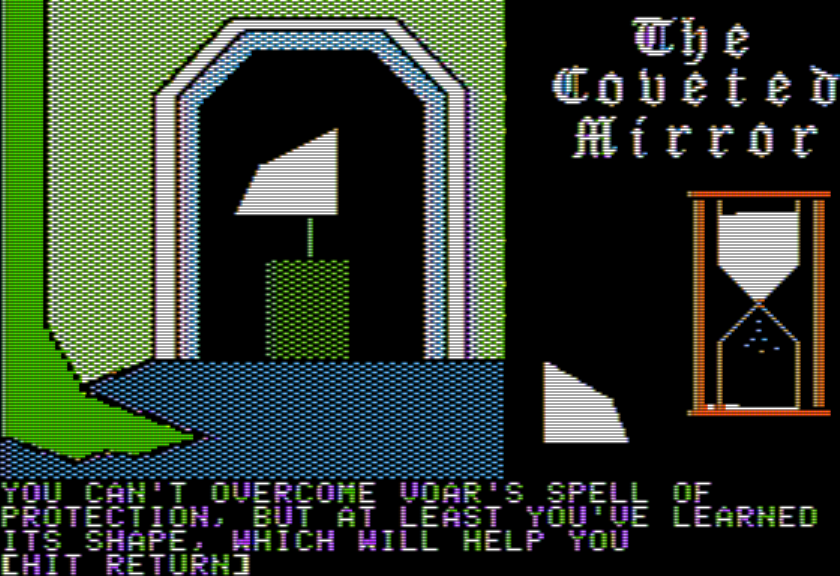
Story from the later version of The Coveted Mirror, via the Museum of Computer Adventure Game History.
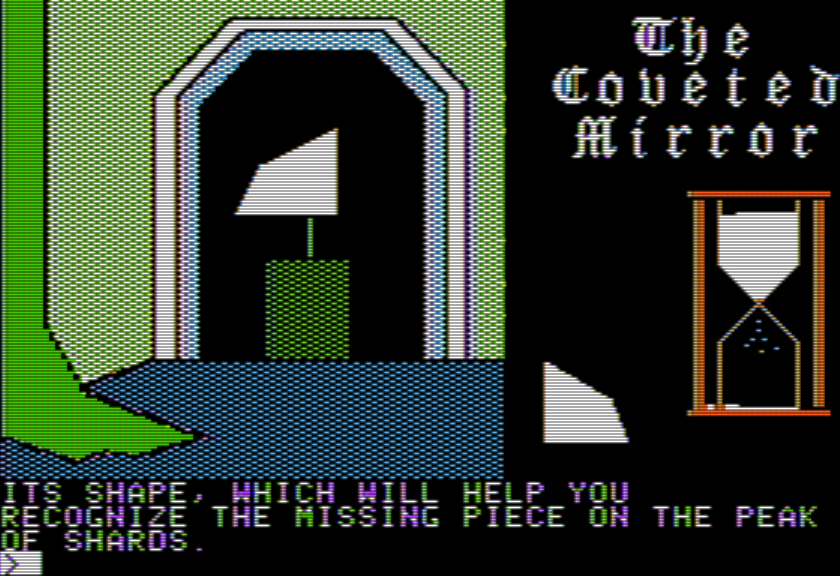
To clear one thing up right away, regarding the mirror pieces: you don’t pick up the ones you find. You instead just see them and remember their shape, and trying to pick one up mentions a “protection spell” (I’ve only found one of them so far, but it clearly is consistent across the game). This at least partly explains the setup: Voar doesn’t need to be near the mirror shards to use them, isn’t worried about sabotage, and probably doesn’t even know seeing what they look like would be necessary information to find the fifth missing shard (given he hasn’t been able to locate it).
I also think the original wizard is still alive, despite the original manual indicating he wasn’t. There’s also reference to a Queen so maybe that’s who Voar pushed out?
No invisibility spell yet. That would be lovely to find.
The player starts “locked” in the first floor of the castle in the Dungeon (not really that well locked), can travel to a second floor, can leave to go into a town, and a little past. There is a timer on each trip out of the starting room. After the timer runs out, you get teleported back to the start, and lose any items you are carrying to a holding room on the second floor.
You can bribe the guard that checks the room for extra time. This required first having the bribe — there’s a necklace you can find early that works — and then typing WAIT while hanging in the Dungeon. Then you hand the item over and the guard gives you extra time.
I’m honestly not fully sure on the formula here, but I think the more valuable an object you give, the more extra time you have. It may be possible to not bother at all with this mechanic but since getting deep into (and past) the town does take a decent chunk of clock, it may instead be impossible to win without resorting to at least a little bribery.
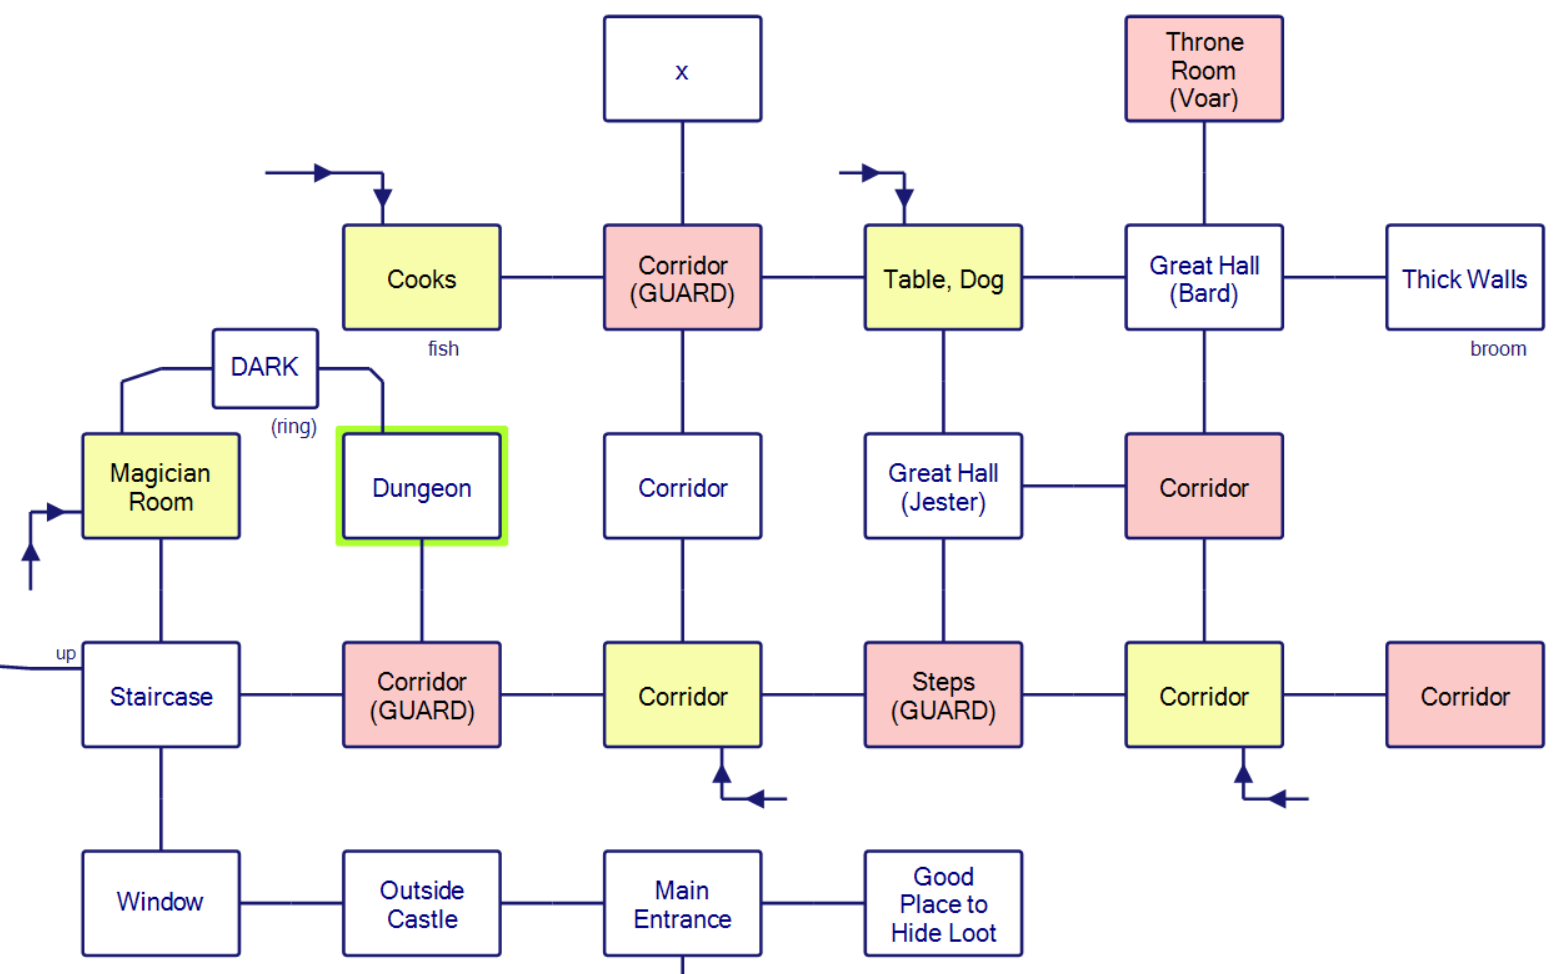
Red spaces are spots you get caught. Yellow spaces are places you land from trapdoors (more on that shortly).
I incidentally say (GUARD) for all the red rooms but some of them are courtiers or other hangers-on of the evil Voar as opposed to proper guards. Any run-in will send you to Voar then back to the Dungeon (and one of your 25 times you can get into trouble gets used up).
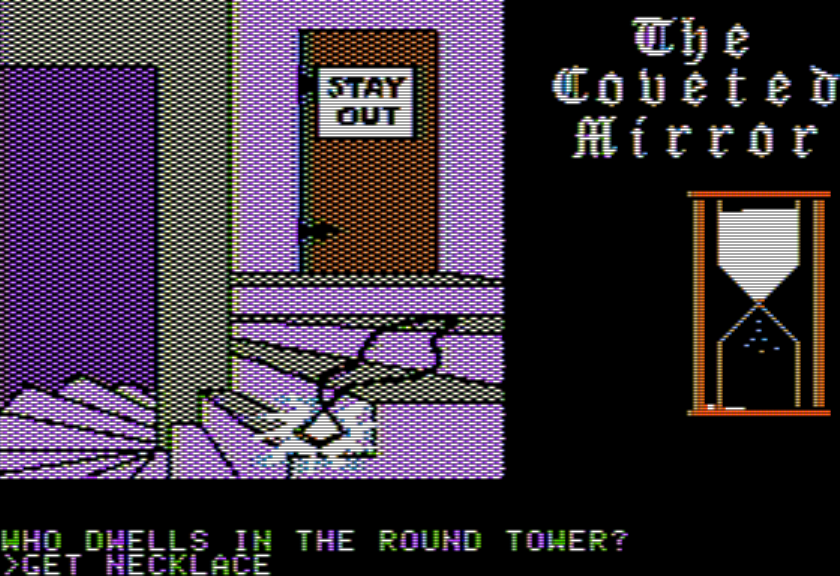
From the Dungeon you can just move a bed to sneak your way out (through a dark room that I later managed to light up). Going south leads to a staircase, going up then leads to a mysterious locked door (and that necklace that helps with bribery).
One element to highlight (as touched upon in my last post) is that text is extraordinarily sparse and sometimes doesn’t try to describe the room at all (as in the above scene). The game is dependent on you looking at the picture and figuring out not just what to interact with but what nouns to use. Here “door” and “necklace” aren’t that hard to come up with, but later there are multiple items in a scene where I had to guess if the game would let me pick up something in particular.
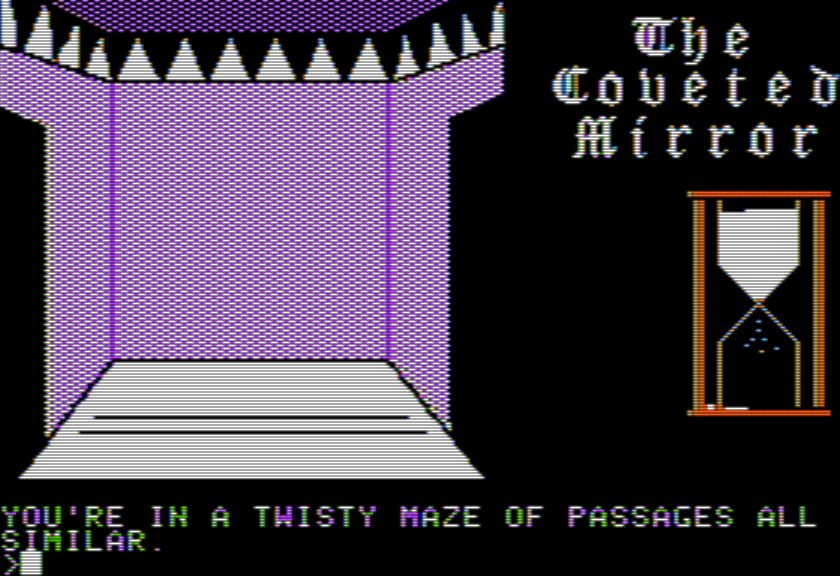
I incidentally have no idea yet how to unlock the door. You can ignore it for now and go south or east, which leads to a maze which takes up the second floor of the castle.
The “twisty maze” aspect isn’t done in a classical Crowther/Woods sense, but rather in having trap doors which will shoot you back to the first floor.
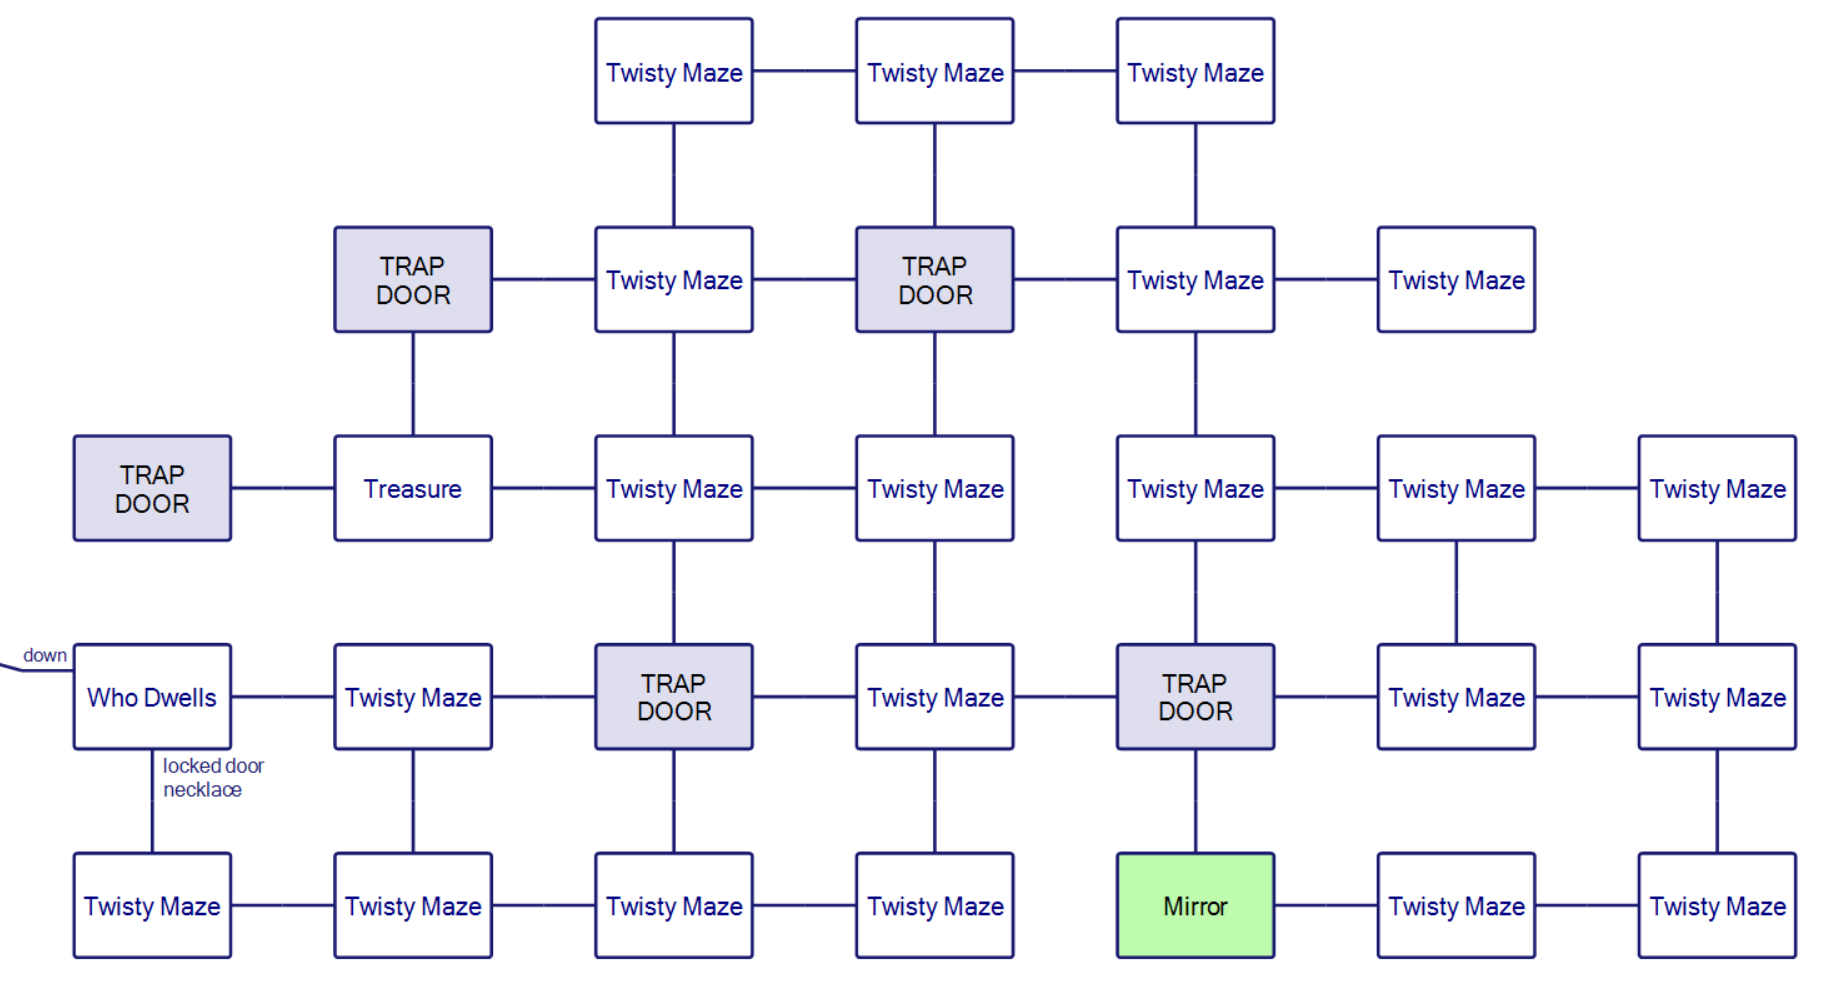
These trap doors correspond exactly with the yellow rooms from the earlier map. This can be helpful as a way of jumping past the rooms you can get caught in. Before trying that, I should also point out:
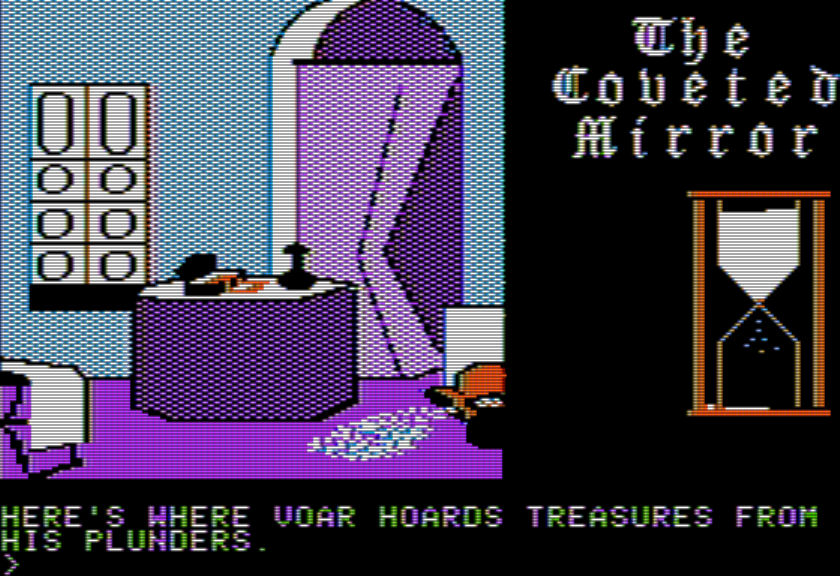
a.) Going E-S-E-E-N-N-W-W from the necklace drops you in Voar’s treasure room; if you get scooped up back to the Dungeon while holding items, this is where they go. Unfortunately, that’s a lot of steps to start a run, so that already runs a fair amount of the hourglass out; I think the game intends you to time things out, storing items safely so you don’t have to deal with this.
You can hit ENTER on its own like a Sierra game to switch to text mode; if there’s items here they’ll be listed before the short description.
b.) One of the pieces of the Coveted Mirror is in the maze.
This is the first mention of the Peak of Shards. Metacommentary is an odd place to be introducing lore.
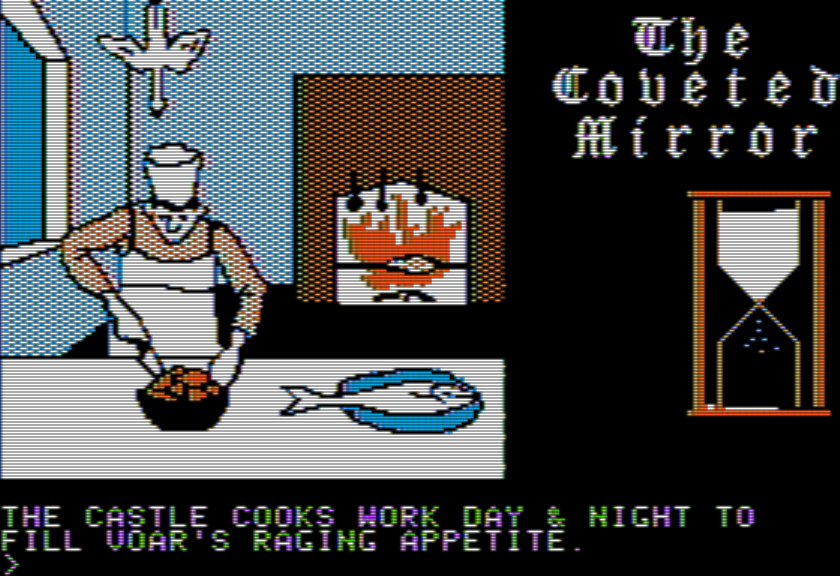
Dropping into trapdoors, you can make it into a kitchen…
Despite lots of visuals going on, the only thing I could find to do was GET FISH.
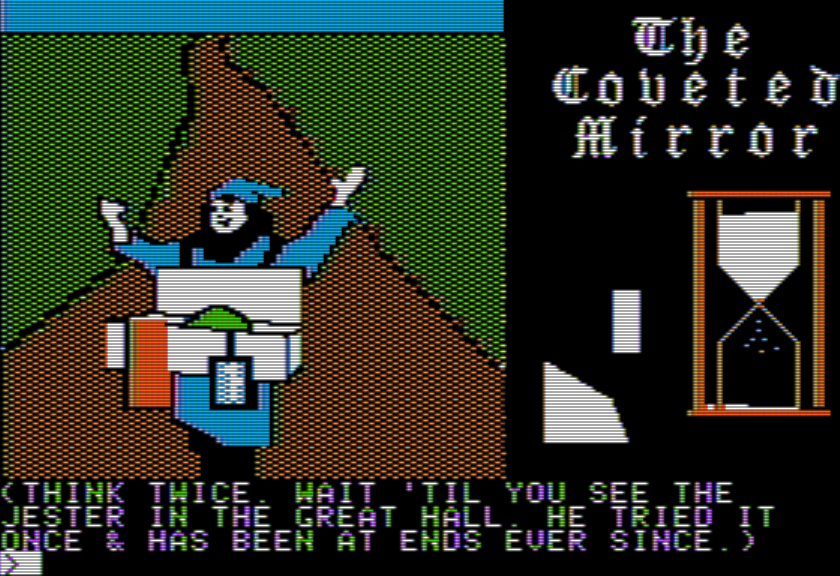
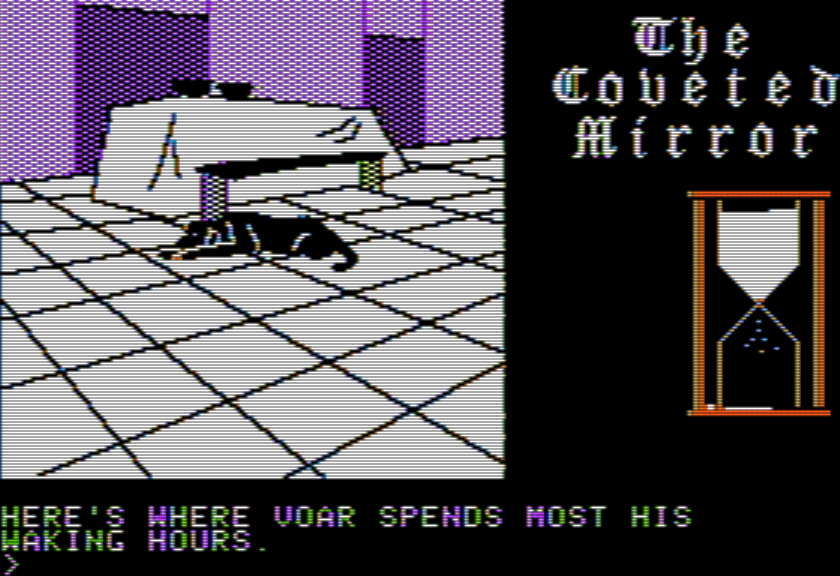
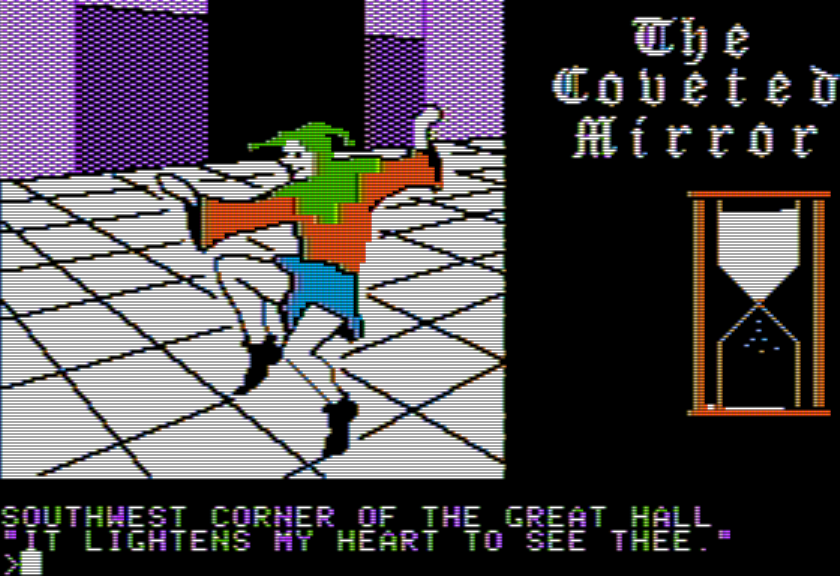
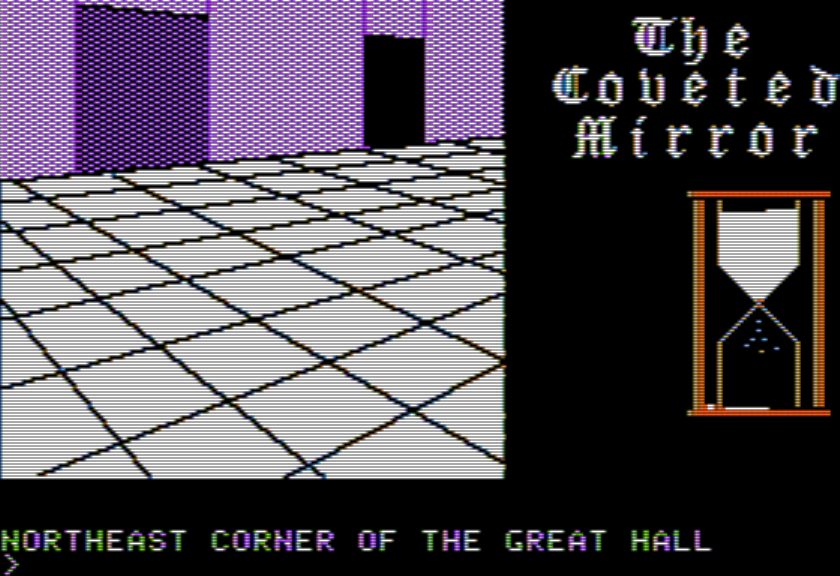
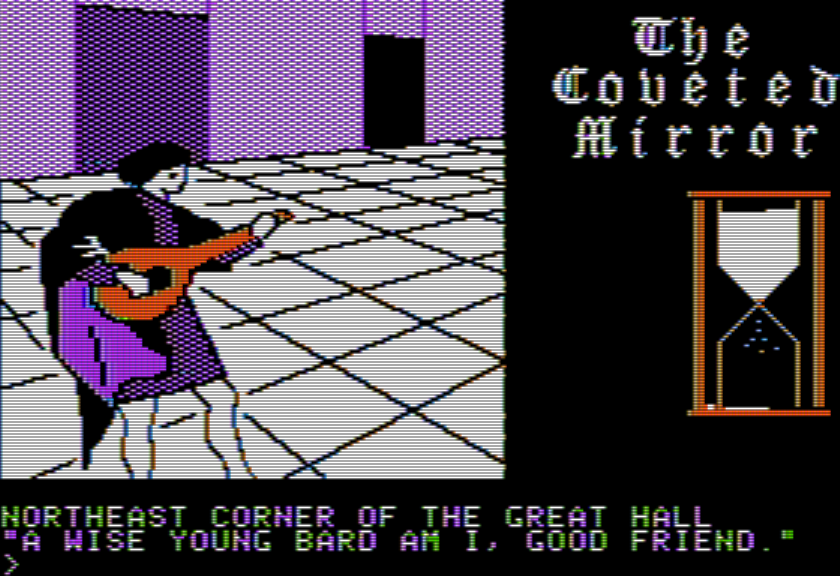
…and also a Great Hall.
This seems like a good moment to remind you that many of the scenes are animated; in this case the dog’s tail moves. I haven’t been able to interact with it but I assume some kind of food or bone would be appreciated.
The Great Hall is connected up with Voar’s throne room if you feel like getting yourself caught directly, and two rooms which have a random chance of encounters. This mechanic shows up much more in the town, but I’ll mention now there are a fair number of rooms where you may or may not meet a character.
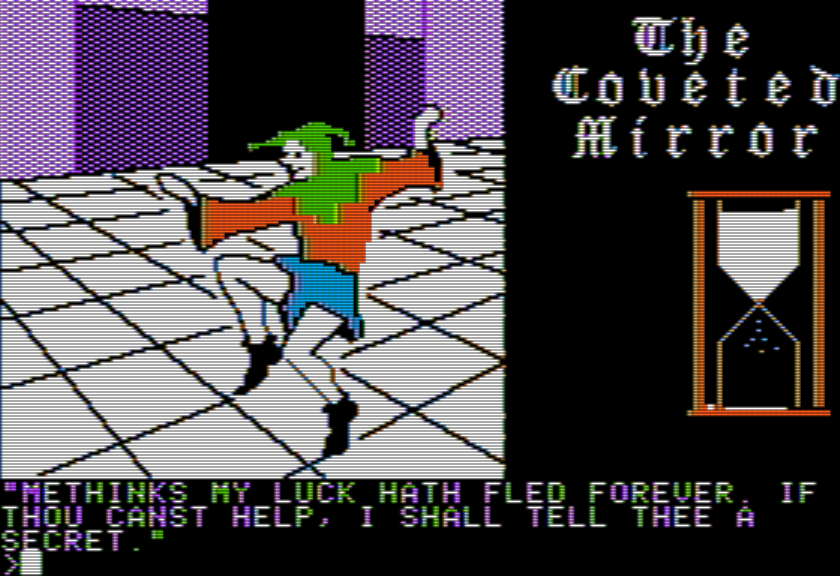
South of the dog is the jester.
TALK gets this response. I think I know what the jester wants, just I haven’t managed the logistics yet of shuttling the item over here. It wasn’t clear to me right away that this was even an item request, I thought for a while maybe OFFER HELP or the like would work, but conversation seems limited to TALK in each location it can happen.
East of the dog is a bard (which, again, shows up at random — the hall may be empty).
Doing TALK here gets the response:
SO MUNJISTAN & HIS SILENT FRIEND FARED LONG AGO TO THE MOUNTAIN BEND. IF YE ASPIRE TO ASCEND, WAIT WITH THE RING AT THE DARK FOREST’S END.
I don’t think any further puzzle is here (although if a music sheet shows up it would be worth taking to the bard). North is where Voar is hanging, and to the east is a room with nice art and not much description.
Just a general fact about the keep, rather than trying to describe the room (and making clear the broom is takeable).
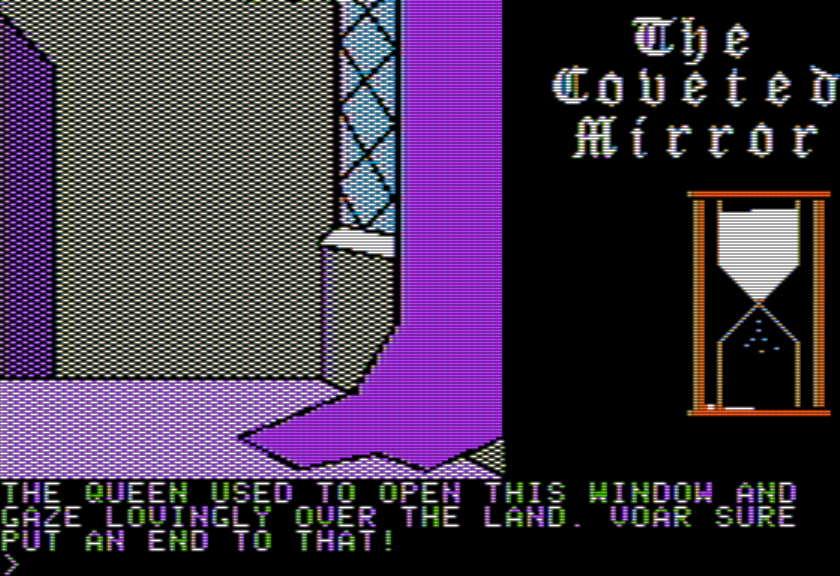
Time for an escape! Fortunately back at the staircase you can just go south, and there’s a window you can open.
The random mention of the Queen. I hope I’ve made clear why the confusing lore like this can be frustrating in an adventure game; is there a Queen that’s alive we are trying to find? If so, that means some artifact that seems like it belongs to the Queen might be an aid in finding her. Maybe she’s in the tower past the locked door?
To the east of the “main entrance” you pass by is a “good place to hide loot”; I haven’t experimented with if there really is a problem dropping objects in random places and you have to be strategic to avoid things being yoinked.
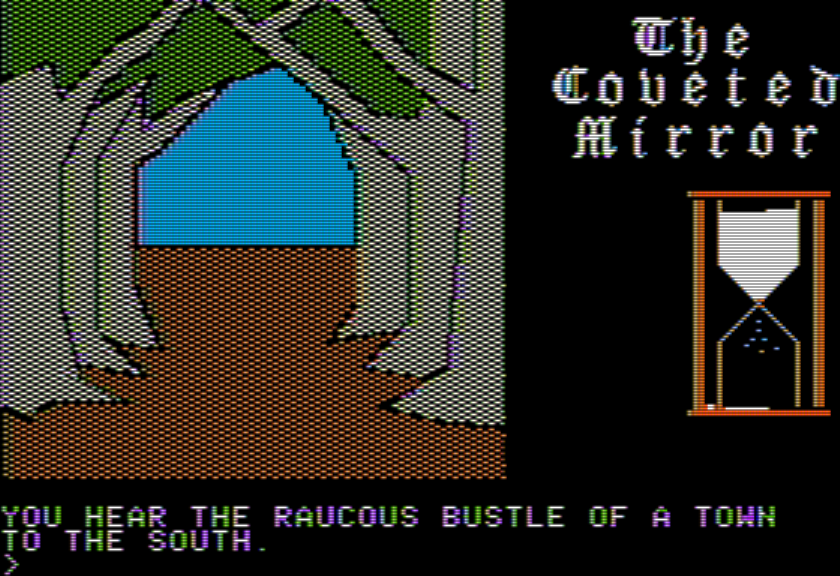
You see this as walking away from the castle and towards the town.
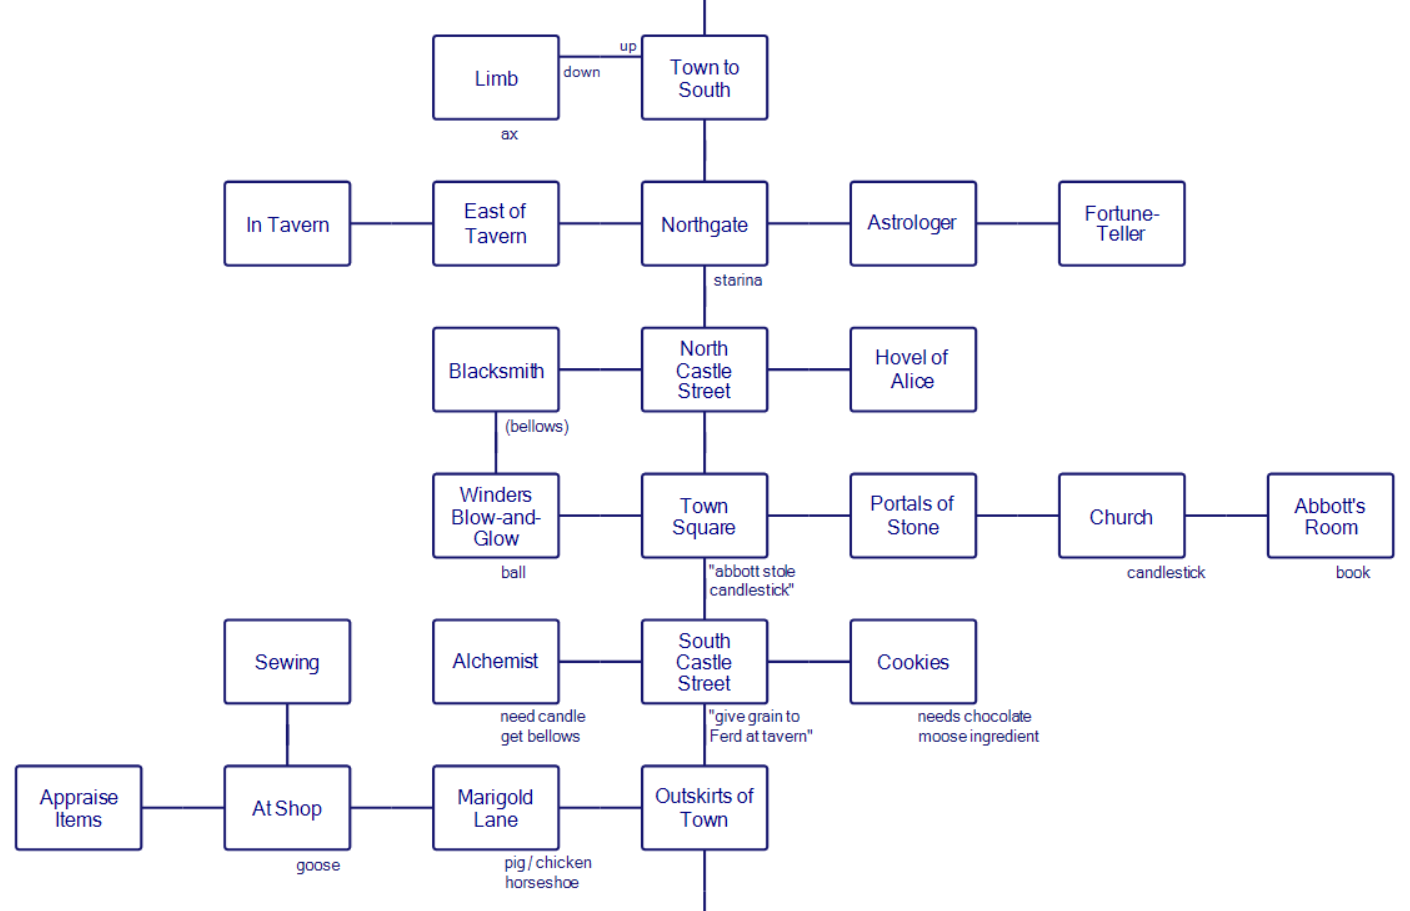
Here’s my map of the town:
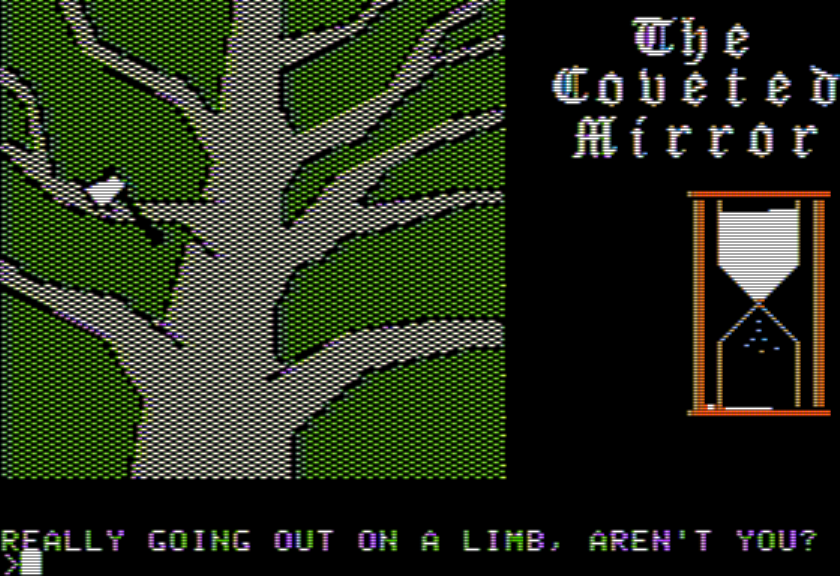
There’s a lot of content, and I’ll mostly take it north to south. At the far north there is a tree where going UP lets you climb and find an AX.
It’s not clear these are climbable trees. Fortunately I was obsessively trying N/S/E/W/U/D in every room.
If you try to take the AXE the game suggests you use AX instead. I find it fascinating when the game clearly understands your meaning but tries to force your typing in a particular way instead rather than just recognizing the alternate spelling method.
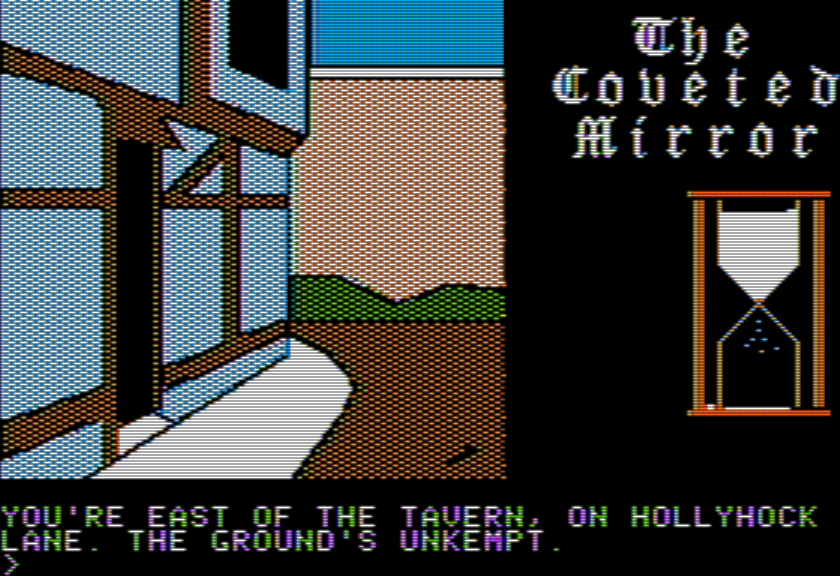
The next east-west row has a tavern on the far west, where you get something stolen when you enter. I haven’t noodled here at all nor worked out if the game is softlocked once an item is stolen.
There’s a gate where “Starina” (optional encounter) tells you IN THEE LIES THE HOPE OF ALL STARBURY. GREAT HOPE MAKES THEE GREAT! and I’m again wondering what the biographical context of our main character is, and if it matters for any puzzles.
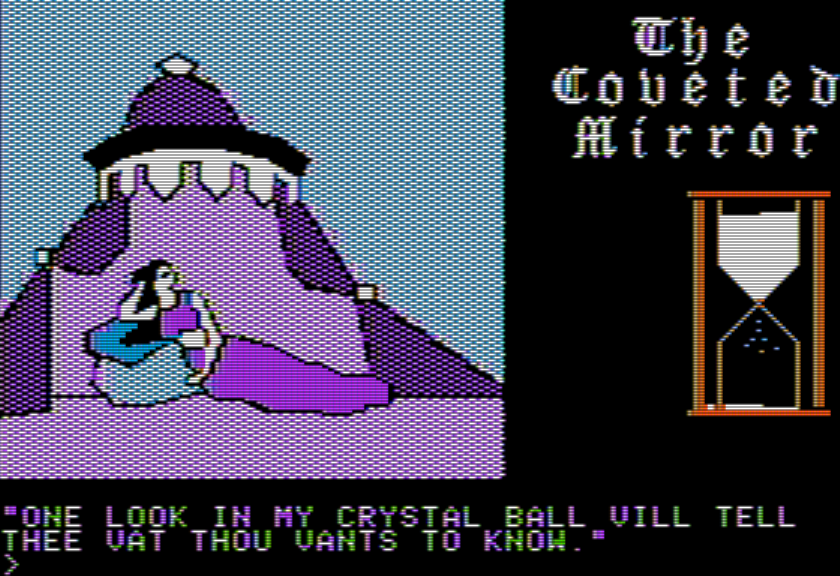
Past Starina to the east is an astrologer, who is pining after a fortune-teller, and the fortune-teller right next to him.
We’ll be back here later with the crystal ball she wants.
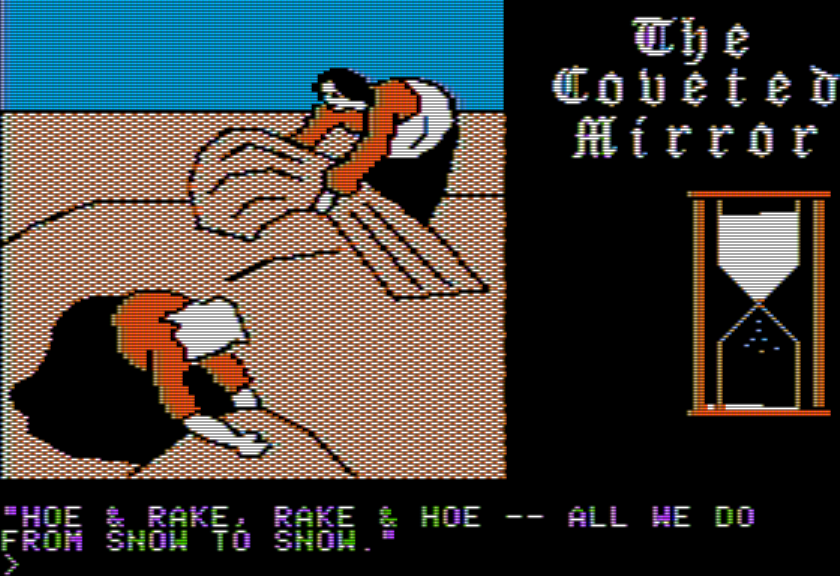
Going back to Starina and heading south, there’s a blacksmith (who needs something to help with his fire) and a hovel.
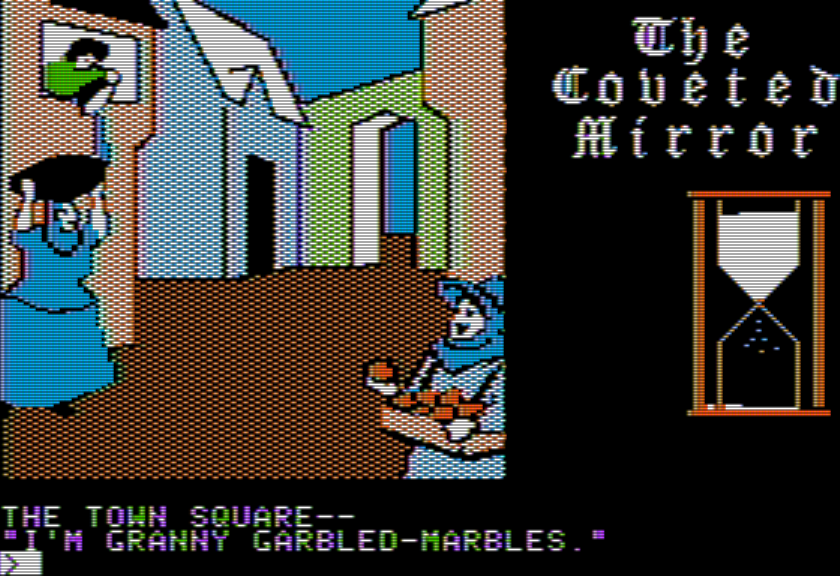
South even further is a “town square” with multiple possible encounters, including “Granny Garbled-Marbles” who lets you know a candlestick of hers was stolen by an Abbott.
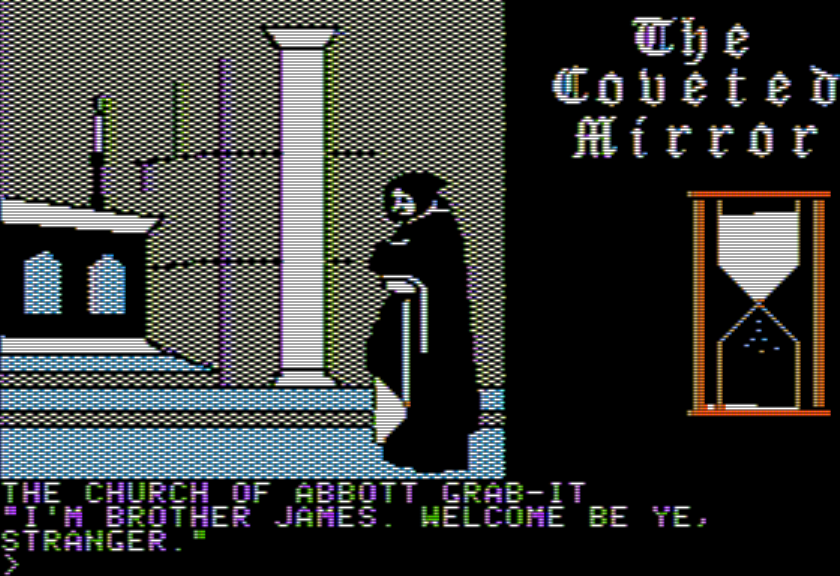
To the east is a church, with Brother James (and the aforementioned candlestick) and the Abbott’s room.
If you try to read the book, the Abbott appears and throws you out.
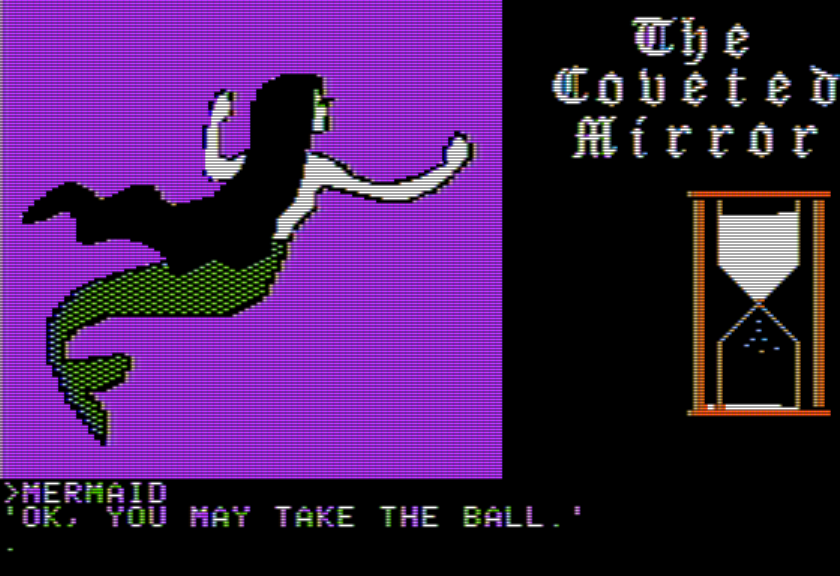
To the west is a glassblower place, where you can find a crystal ball. This is the ball you need to take to the fortune teller (mind you, the fortune teller seemed to indicate she had lost her ball and you’re finding it … this seems like you’re getting a new ball?) When trying to GET BALL the glass-blower first quizzes you on what a picture is, showing it piece by piece; you need type MERMAID and you can go ahead.
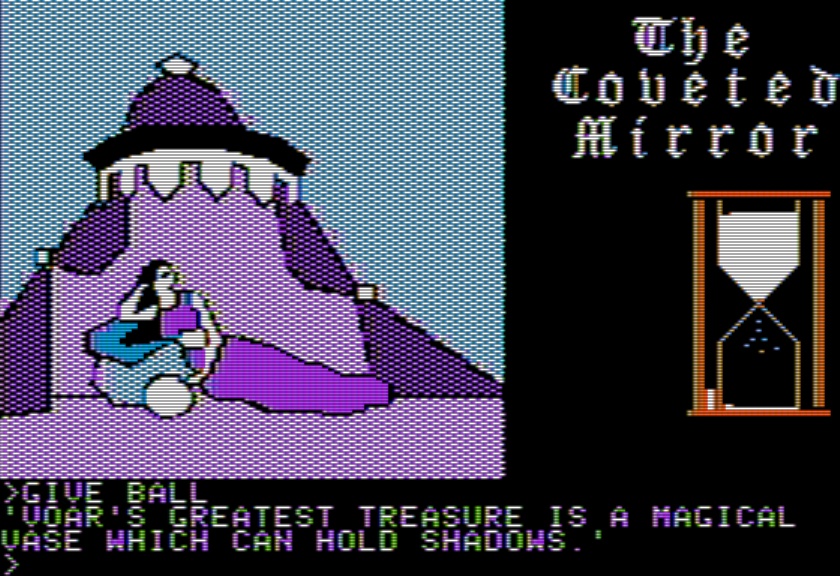
Just to jump ahead a bit, if you take the crystal ball back to the fortune-teller, you get told about a magical vase:
Was the scene necessary to win, or will you find the vase anyway even if you don’t hear about it first?
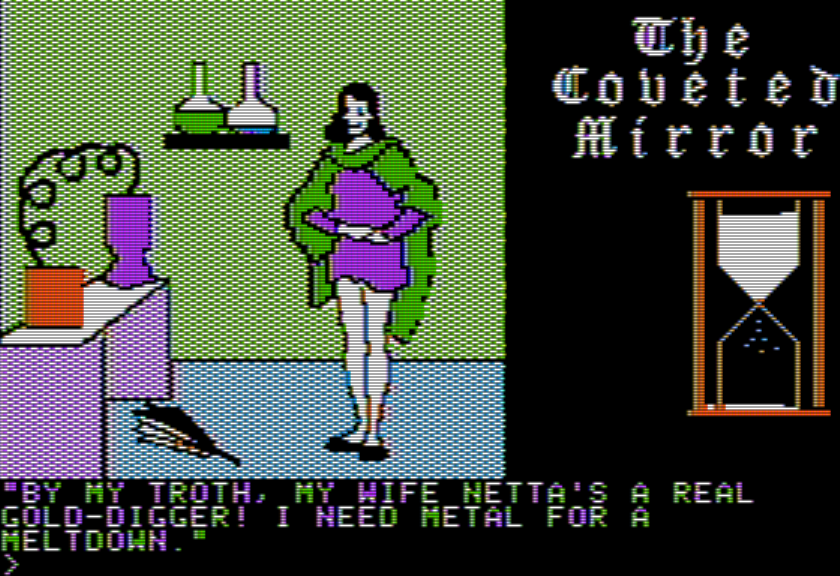
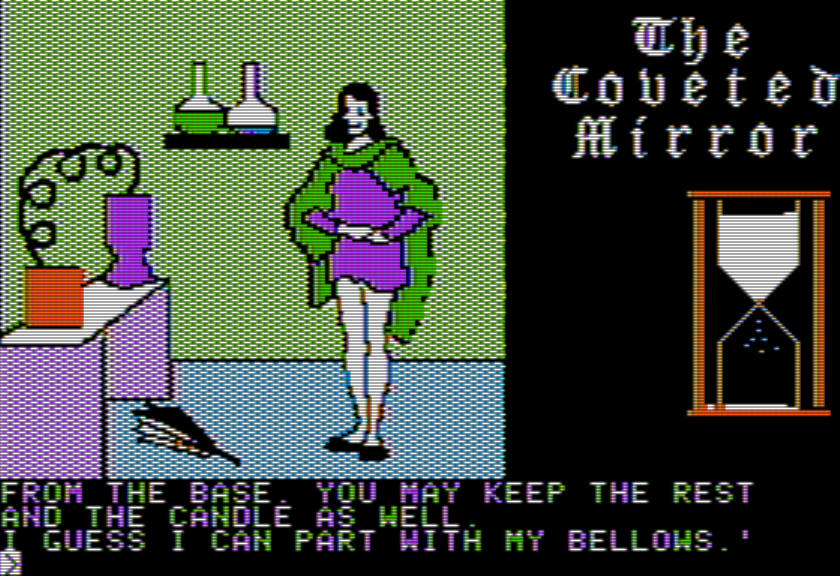
Resuming our north-south walk, on one side is an alchemist.
He needs the candlestick. I’ll do that whole sequence in a moment.
Across from the alchemist is a bakery, where the person inside needs an ingredient for chocolate “moose”.
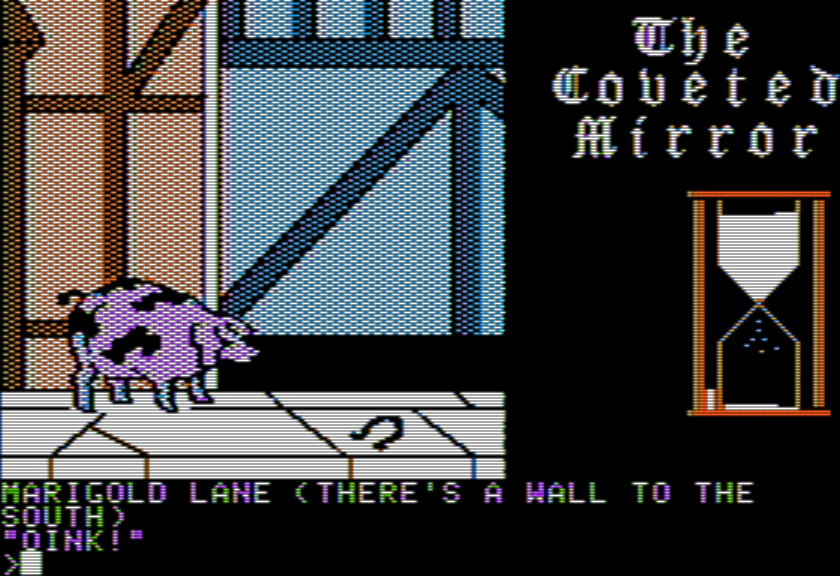
Reaching the outskirts of town, there’s a path passing by a pig, chicken, and goose (at various moments, their appearance is random); there’s also a horseshoe lying around which I believe is the lucky item the jester wants.
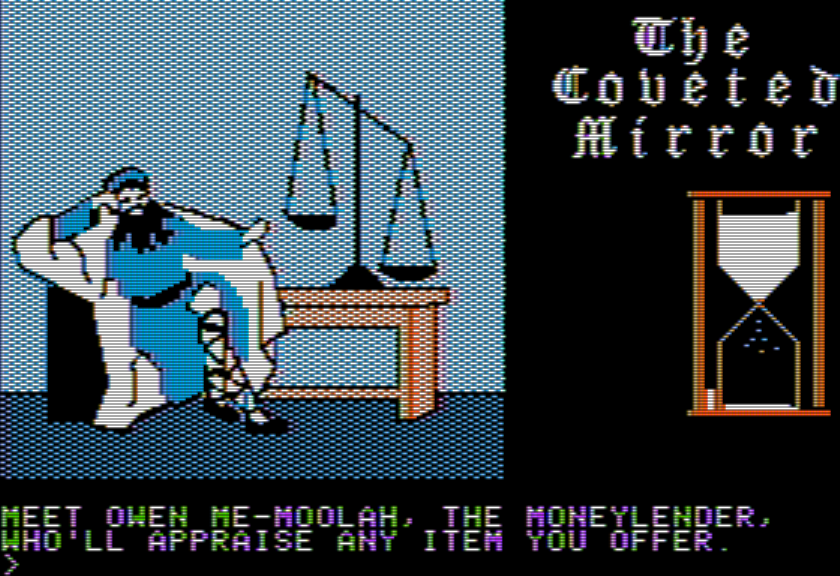
Further on is a shop where you can “appraise” items. It will determine which items are considered valuable as bribes (this is quite directly given in the text — something is listed as valuable or not “TO GUARDS”).
Also, there’s someone sewing with a cat.
There’s still more map south past the town, but I’m just going to highlight a couple things. First of all, you can find a joust minigame. You are informed you need to win four times in a row. You can move a shield and a lance independently, and it is possible to win, lose, or tie at any clash. I don’t know what you get if you win.
(The game also keeps track of your hourglass time and you will get booted back to the Dungeon once time is up.)
Similarly, you can also find a fishing minigame nearby. Again, I’m not sure what the reward is, although I found this easier than the jousting. Again, hourglass time will pass as you fish, so it is possible to lose by getting booted back to the Dungeon.
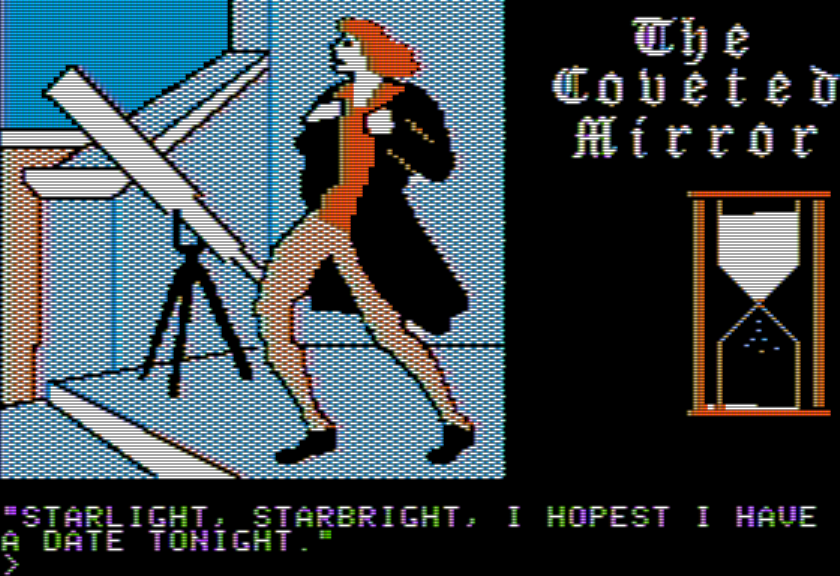
This and the other minigame show our avatar!
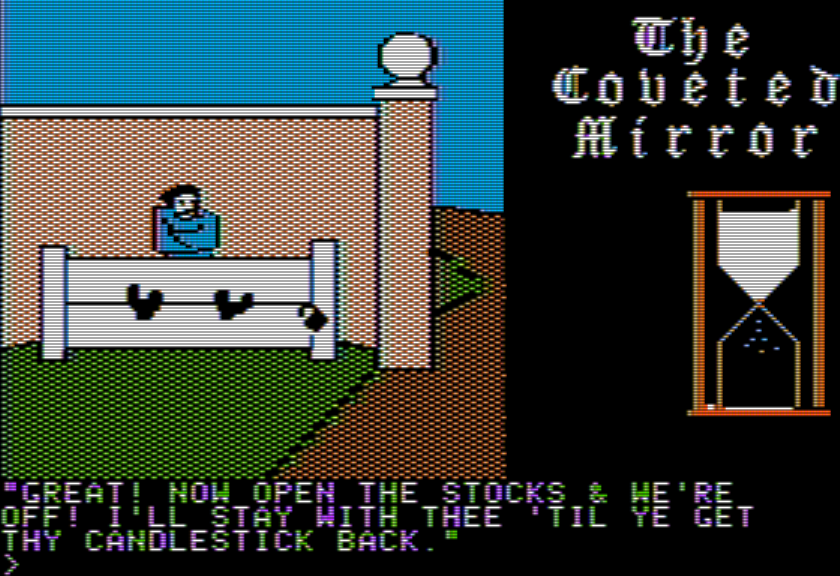
Finally, there’s a stockade just outside of town. If you talk with the criminal within, they let you know they have a lockpick out next to the tavern. You’ve actually seen the lockpick!
That little dot and line in the bottom right is the lockpick! (This, plus the minigames, plus the emphasis on parsing the world visually rather than reading text, plus the people appearing at random, make me think of later Sierra games.) You can just GET LOCKPICK, even if you hadn’t heard about it previously from the criminal.
With the man free, head over to the church, and he’ll cause the Father to chase him so you can grab the candlestick. You can then take the candlestick over to the alchemist who will take some of the metal for alchemy (not the whole thing) and he’ll give you his bellows. You can then take the bellows over to the blacksmith who will trade you his shovel for the bellows. I have yet to be able to dig anything up with the shovel.
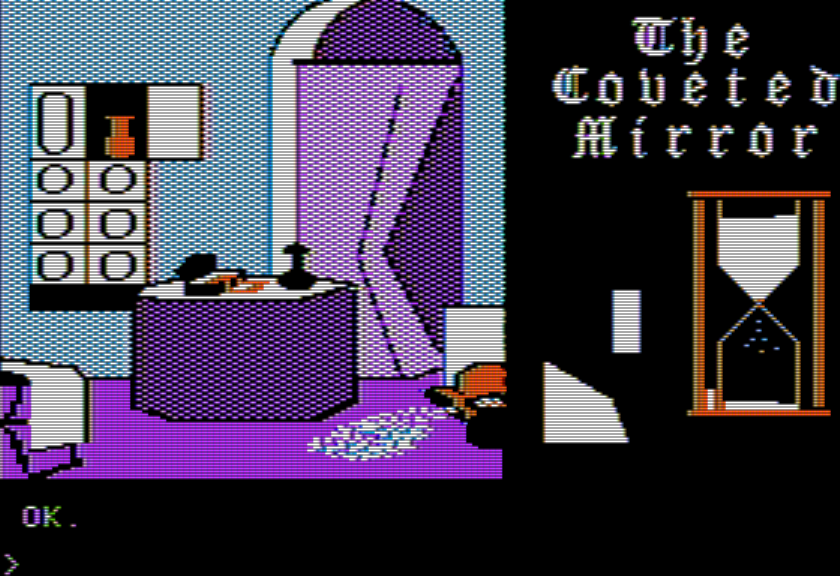
That’s mostly it for this update, but one more thing: I was captured with all the aforementioned items, retrieved them, dropped down the trapdoor to the magician room, and then lit the candle using the fire at the flask. I could then open the cupboard and go in where it was dark, finding an item.
Just to recap the obstacles remaining, I need to deal with
a.) the jester (just need to get the horseshoe over, most likely)
b.) the locked door
c.) the various people in the halls (likely need the invisibility spell, likely meaning I need to find a witch)
d.) the people at the tavern (and the cryptic mention of sign language)
e.) the astrologer who pines after the fortune teller
This might just be for color, but maybe you give a flower or something along those lines.
f.) the Abbott and the book
g.) the “moose” ingredient
h.) something at the sewing shop (nothing seems to be requested?)
i.) winning the joust
j.) winning the fishing
k.) some exploration past the town which I’ll save for a different post
l.) probably at least one thing I’m missing because of the random appearance of characters and also the fact exits aren’t mentioned, so I have to test N/S/E/W/U/D in every room and I likely missed one by accident
I haven’t had a game split in this many directions in a while. The time-limit part is interesting in keeping each expedition “directed” (for example, jousting and fishing take enough time that they likely each need their own individual journey, without any extra stops). I certainly don’t need any hints or suggestions yet, so please save those for if I later get stuck.
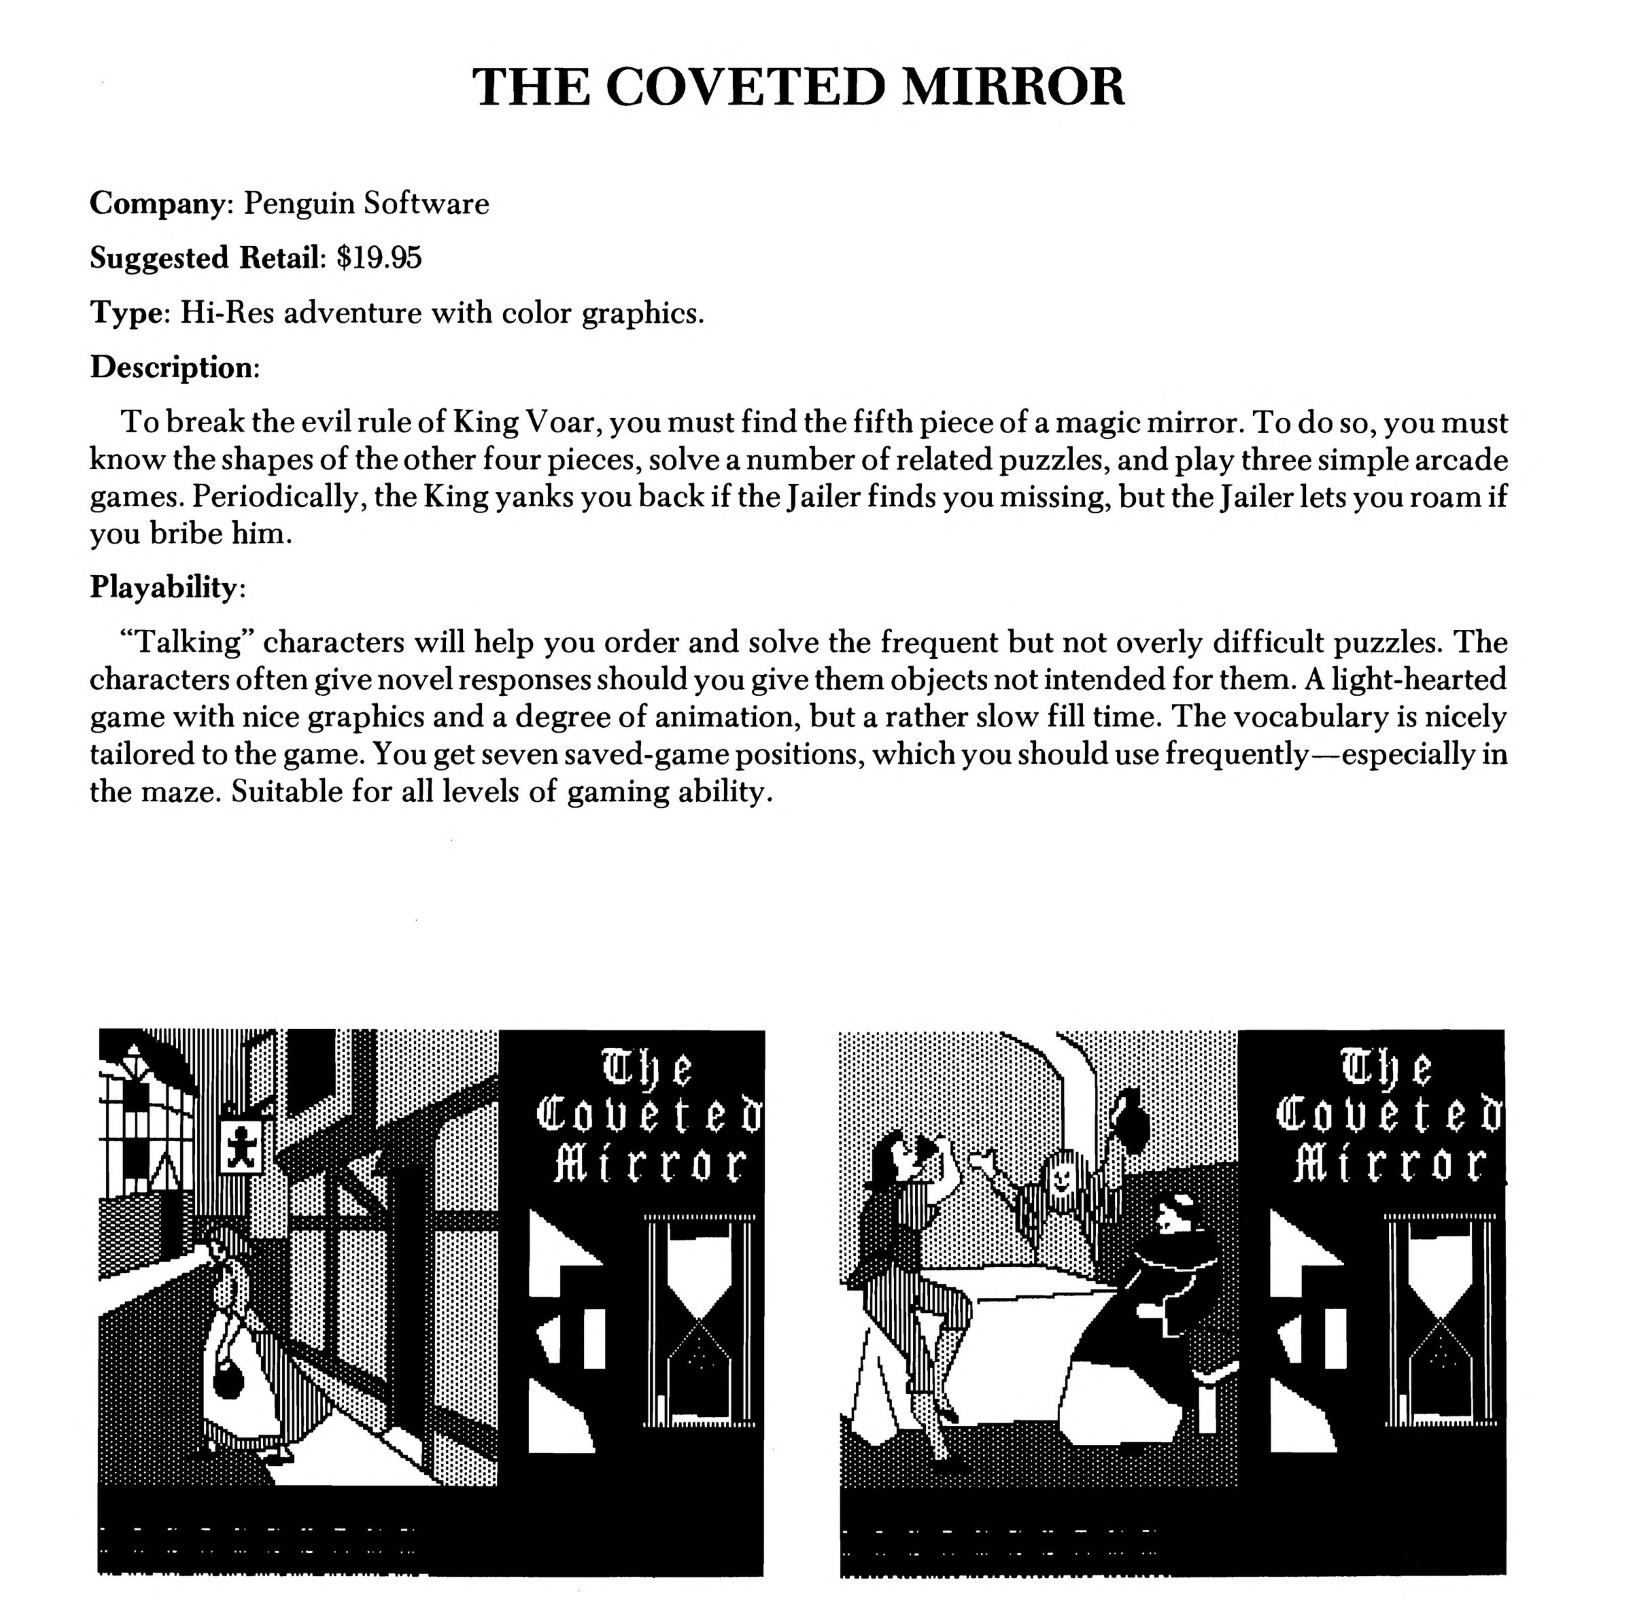
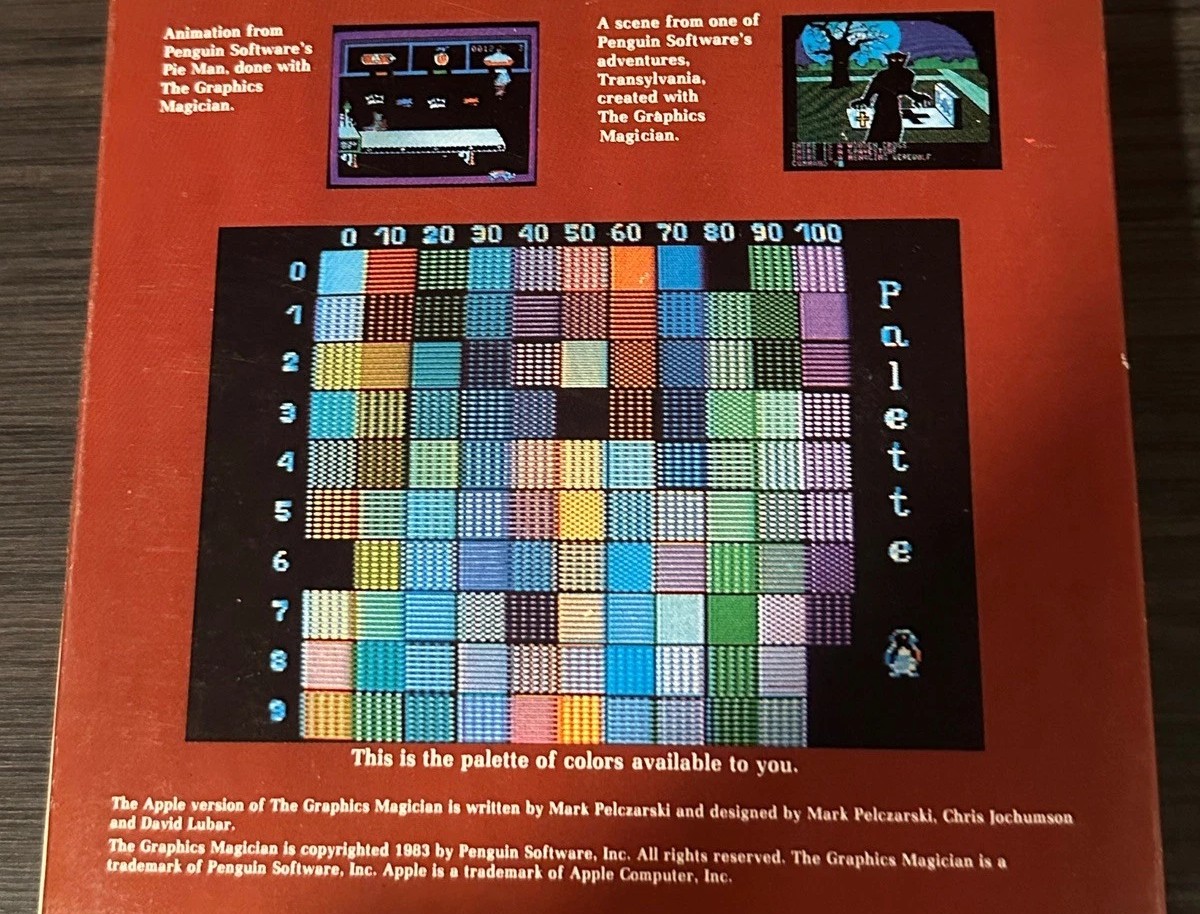
We’ve featured companies here before (like Adventure International and Sierra On-Line) that started their main development in games, with a few extra utilities being sold on the side. When Mark Pelczarski formed Penguin Software, their initial core product was (rather than a game) their Graphics Magician, which held them steady through their early years. However, they eventually became prominent for their adventure games: Transylvania, Crimson Crown, The Coveted Mirror, The Quest, and their re-published version of Oo-Topos (originally without graphics at all). Considered across multiple platforms, the adventure games are what sold the best for Penguin, but it took The Graphics Magician existing in the first place for those games to appear.
Their first adventure game, Transylvania, came to them essentially by accident and didn’t originally have graphics. They got the author (Antonio Antiochia) an early copy of Graphics Magician to make it a flagship product alongside The Graphics Magician.
After The Graphics Magician was published, they got a call from a programmer named Eagle Berns at Stanford. Burns had been there as a programmer since 1959 (and their IBM 650), overlapping with the early computer science great Donald Knuth. Close to when he started his Apple II journey (1980) he worked some on LaTeX (one of Knuth’s projects) as well as Foreign language processing at Stanford.
Importantly for us, he decided to pivot to personal computers and specifically the Apple II, and using The Graphics Magician he had written a game using the tool with Michael Kosaka. (Michael Kosaka only has a small part to play in today’s game, but as an aside: of the people I mention today, he had the deepest involvement with later games, working on Skate or Die, Madden NFL ’94, and an unreleased Sonic game for 32X which would require a several-thousand word essay to adequately explain.) Quoting Pelczarski on Burns:
A great, creative person, he went on to make his mark at Apple Computer (on the Macintosh team), Micro Focus, and Oracle. But first and foremost he turned into a good friend who also happened to write, with Michael Kosaka, the first game with Graphics Magician: Pie Man. The game was loosely based on an I Love Lucy skit, with pies coming rapidly off a conveyor belt while you try to put whipped cream and a cherry on top and put the pie in a rack, while avoiding grease spots and obstacles. (Remember that these were the days when state of the art was Break-Out, Space Invaders, and Pac-Man.) A non-violent game with a bit of personality was very unique and new.
The non-violent part is worth highlighting; Scott Scram started writing games for Penguin with Crime Wave, and wanted to follow up with something “completely non-violent”; Mark Pelczarski suggested porting Pie Man to Atari.
People who play violent games excessively may do so for psychological reasons. Perhaps they seek a jolt of self-medicating adrenaline, or they need to feel powerful in the game world as opposed to feeling powerless in their real lives … I enjoyed porting the game, and it turned out well with the use of some Atari additions such as a 4 part musical soundtrack.
Unfortunately, the world was not ready to give up the really cool violent games that were coming out at about that time, and the game did not sell well. But, the popularity of Tetris, solitaire and others prove that there is a market for non-violent games and puzzles.
A video of some of the Atari version below:
Eagle Berns followed up Pie Man with an adventure game, The Coveted Mirror, working with his friend Holly Thomason (and a small contribution from Michael Kosaka, which I’ll highlight when I eventually reach that part of the game).
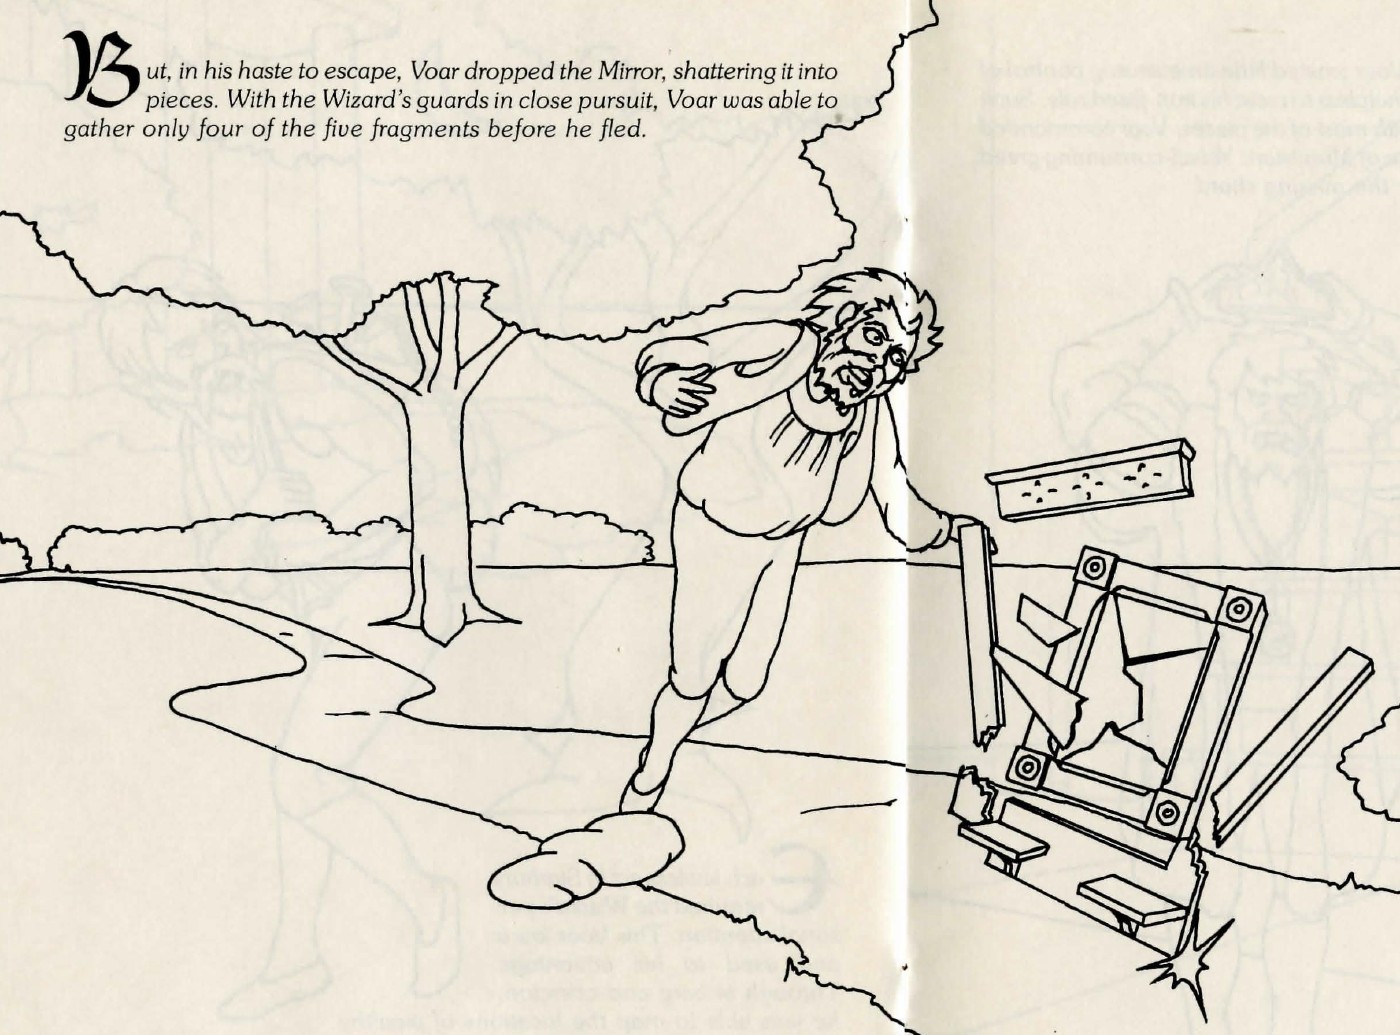
From the back of the later printing of the game using an updated engine, although supposedly it loses some minigames.
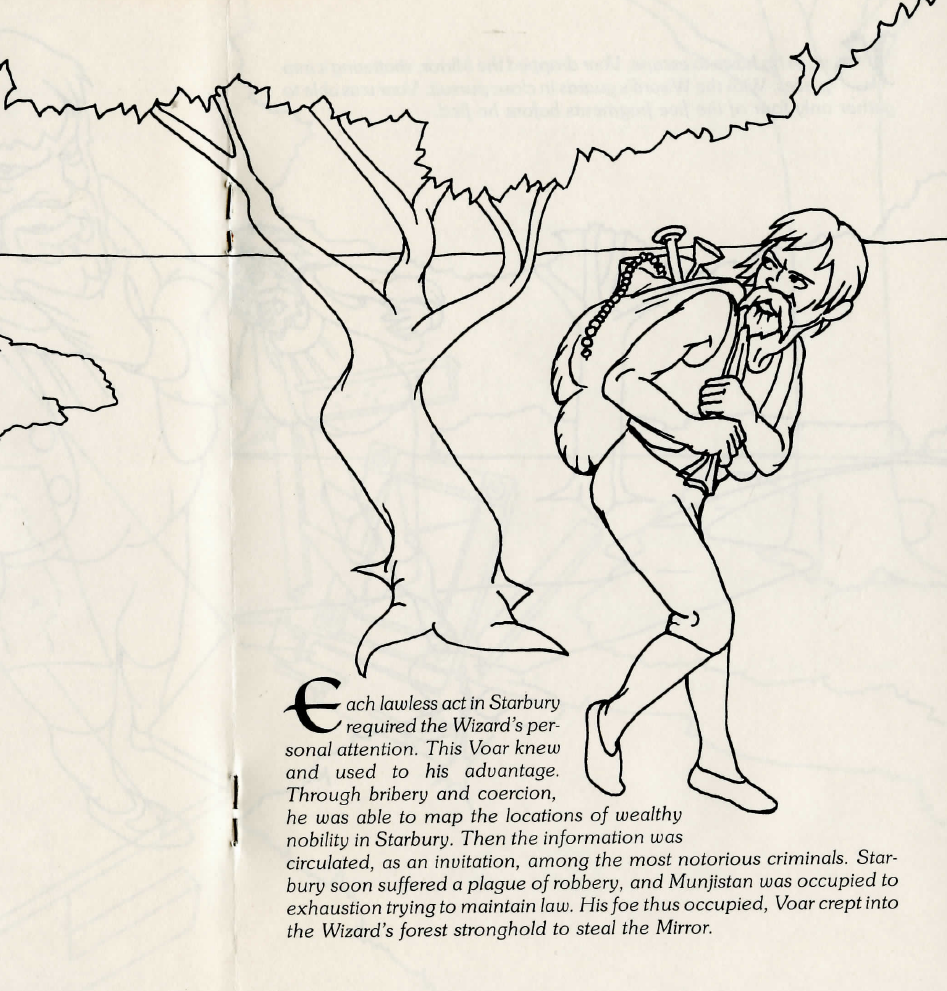
The story is set in the “Faraway Land of Starbury” where “people were happy and life was good”. However, there was a “villian” named Voar with a “heart of black poison” who sought to rule the kingdom as his own; however, he was stopped by the Wizard Munjistan who had a magical Mirror who could see all “troublemakers” who would cause destruction to the land. One night, Voar entered the realm of the wizard in a forest and tried to steal the mirror, but it broke into five pieces, and he was only able to steal away with four (how it got to the mirror in the first place without being spotted is unclear).
Thus it befell that with most of the pieces, Voar’s power waxed and overshadowed that of Munjistan’s. However, without all the shards of the Mirror, Voar’s power was yet incomplete. Munjistan knew he had very little time to secure the last piece against Voar’s craving, so he desperately searched his magic books for a spell to save Starbury. Alas, to no avail! The best he could find was one which required he hide the piece and wait for a champion born beneath future stars. If the champion is pure of heart and bests Voar in the race for the piece, the evil one’s power will be shattered.
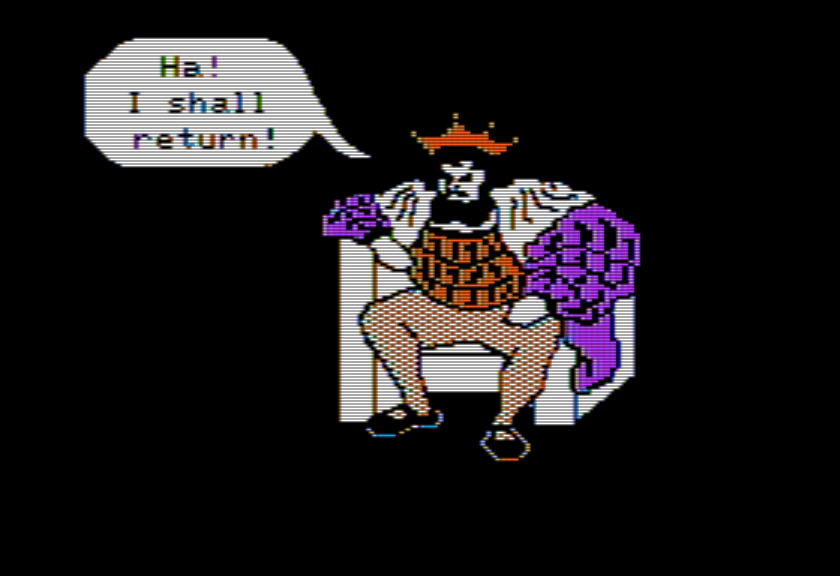
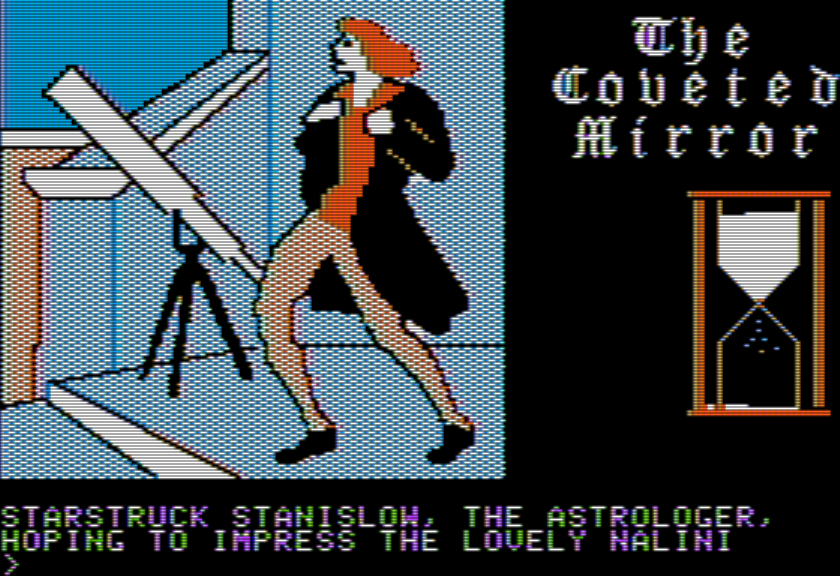
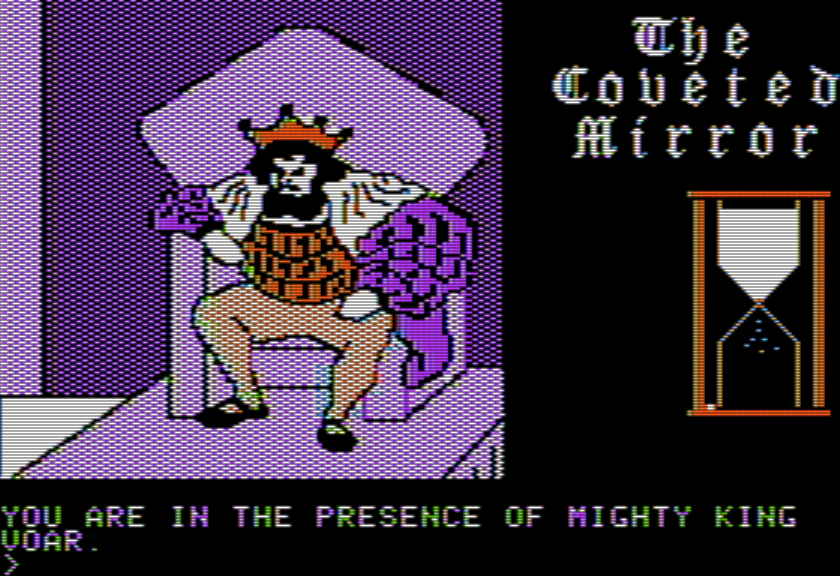
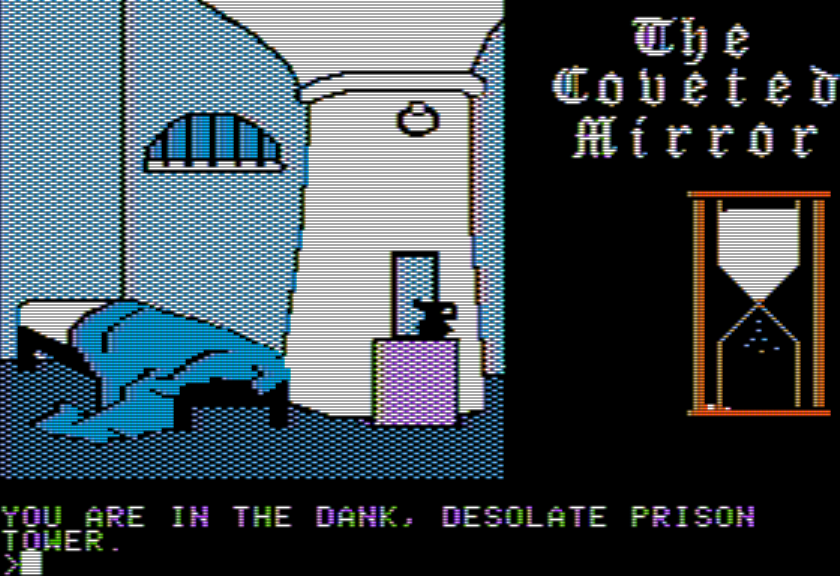
Voar in the meantime learned to wield the other four pieces in order to spy on citizens and send people to the dungeons, but he could not find the fifth piece. The wizard managed to disguise himself as a court magician to stay close to Voar but has since passed away. This is where you come in. You (no biographical background) have been captured by Voar, and the action starts in the throne room.
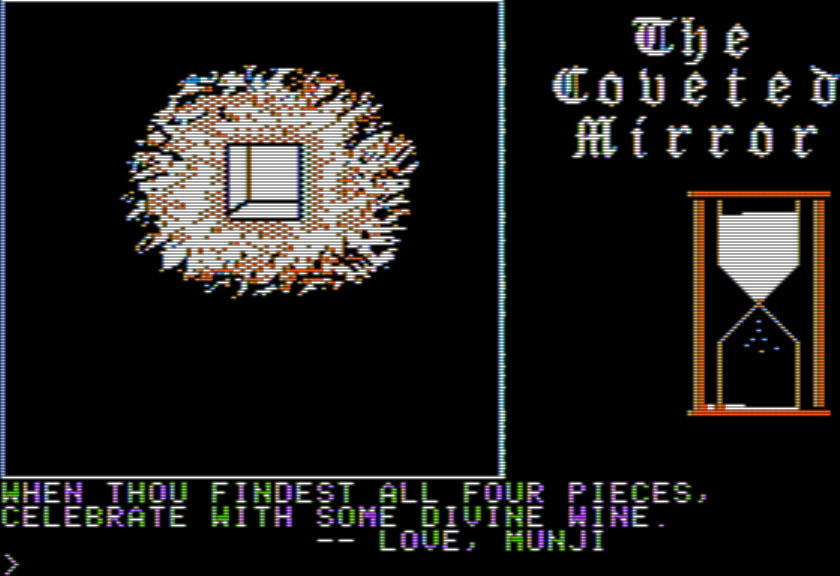
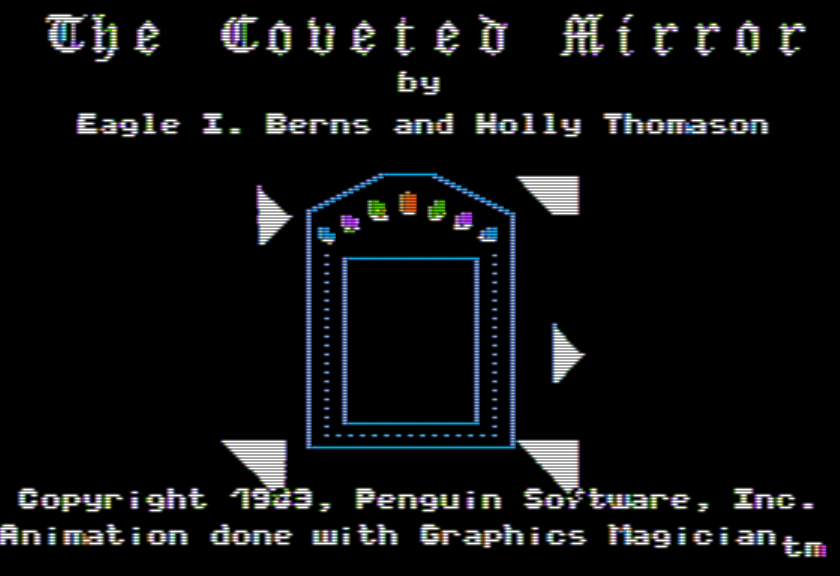
The title screen animates the mirror shattering.
The essential gimmick of the game is that you’re a prisoner and get started by being sent into a dungeon, but it isn’t hard to escape; however, Voar “can generally find you easily with his mirror pieces” meaning you aren’t really free. A “prison guard” will “check on you regularly but you may find a way to cope with that.” Additionally there’s a time limit (given by the sands) where the guard will return to check on you.
Whilst you are doing all this, your job is to find various mirror pieces and assemble them into a rectangle.
This is all summarized directly from the manual and I admit I haven’t been this baffled by the premise of a game in a while.
a.) If the mirror let the wizard watch for trouble, how did Voar get close enough to steal it?
b.) Who was ruling over the kingdom before Voar? The Wizard? Maybe it was some sort of collective and the wizard was just keeping the peace? Is the wizard’s disguise going to be an important detail later, even though the wizard is now dead?
c.) If we’re aiming to find the fifth mirror piece, but Voar can always just watch what we’re doing, couldn’t he watch us going for the fifth mirror piece and stopping it?
d.) But if Voar has the mirror pieces, how are we able to find them around the castle? How are we able to keep them given the whole process of getting tossed into the dungeon?
e.) If we’re under surveillance, why is there a regular guard appearing with a timer? Why doesn’t the guard immediately know when we’ve escaped?
I ended up checking the later (1986) version of the game which has its own story book, and at least one of the holes gets filled up: Voar starts a crime wave in order to distract the Wizard, which is why he’s able to sneak to the location of the mirror. One other slight change: the wizard shares the secret of the fifth shard’s hiding place with “one other soul”.
This still doesn’t address how we are picking up mirror pieces despite Voar tracking us, or the setup behind the guard regularly appearing. With most media I am pretty tolerant of “plot holes” as simply things a story hasn’t bothered to explain but likely has some explanation; unfortunately with an adventure the interpretation of the plot can be important in puzzle-solving so I find the confusion more of a problem.
The king’s face is incidentally animated. Many scenes are, and it adds a feeling of polish to the game that makes it seem more like later-Apple-II graphics rather than depths-of-early-Sierra. (You can also contrast with The Hobbit. That game was made by four computer scientists with interests in systems and languages; this game was made by two people — with minor help from a third — that were more graphics-oriented.)
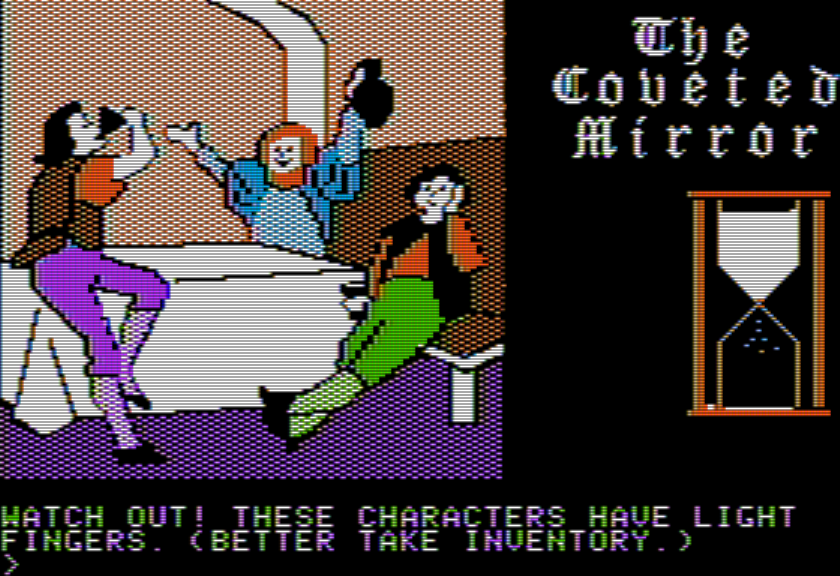
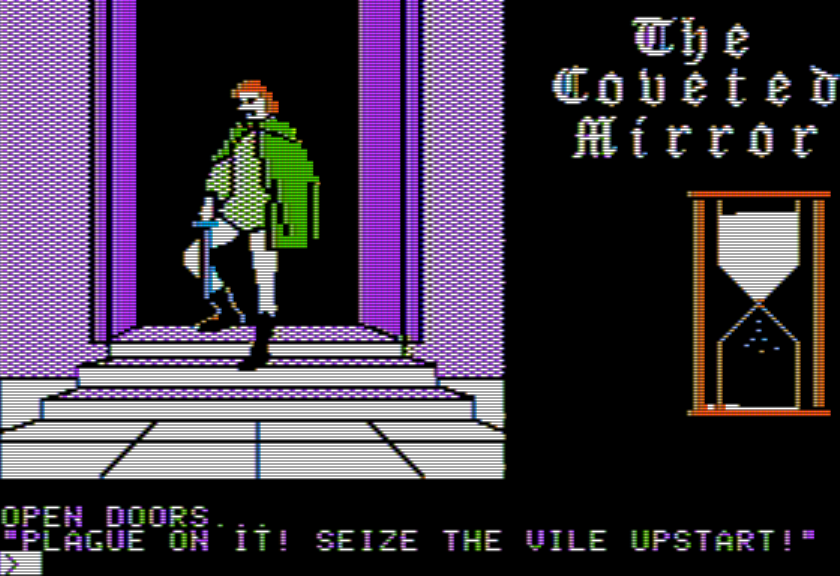
No matter what action you do (at least any action I could find) there’s the response…
I’LL HAVE THEE BEATEN FOR THY INSOLENCE
OFF TO THE TOWER!
(THAT’S 01 I’LL ONLY ALLOW IT 25 TIMES.)
…and then you appear in the dungeon. (The first immediate issue with the plot being sketchy rises up right here: are we supposed to do something at the king? Or was getting thrown into the dungeon just a “cutscene” so to speak?)
There is no more text than what you see (“YOU ARE IN THE DANK, DESOLATE, PRISONER TOWER.”) The game expects you to see items and refer to them by name from the picture, not from the text. It took me a while to realize the item to the right is a PITCHER (not a JUG) and even when I realized it the game told me that it’s just scenery when I tried to pick it up.
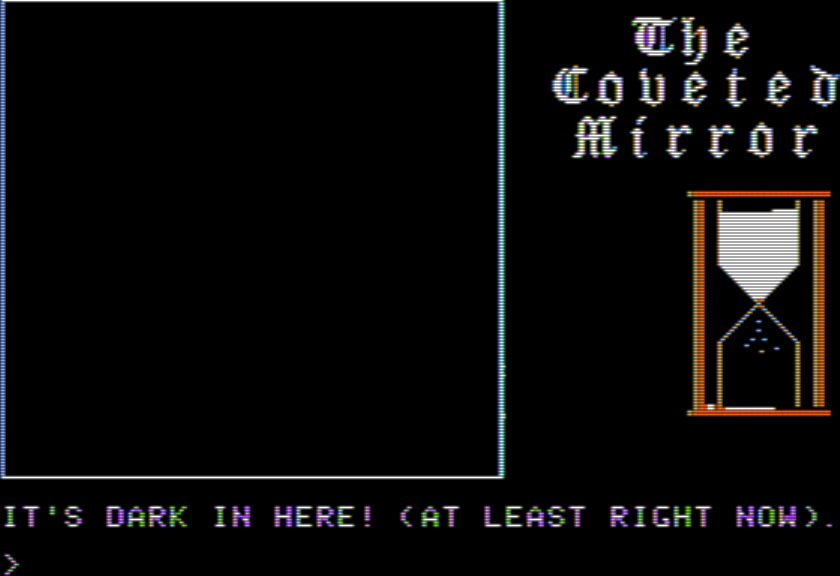
You can move the bed to find a hole, then GO HOLE into darkness.
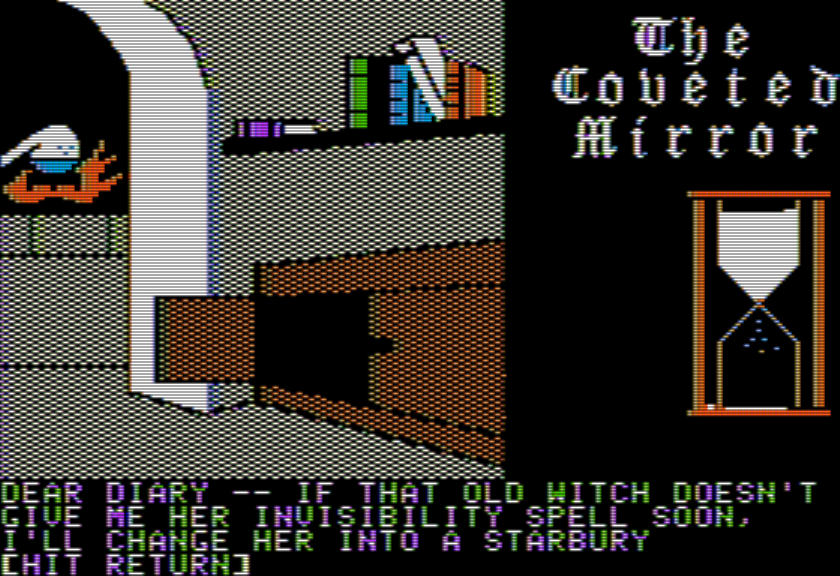
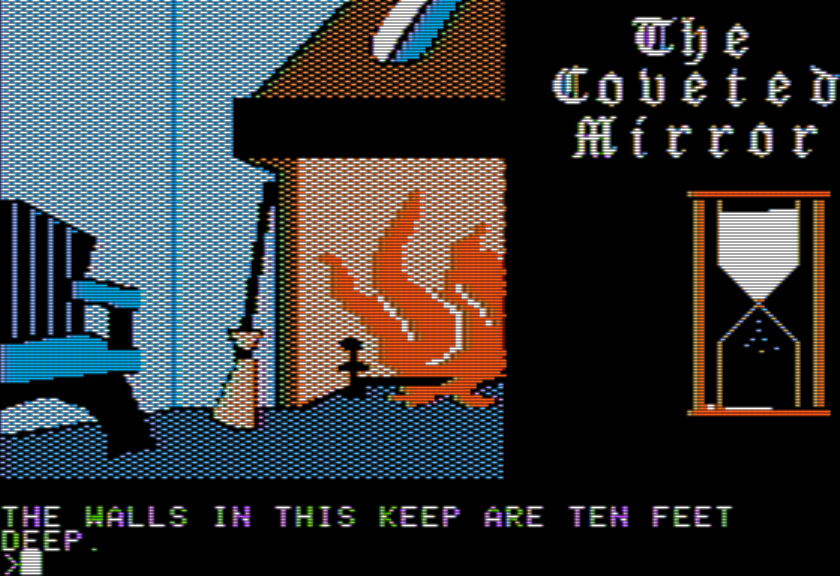
Going west from here leads to the magician’s room with “mysterious odds & ends”, except all that’s visible is a flask which is too hot to touch and some books.
You can’t take the books (“THEY’RE NOT YOURS TO TAKE”) but you can READ BOOK, find a diary of the magician, and read multiple pages which give hints.
IF THAT OLD WITCH DOESN’T GIVE ME HER INVISIBILITY SPELL SOON, I’LL CHANGE HER INTO A STARBURY STRAWBERRY.
I thought the wizard was supposed to be the good guy?
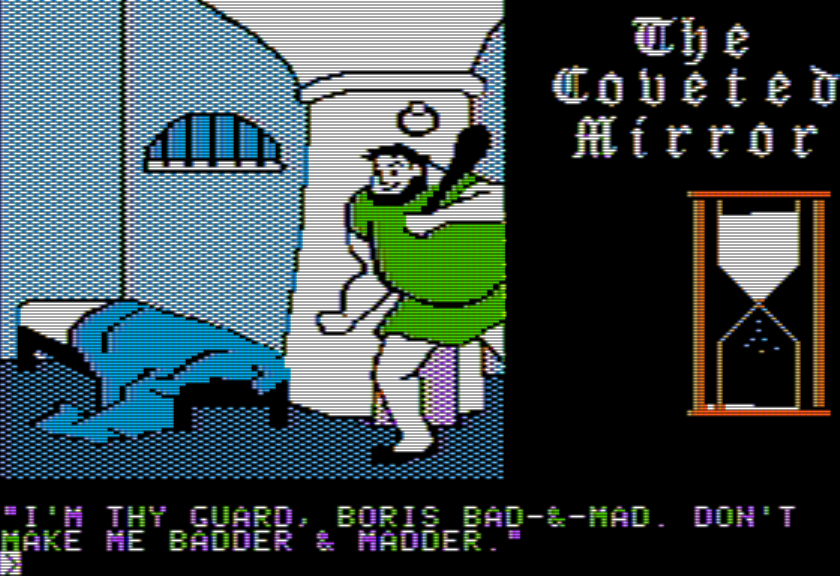
I WONDER IF VOAR KNOWS BORIS LETS THE PRISONERS ROAM IF THEY OFFER HIM THE RIGHT THINGS!
I’m wondering if this means you leave a present in the room that the guard finds while you’re out. Otherwise there isn’t a reason for a gift (if you’re physically there, nothing bad happens).
BORIS KEEPS CLOSE WATCH ON THAT HOURGLASS, BUT SOMETIMES HE FALLS ASLEEP & PRISONERS GET EXTRA TIME.
IF BORIS WAKES TO FIND THEIR TIME IS UP BUT THEY’RE NOT BACK IN PRISON, HE REPORTS THEM TO VOAR.
SO VOAR USES THE MAGIC MIRROR TO WHISK THEM BACK & GLADLY PUTS THEIR BOOTY IN HIS TREASURE ROOM.
I’m guessing this is the sort of game where you can simply avoid this happening, but we have had some games where you have to hit the fail-state at least once (including how you need to have the pirate steal your treasure in Crowther/Woods before the pirate chest shows up).
BUT EVEN VOAR CANNOT SEE BEYOND THE IMPENETRABLE MIST.
Is this another way to hide from getting teleported away, or just a hint where the fifth mirror piece is?
I’m still trying to get a hang of the game’s norms (which seem to vary quite a bit from what we’ve had here before) so I’ll try to get a fair chunk of the map made before reporting in next time.