(Continued from my previous post.)
I’ve got most of the map laid out, and things are open enough that I’m not really “stuck” but I wanted to report in anyway.
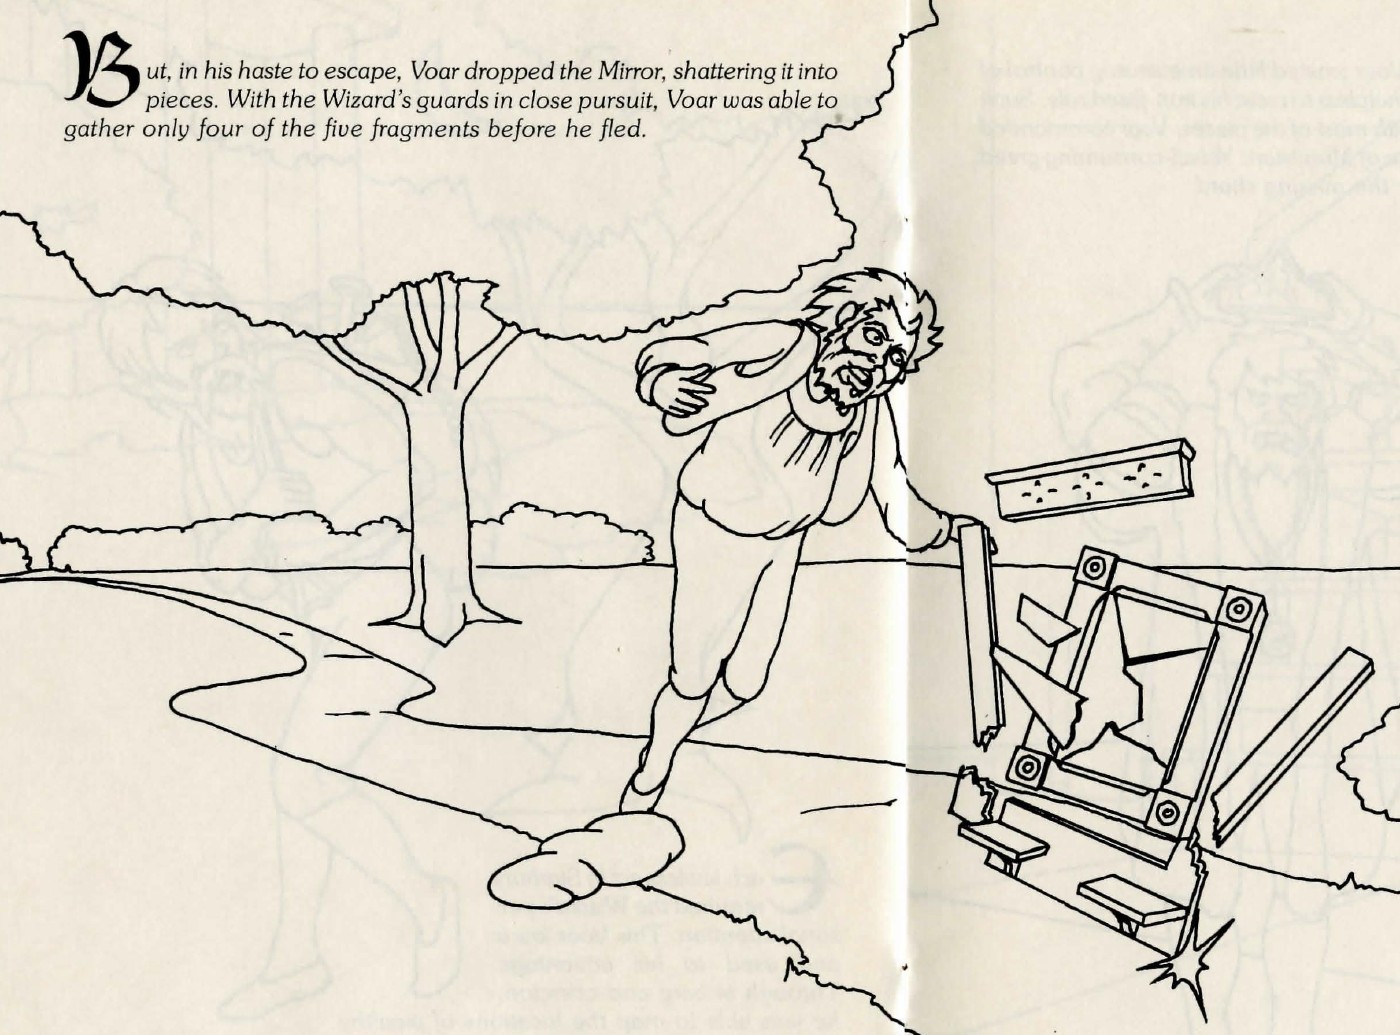
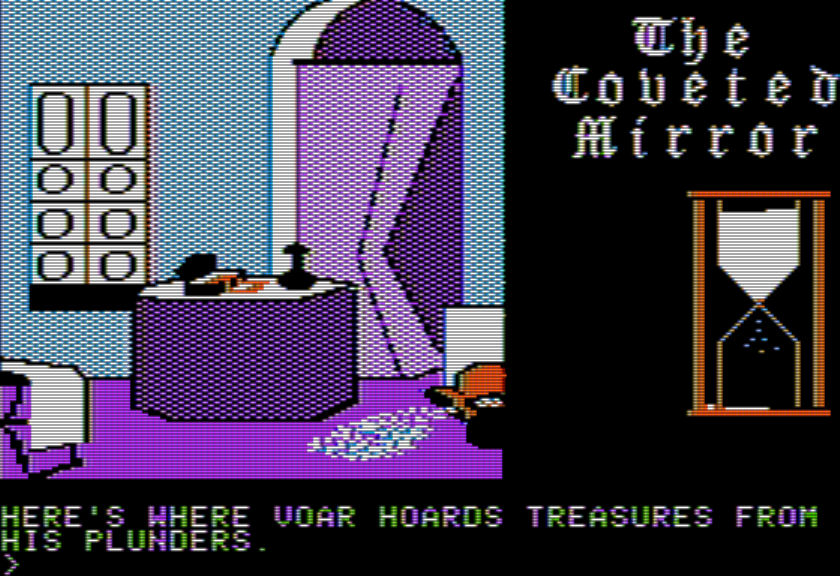
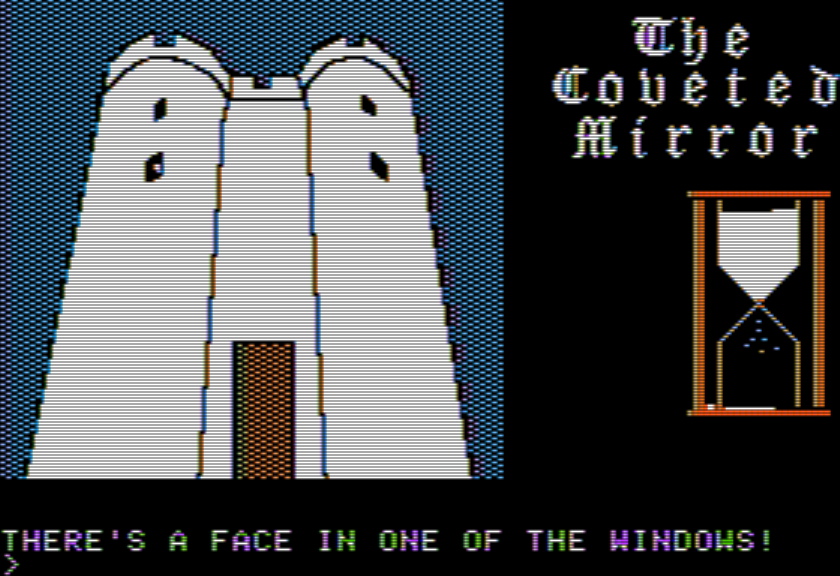
Story from the later version of The Coveted Mirror, via the Museum of Computer Adventure Game History.
To clear one thing up right away, regarding the mirror pieces: you don’t pick up the ones you find. You instead just see them and remember their shape, and trying to pick one up mentions a “protection spell” (I’ve only found one of them so far, but it clearly is consistent across the game). This at least partly explains the setup: Voar doesn’t need to be near the mirror shards to use them, isn’t worried about sabotage, and probably doesn’t even know seeing what they look like would be necessary information to find the fifth missing shard (given he hasn’t been able to locate it).
I also think the original wizard is still alive, despite the original manual indicating he wasn’t. There’s also reference to a Queen so maybe that’s who Voar pushed out?
No invisibility spell yet. That would be lovely to find.
The player starts “locked” in the first floor of the castle in the Dungeon (not really that well locked), can travel to a second floor, can leave to go into a town, and a little past. There is a timer on each trip out of the starting room. After the timer runs out, you get teleported back to the start, and lose any items you are carrying to a holding room on the second floor.
You can bribe the guard that checks the room for extra time. This required first having the bribe — there’s a necklace you can find early that works — and then typing WAIT while hanging in the Dungeon. Then you hand the item over and the guard gives you extra time.
I’m honestly not fully sure on the formula here, but I think the more valuable an object you give, the more extra time you have. It may be possible to not bother at all with this mechanic but since getting deep into (and past) the town does take a decent chunk of clock, it may instead be impossible to win without resorting to at least a little bribery.
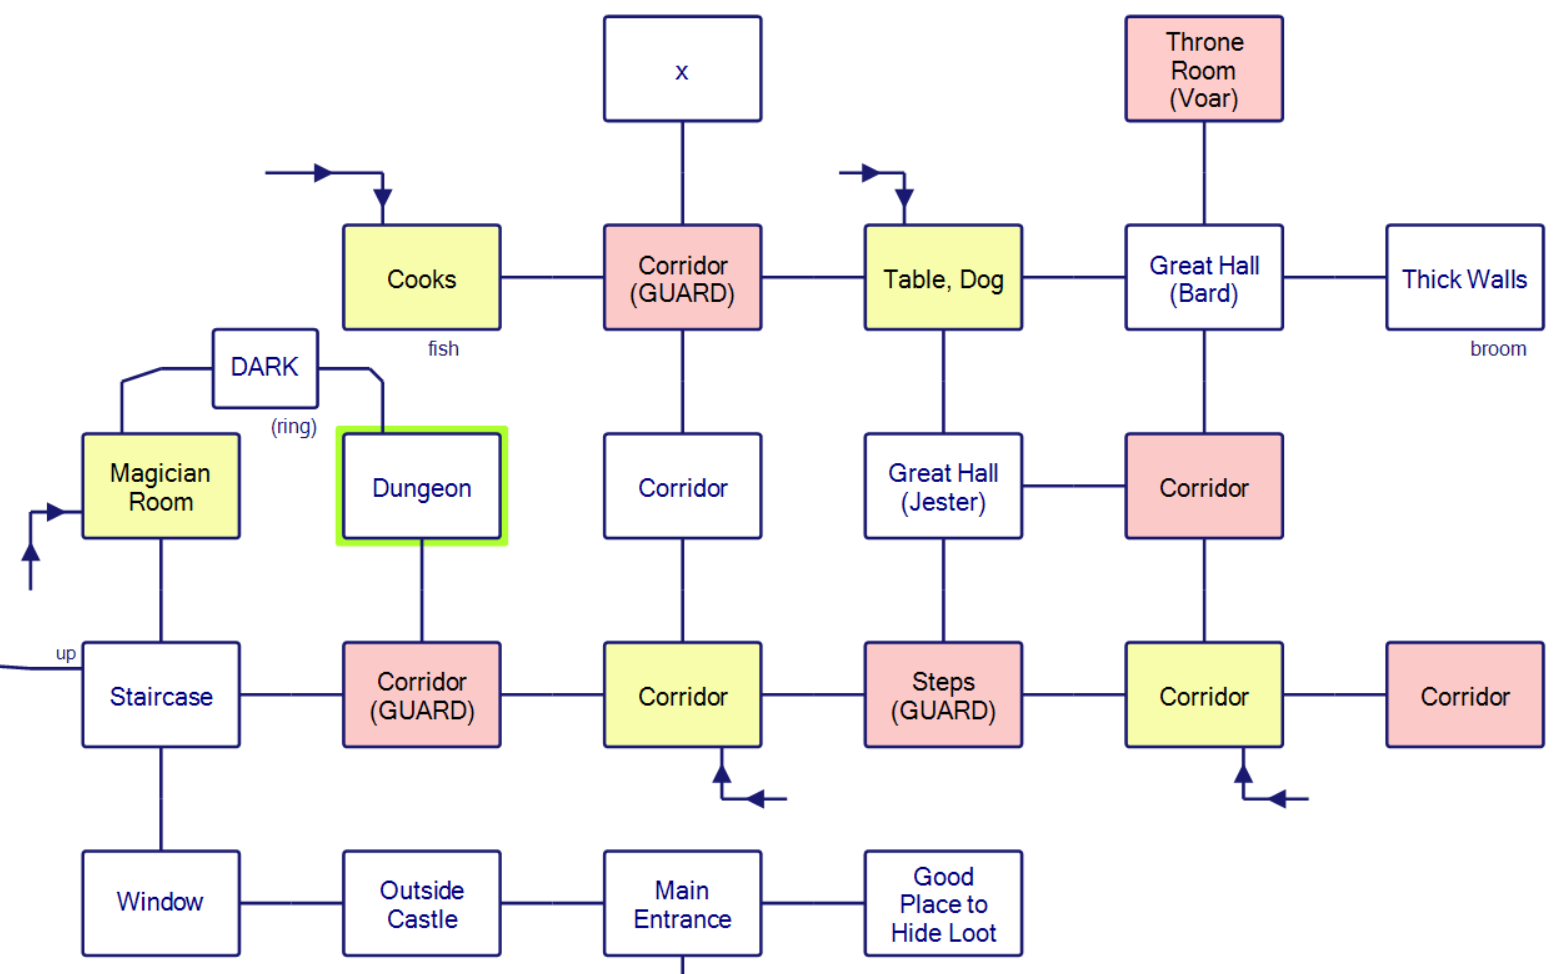
Red spaces are spots you get caught. Yellow spaces are places you land from trapdoors (more on that shortly).
I incidentally say (GUARD) for all the red rooms but some of them are courtiers or other hangers-on of the evil Voar as opposed to proper guards. Any run-in will send you to Voar then back to the Dungeon (and one of your 25 times you can get into trouble gets used up).
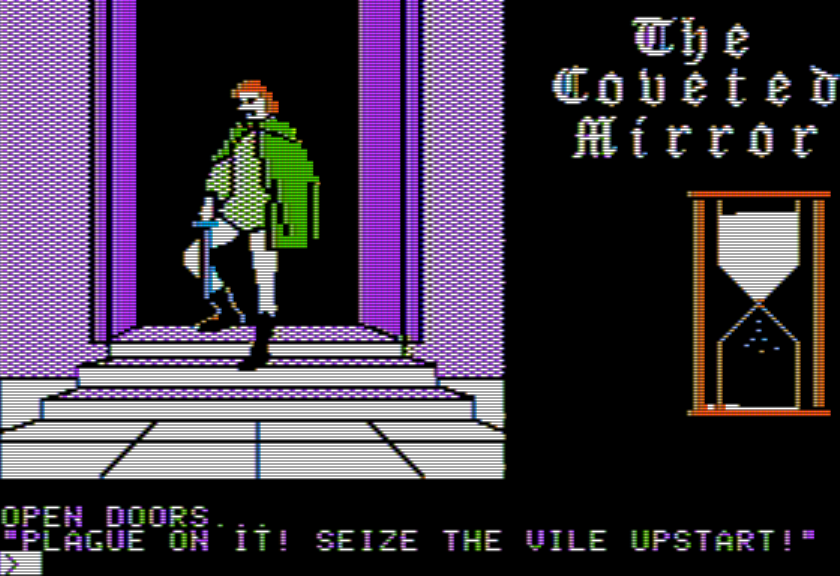
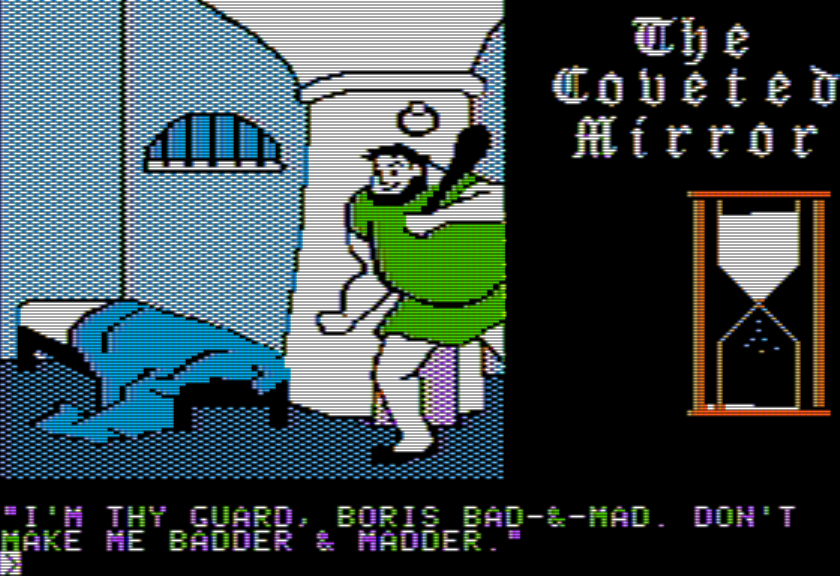
From the Dungeon you can just move a bed to sneak your way out (through a dark room that I later managed to light up). Going south leads to a staircase, going up then leads to a mysterious locked door (and that necklace that helps with bribery).
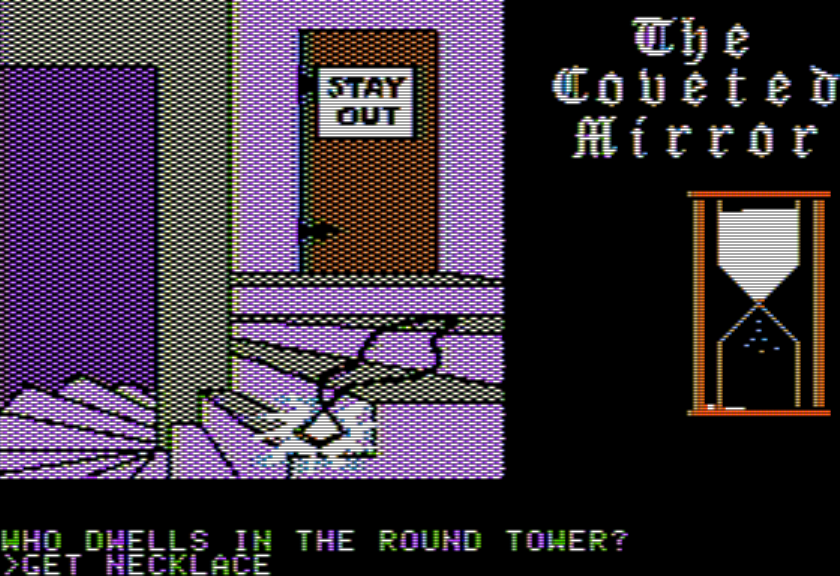
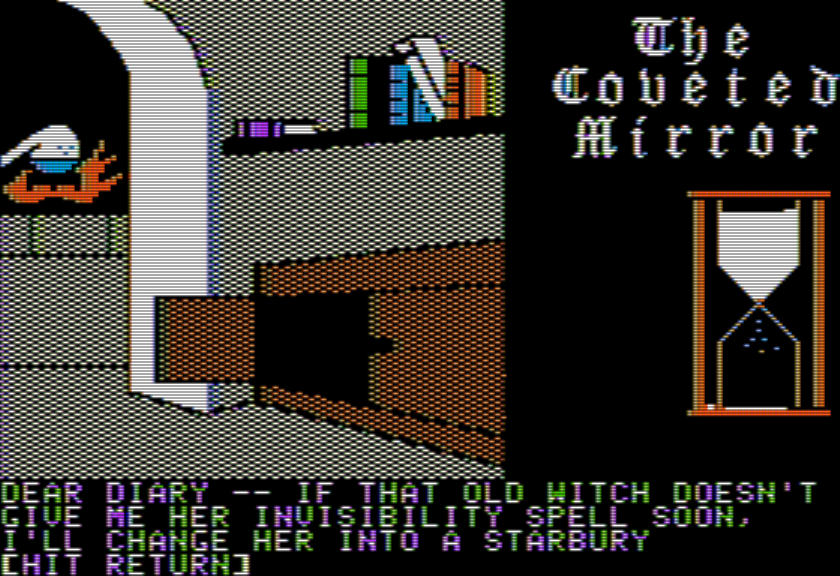
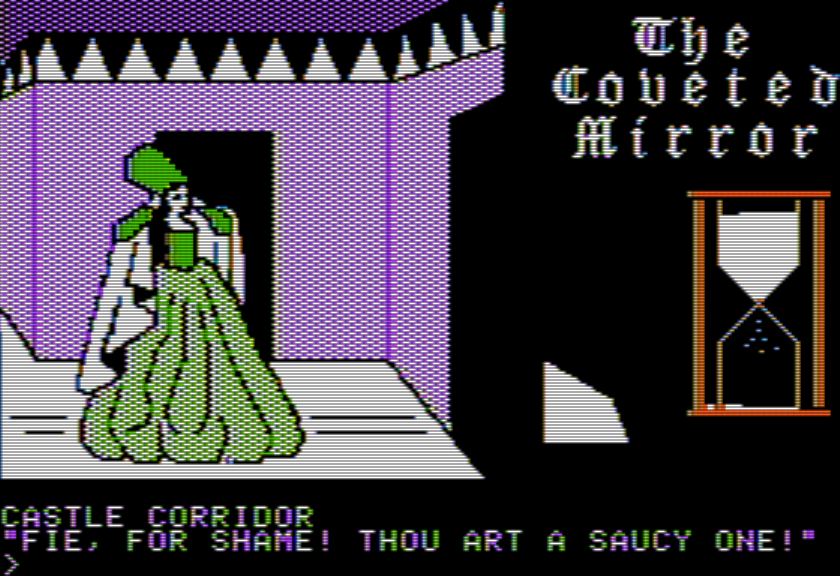
One element to highlight (as touched upon in my last post) is that text is extraordinarily sparse and sometimes doesn’t try to describe the room at all (as in the above scene). The game is dependent on you looking at the picture and figuring out not just what to interact with but what nouns to use. Here “door” and “necklace” aren’t that hard to come up with, but later there are multiple items in a scene where I had to guess if the game would let me pick up something in particular.
I incidentally have no idea yet how to unlock the door. You can ignore it for now and go south or east, which leads to a maze which takes up the second floor of the castle.
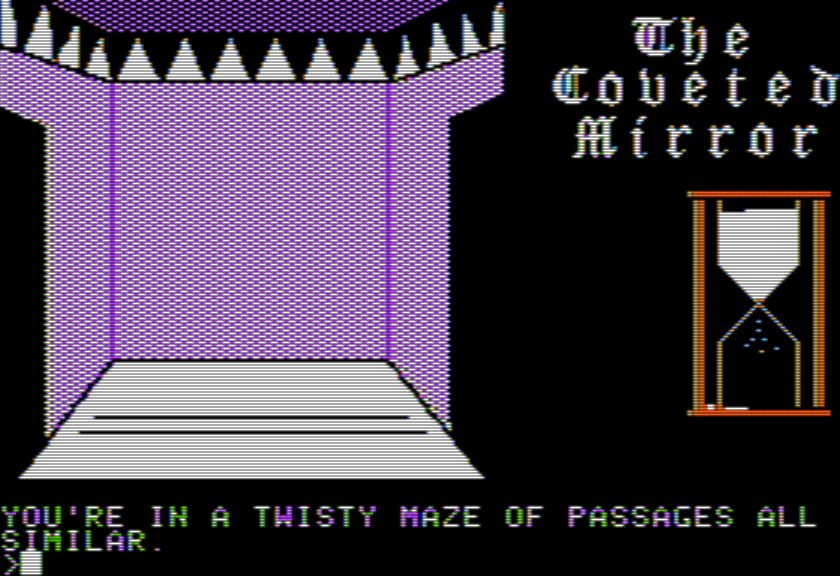
The “twisty maze” aspect isn’t done in a classical Crowther/Woods sense, but rather in having trap doors which will shoot you back to the first floor.
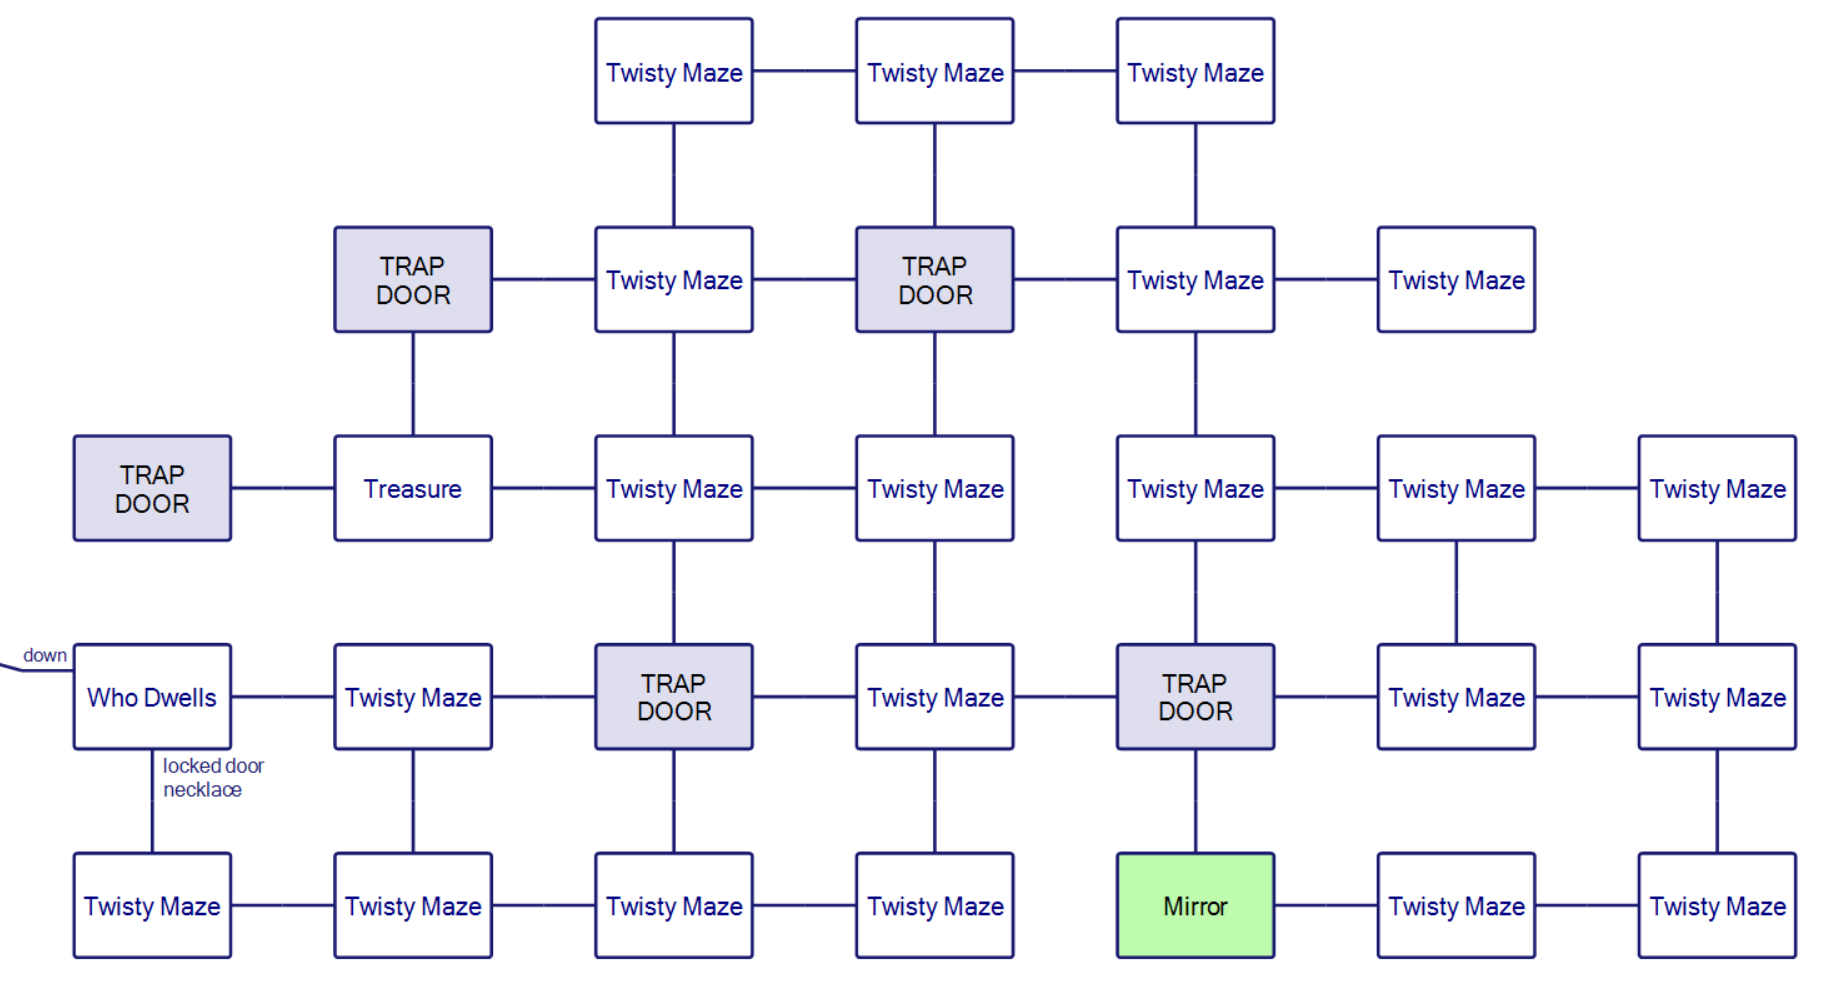
These trap doors correspond exactly with the yellow rooms from the earlier map. This can be helpful as a way of jumping past the rooms you can get caught in. Before trying that, I should also point out:
a.) Going E-S-E-E-N-N-W-W from the necklace drops you in Voar’s treasure room; if you get scooped up back to the Dungeon while holding items, this is where they go. Unfortunately, that’s a lot of steps to start a run, so that already runs a fair amount of the hourglass out; I think the game intends you to time things out, storing items safely so you don’t have to deal with this.
You can hit ENTER on its own like a Sierra game to switch to text mode; if there’s items here they’ll be listed before the short description.
b.) One of the pieces of the Coveted Mirror is in the maze.
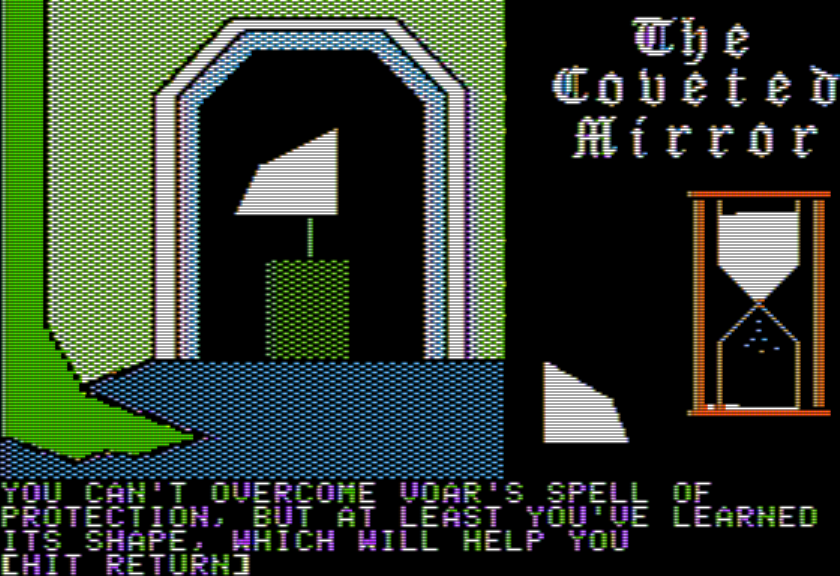
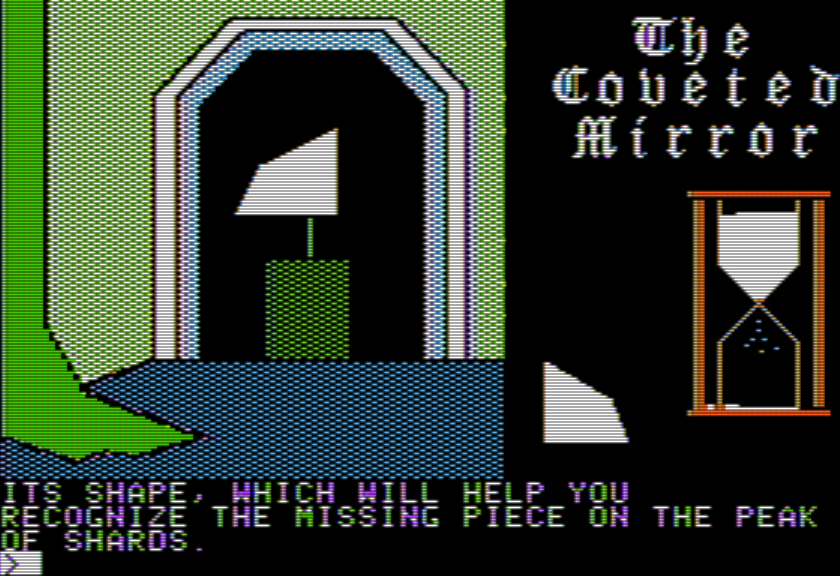
This is the first mention of the Peak of Shards. Metacommentary is an odd place to be introducing lore.
Dropping into trapdoors, you can make it into a kitchen…
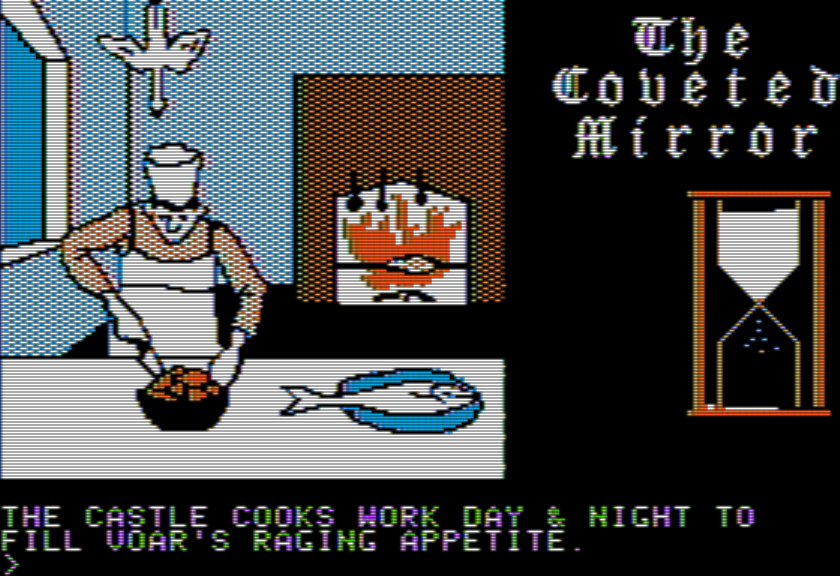
Despite lots of visuals going on, the only thing I could find to do was GET FISH.
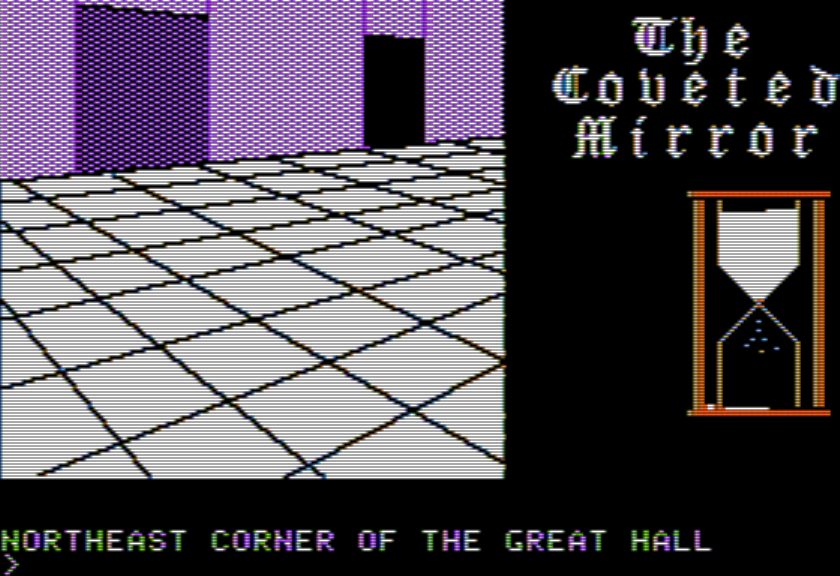
…and also a Great Hall.
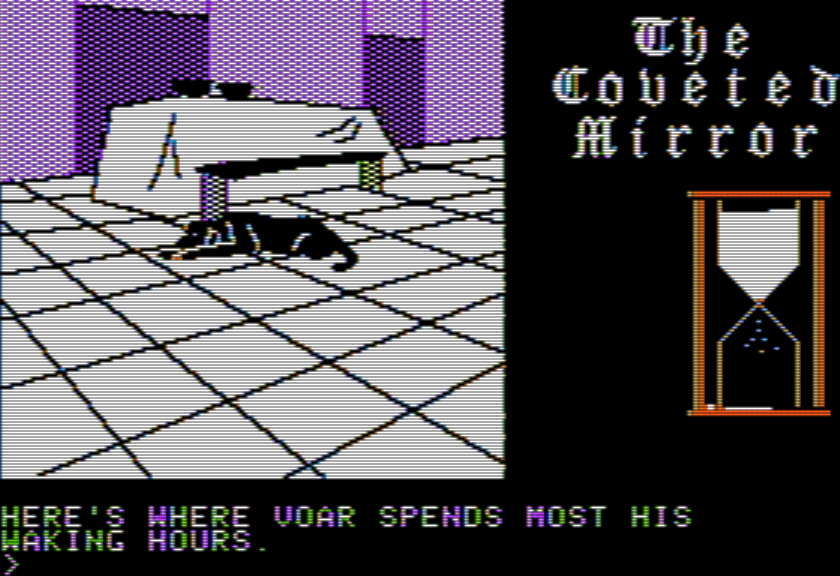
This seems like a good moment to remind you that many of the scenes are animated; in this case the dog’s tail moves. I haven’t been able to interact with it but I assume some kind of food or bone would be appreciated.
The Great Hall is connected up with Voar’s throne room if you feel like getting yourself caught directly, and two rooms which have a random chance of encounters. This mechanic shows up much more in the town, but I’ll mention now there are a fair number of rooms where you may or may not meet a character.
South of the dog is the jester.
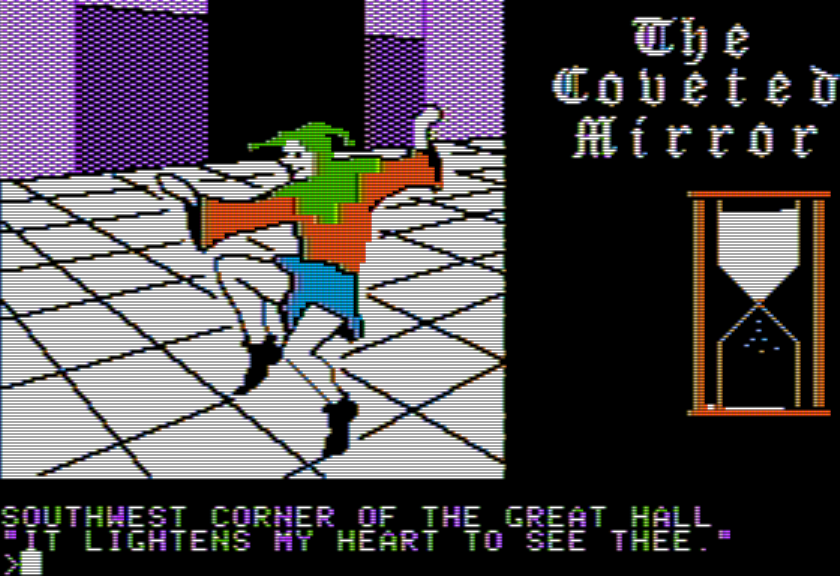
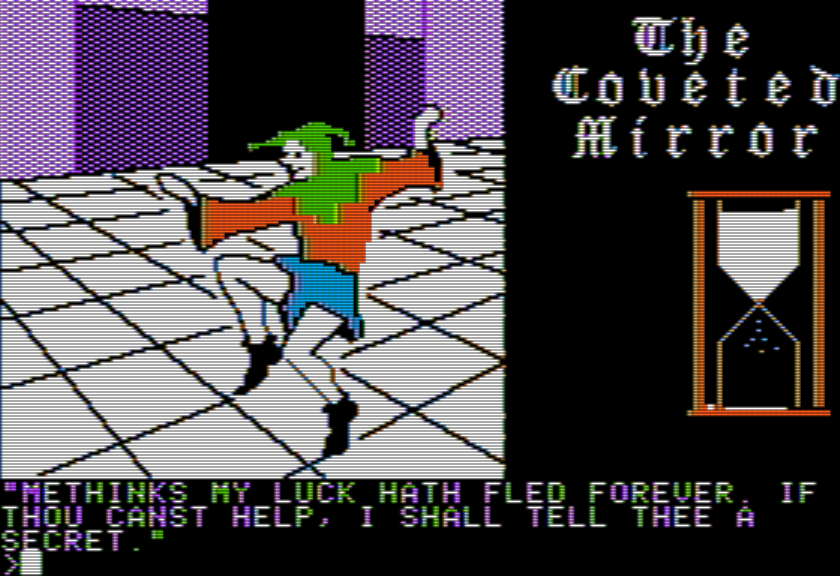
TALK gets this response. I think I know what the jester wants, just I haven’t managed the logistics yet of shuttling the item over here. It wasn’t clear to me right away that this was even an item request, I thought for a while maybe OFFER HELP or the like would work, but conversation seems limited to TALK in each location it can happen.
East of the dog is a bard (which, again, shows up at random — the hall may be empty).
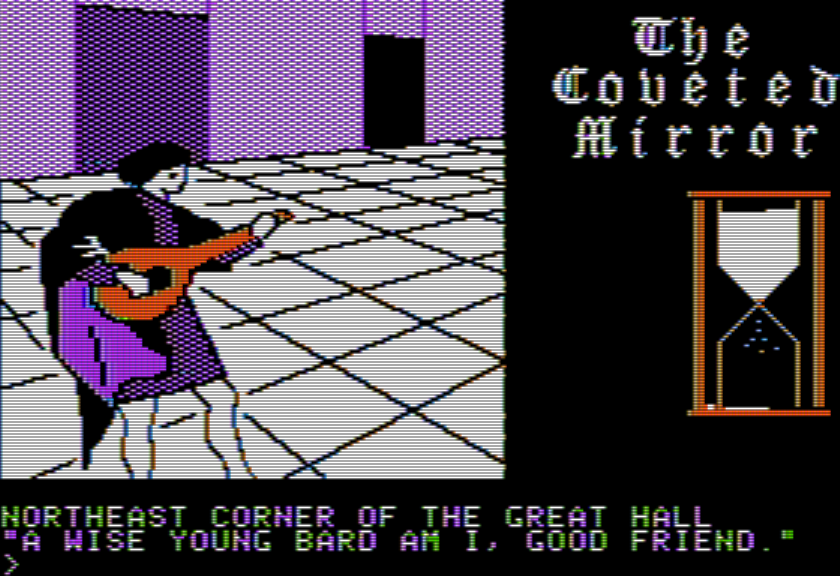
Doing TALK here gets the response:
SO MUNJISTAN & HIS SILENT FRIEND FARED LONG AGO TO THE MOUNTAIN BEND. IF YE ASPIRE TO ASCEND, WAIT WITH THE RING AT THE DARK FOREST’S END.
I don’t think any further puzzle is here (although if a music sheet shows up it would be worth taking to the bard). North is where Voar is hanging, and to the east is a room with nice art and not much description.
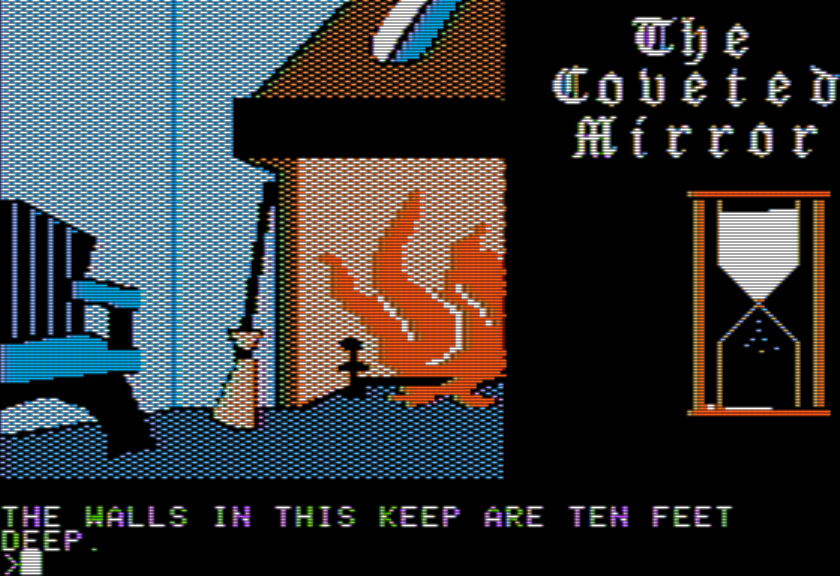
Just a general fact about the keep, rather than trying to describe the room (and making clear the broom is takeable).
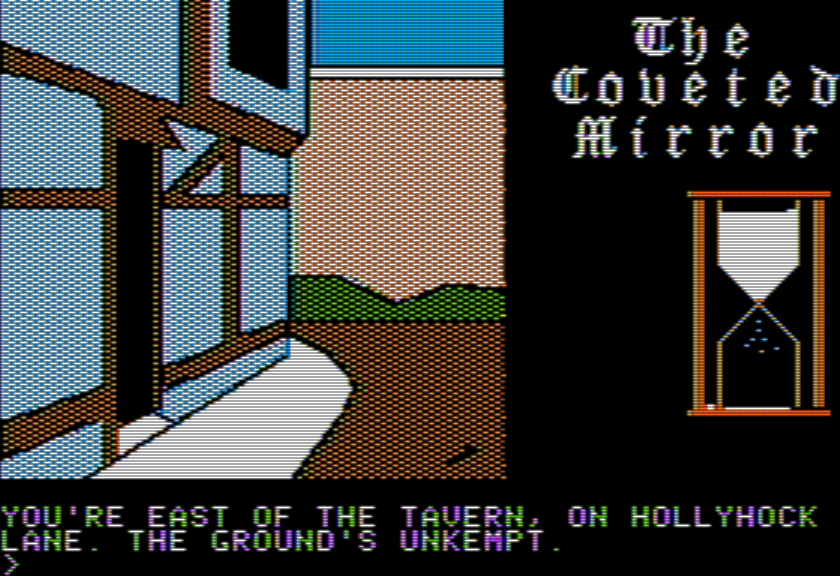
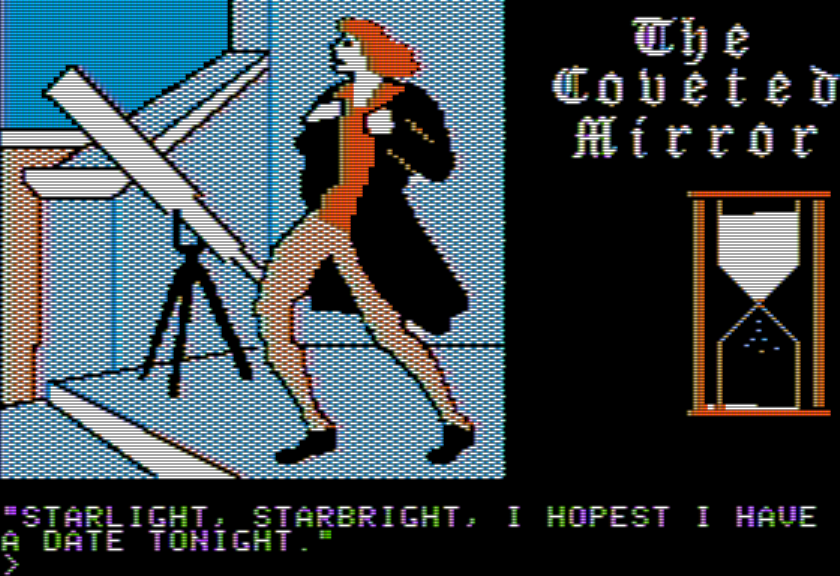
Time for an escape! Fortunately back at the staircase you can just go south, and there’s a window you can open.
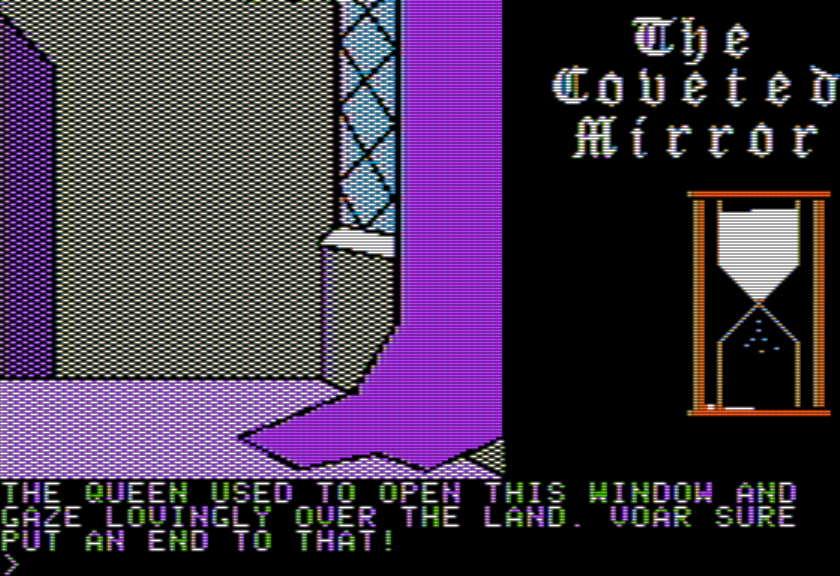
The random mention of the Queen. I hope I’ve made clear why the confusing lore like this can be frustrating in an adventure game; is there a Queen that’s alive we are trying to find? If so, that means some artifact that seems like it belongs to the Queen might be an aid in finding her. Maybe she’s in the tower past the locked door?
To the east of the “main entrance” you pass by is a “good place to hide loot”; I haven’t experimented with if there really is a problem dropping objects in random places and you have to be strategic to avoid things being yoinked.
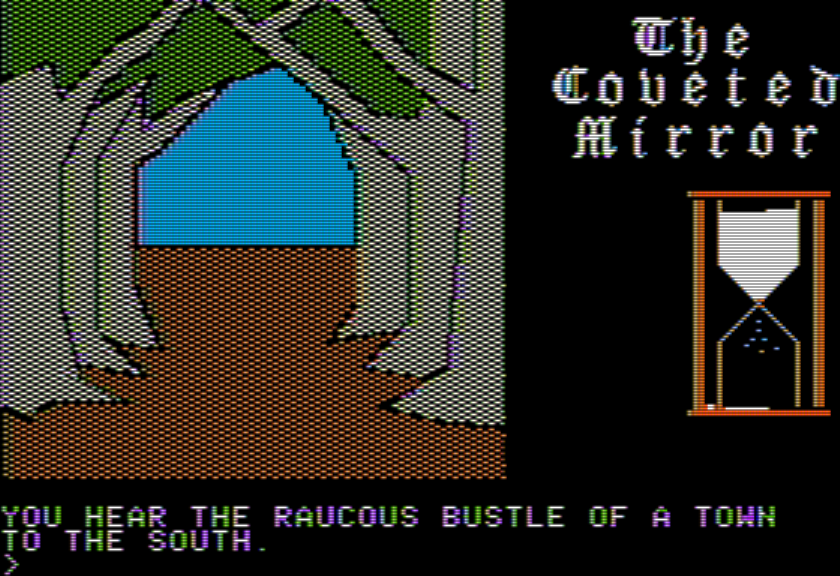
You see this as walking away from the castle and towards the town.
Here’s my map of the town:
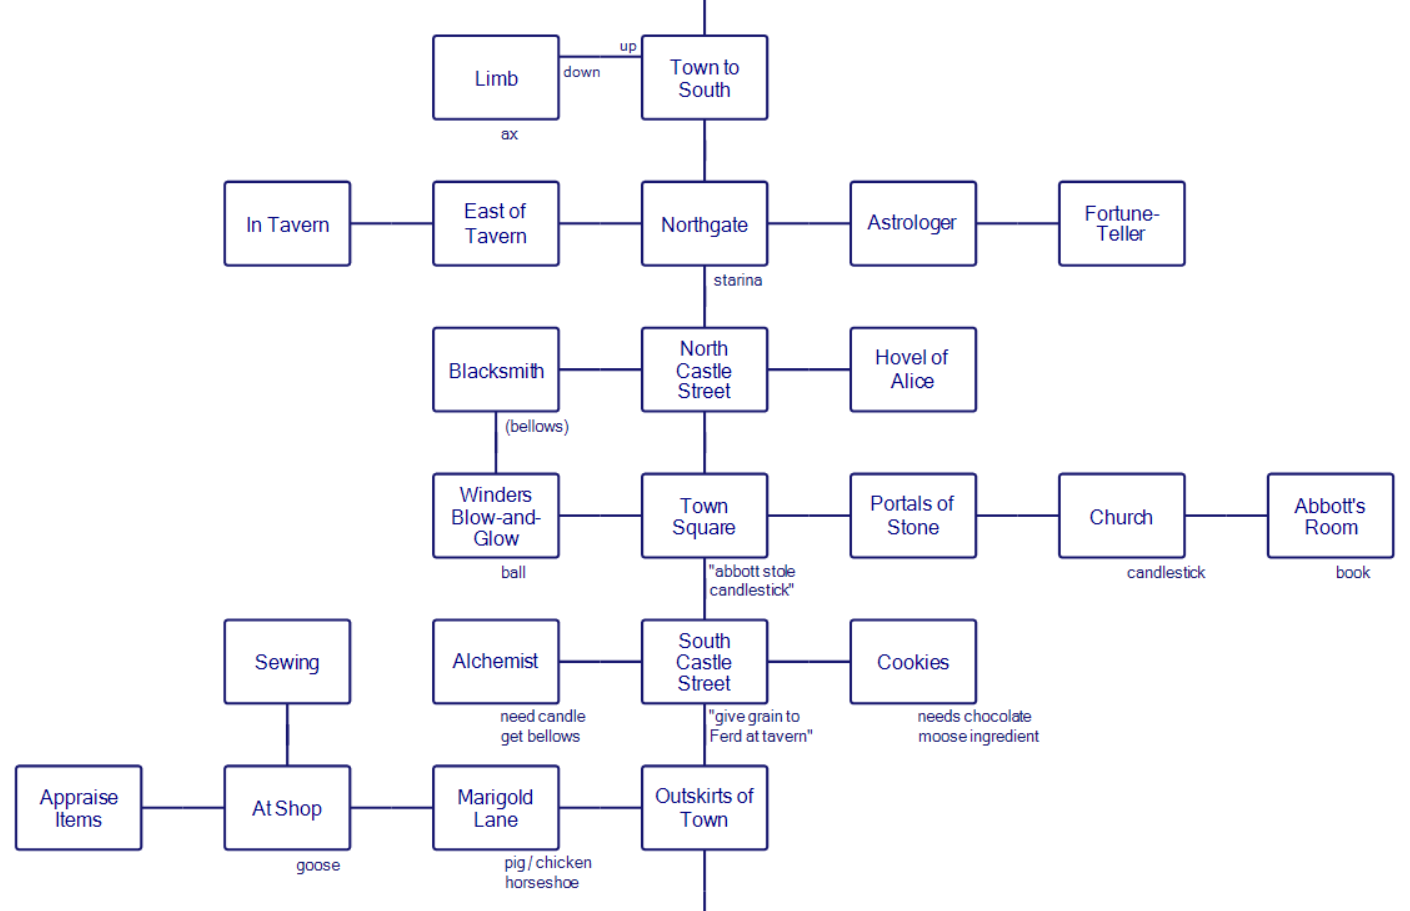
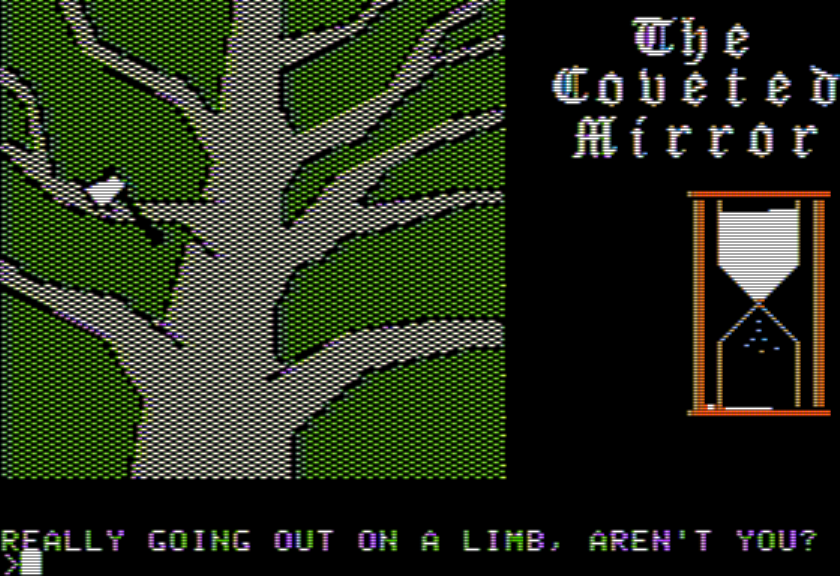
There’s a lot of content, and I’ll mostly take it north to south. At the far north there is a tree where going UP lets you climb and find an AX.
It’s not clear these are climbable trees. Fortunately I was obsessively trying N/S/E/W/U/D in every room.
If you try to take the AXE the game suggests you use AX instead. I find it fascinating when the game clearly understands your meaning but tries to force your typing in a particular way instead rather than just recognizing the alternate spelling method.
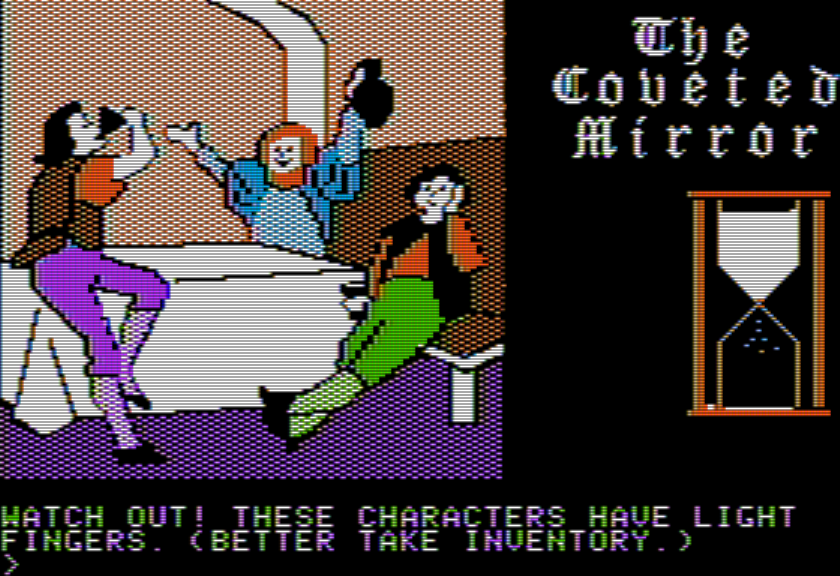
The next east-west row has a tavern on the far west, where you get something stolen when you enter. I haven’t noodled here at all nor worked out if the game is softlocked once an item is stolen.
There’s a gate where “Starina” (optional encounter) tells you IN THEE LIES THE HOPE OF ALL STARBURY. GREAT HOPE MAKES THEE GREAT! and I’m again wondering what the biographical context of our main character is, and if it matters for any puzzles.
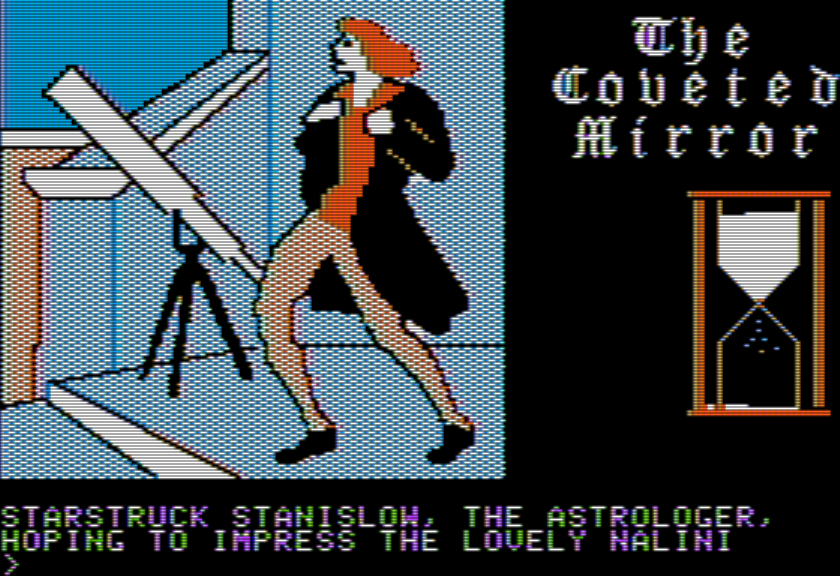
Past Starina to the east is an astrologer, who is pining after a fortune-teller, and the fortune-teller right next to him.
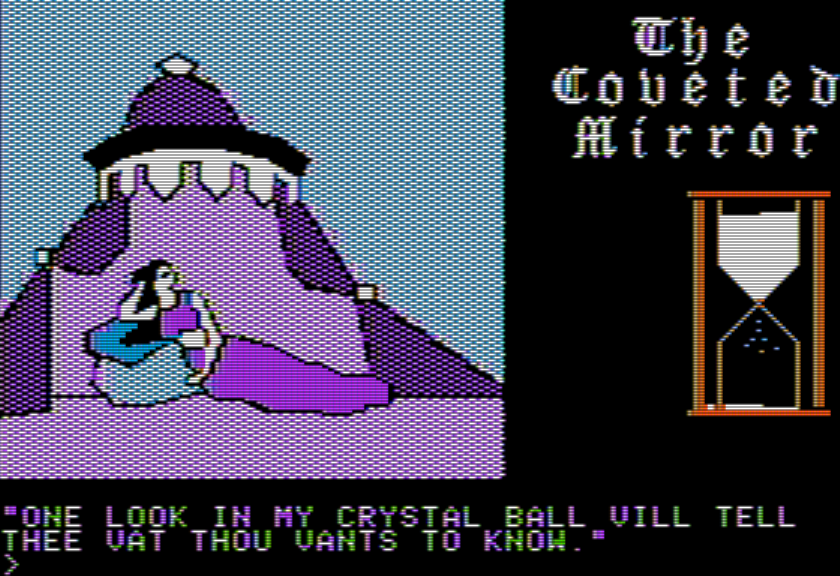
We’ll be back here later with the crystal ball she wants.
Going back to Starina and heading south, there’s a blacksmith (who needs something to help with his fire) and a hovel.
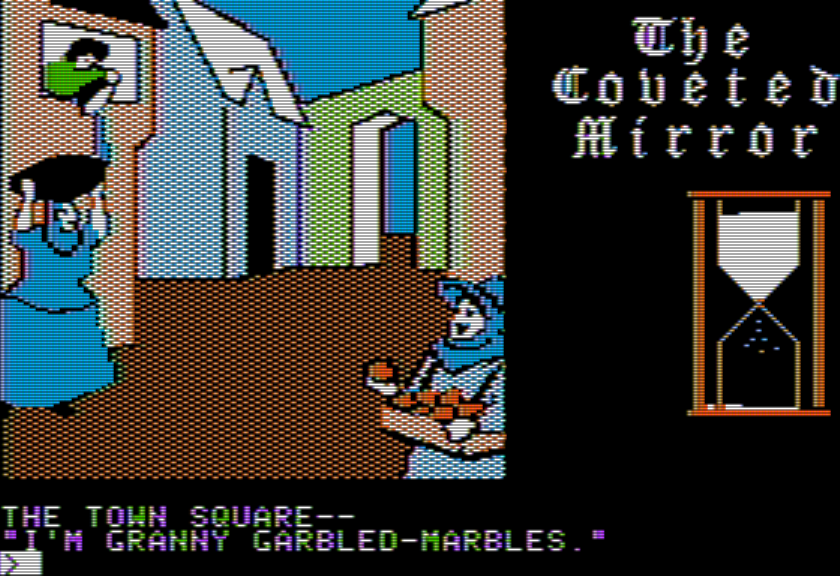
South even further is a “town square” with multiple possible encounters, including “Granny Garbled-Marbles” who lets you know a candlestick of hers was stolen by an Abbott.
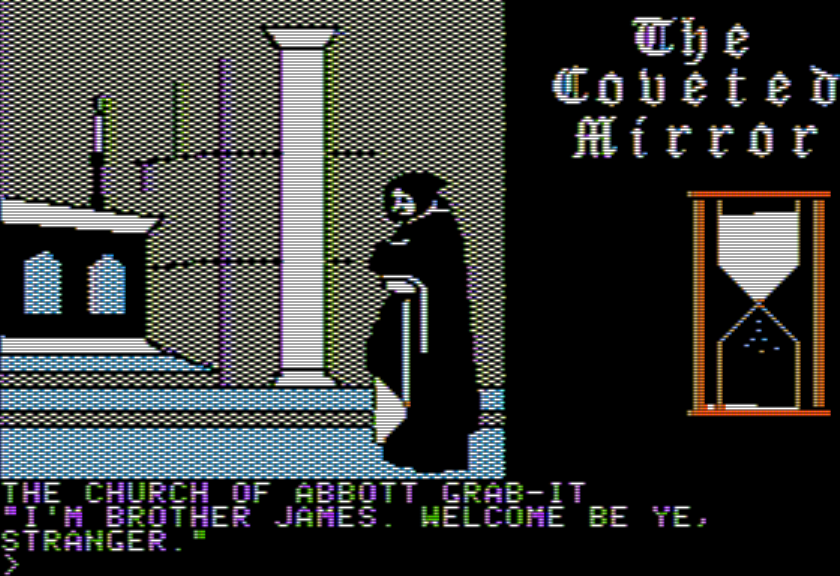
To the east is a church, with Brother James (and the aforementioned candlestick) and the Abbott’s room.
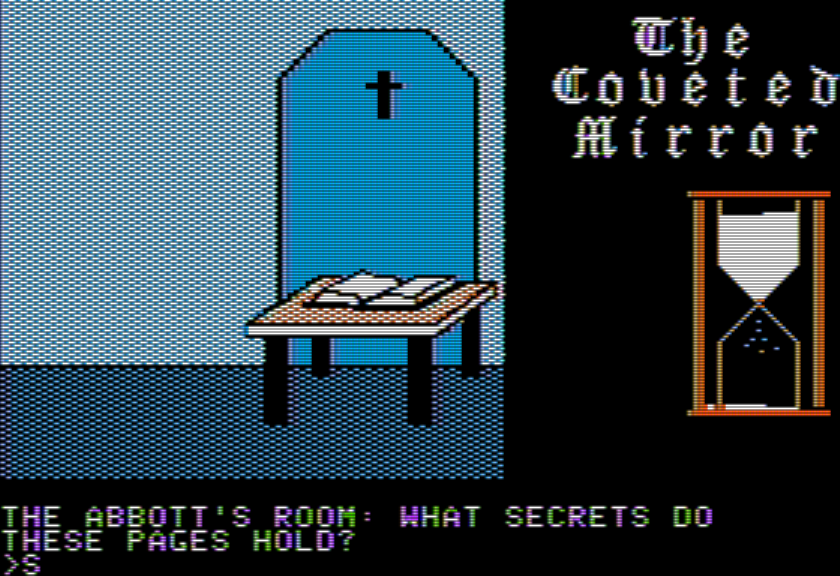
If you try to read the book, the Abbott appears and throws you out.
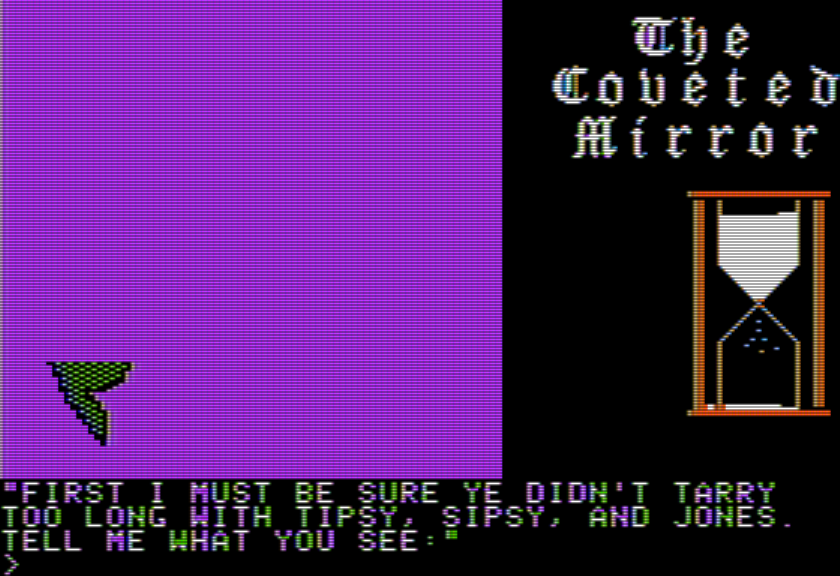
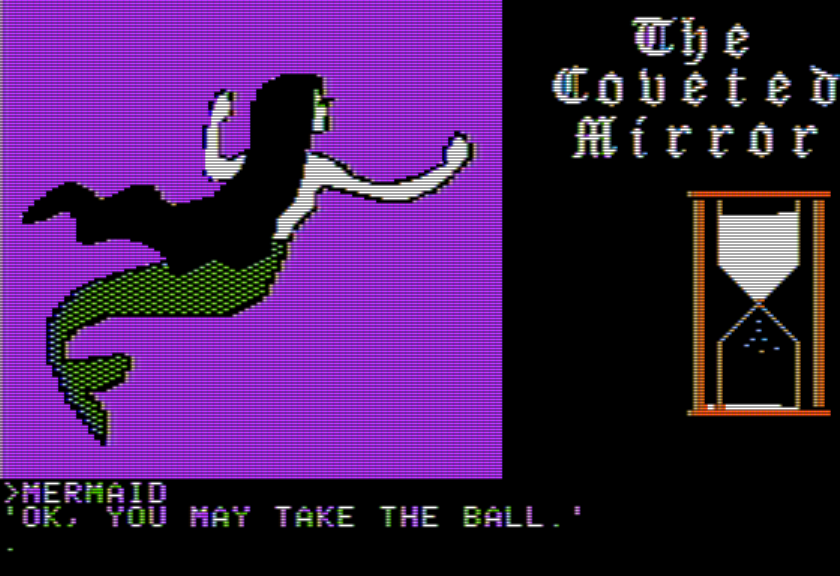
To the west is a glassblower place, where you can find a crystal ball. This is the ball you need to take to the fortune teller (mind you, the fortune teller seemed to indicate she had lost her ball and you’re finding it … this seems like you’re getting a new ball?) When trying to GET BALL the glass-blower first quizzes you on what a picture is, showing it piece by piece; you need type MERMAID and you can go ahead.
Just to jump ahead a bit, if you take the crystal ball back to the fortune-teller, you get told about a magical vase:
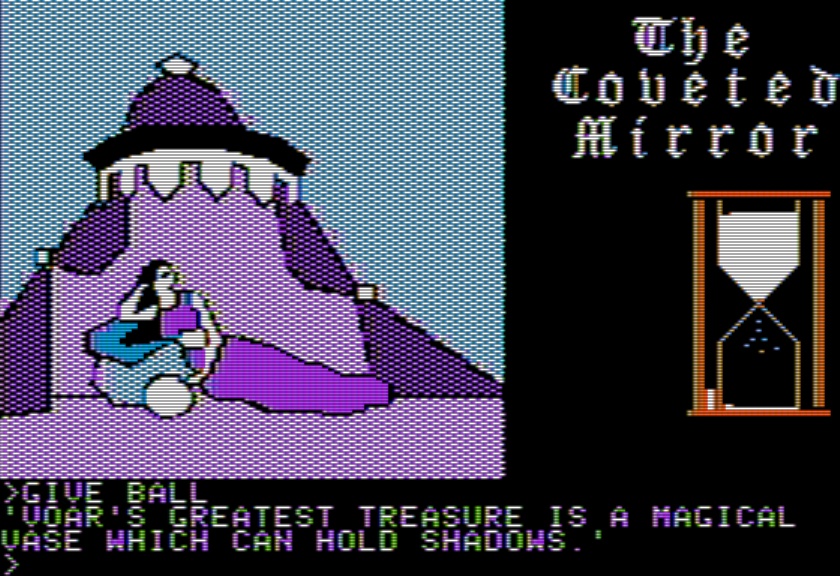
Was the scene necessary to win, or will you find the vase anyway even if you don’t hear about it first?
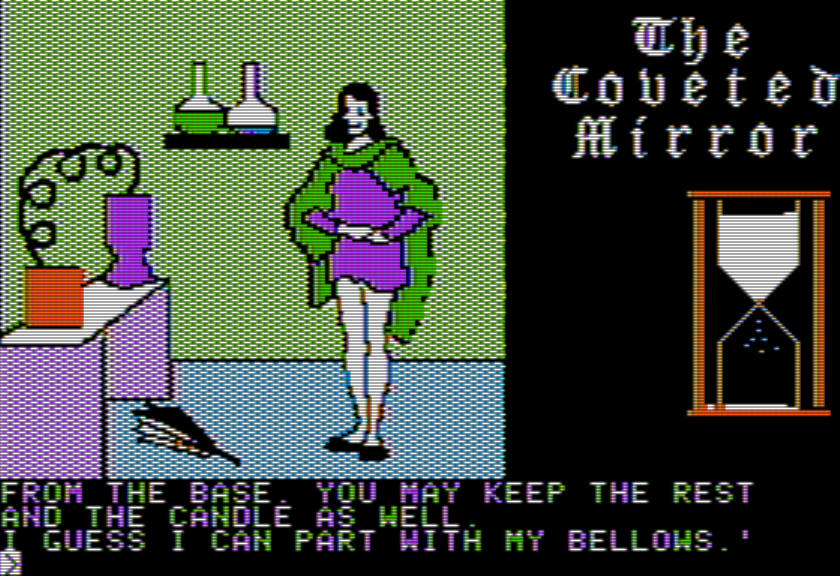
Resuming our north-south walk, on one side is an alchemist.
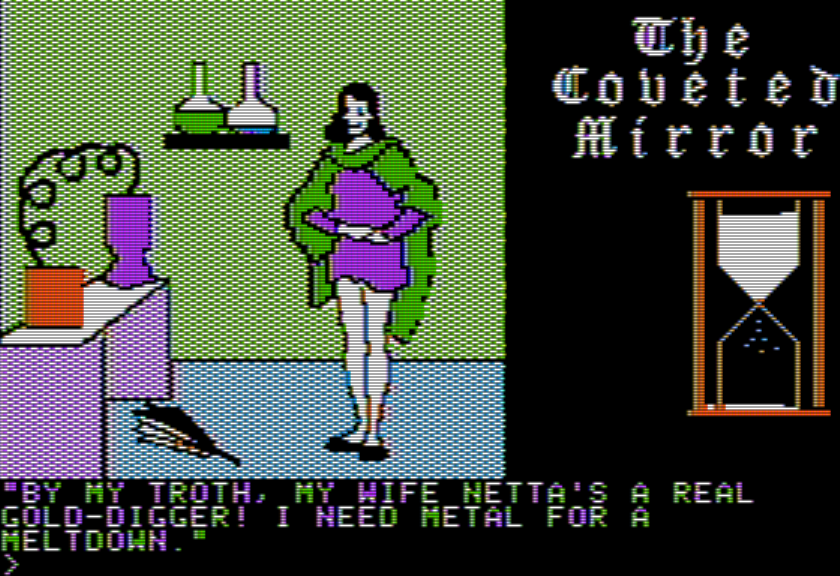
He needs the candlestick. I’ll do that whole sequence in a moment.
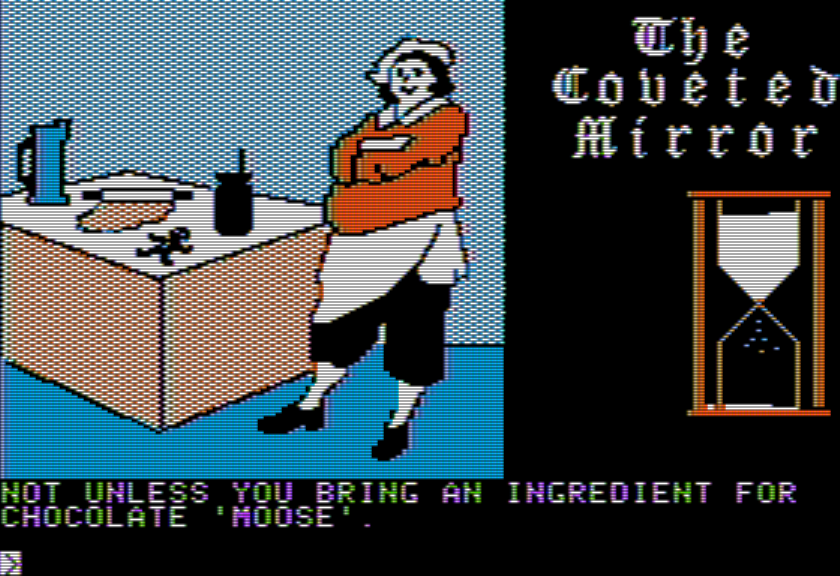
Across from the alchemist is a bakery, where the person inside needs an ingredient for chocolate “moose”.
Reaching the outskirts of town, there’s a path passing by a pig, chicken, and goose (at various moments, their appearance is random); there’s also a horseshoe lying around which I believe is the lucky item the jester wants.
Further on is a shop where you can “appraise” items. It will determine which items are considered valuable as bribes (this is quite directly given in the text — something is listed as valuable or not “TO GUARDS”).
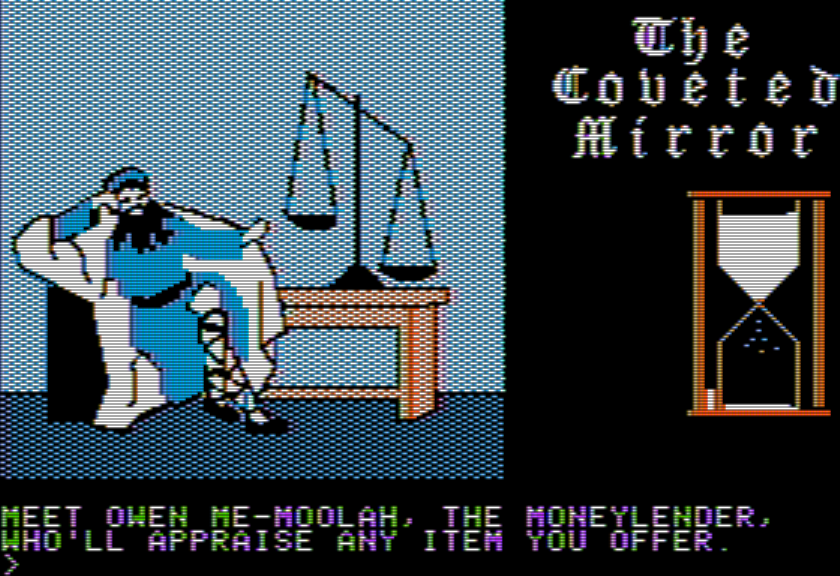
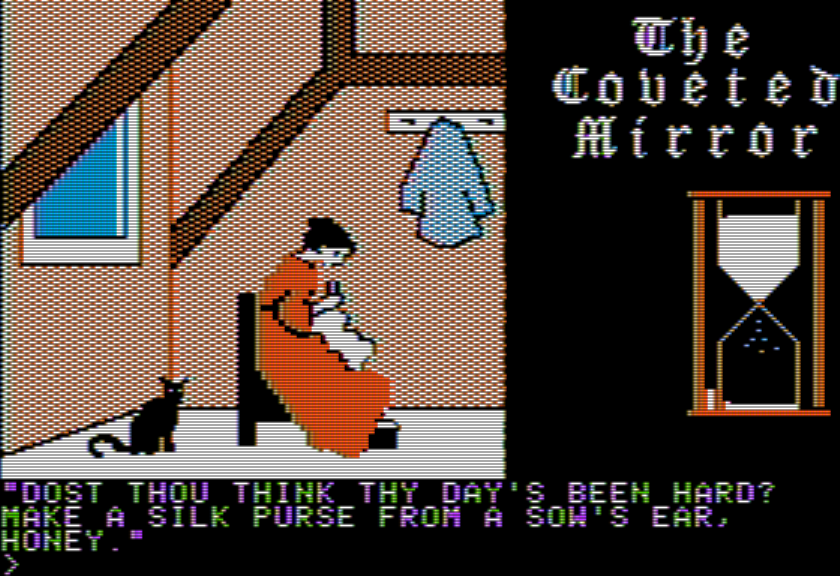
Also, there’s someone sewing with a cat.
There’s still more map south past the town, but I’m just going to highlight a couple things. First of all, you can find a joust minigame. You are informed you need to win four times in a row. You can move a shield and a lance independently, and it is possible to win, lose, or tie at any clash. I don’t know what you get if you win.
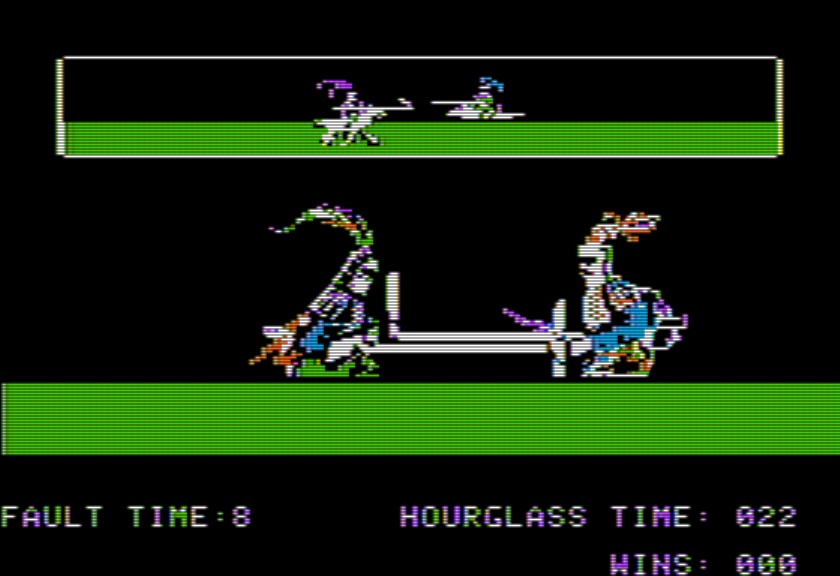
(The game also keeps track of your hourglass time and you will get booted back to the Dungeon once time is up.)
Similarly, you can also find a fishing minigame nearby. Again, I’m not sure what the reward is, although I found this easier than the jousting. Again, hourglass time will pass as you fish, so it is possible to lose by getting booted back to the Dungeon.
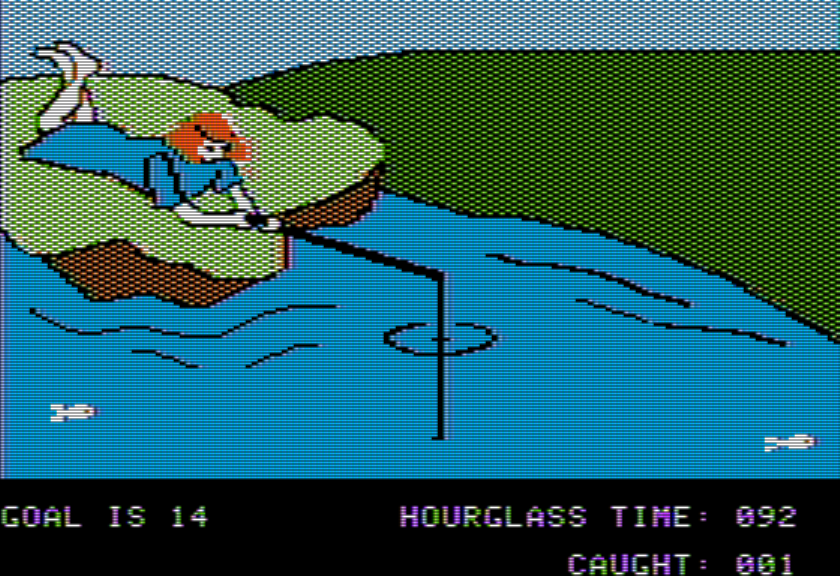
This and the other minigame show our avatar!
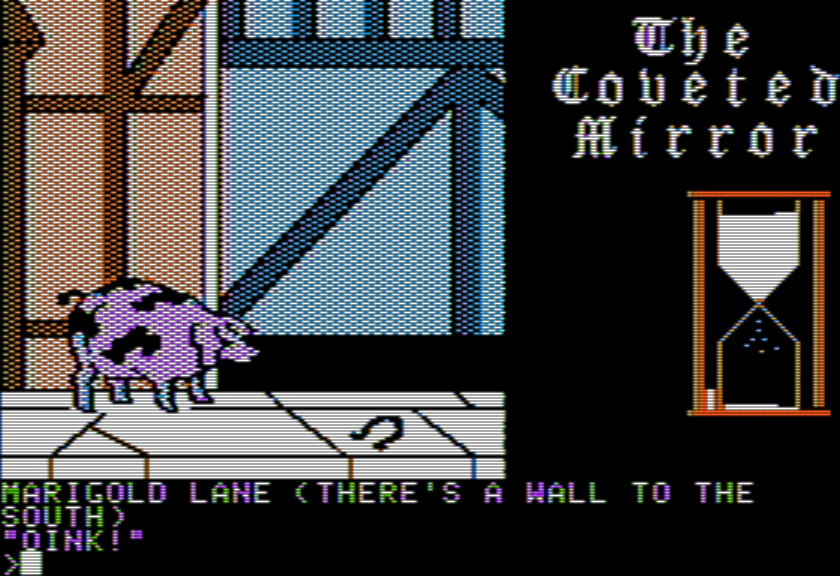
Finally, there’s a stockade just outside of town. If you talk with the criminal within, they let you know they have a lockpick out next to the tavern. You’ve actually seen the lockpick!
That little dot and line in the bottom right is the lockpick! (This, plus the minigames, plus the emphasis on parsing the world visually rather than reading text, plus the people appearing at random, make me think of later Sierra games.) You can just GET LOCKPICK, even if you hadn’t heard about it previously from the criminal.
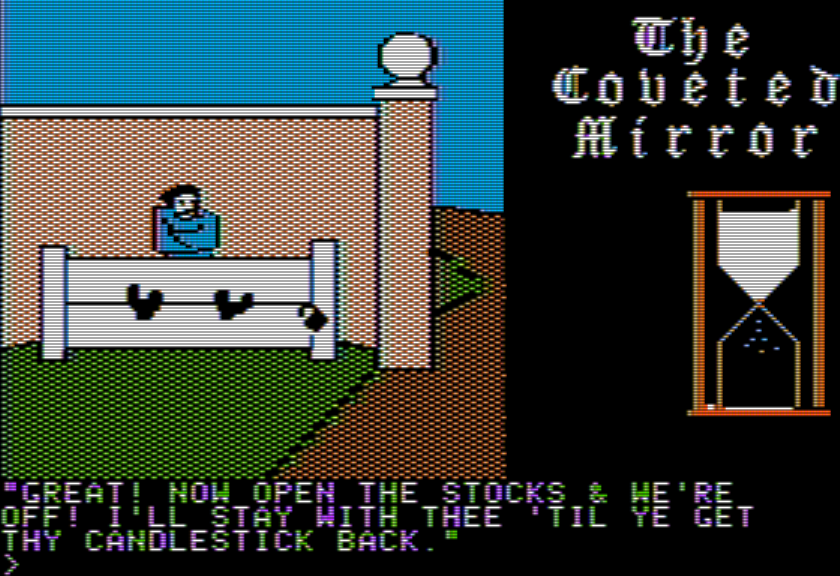
With the man free, head over to the church, and he’ll cause the Father to chase him so you can grab the candlestick. You can then take the candlestick over to the alchemist who will take some of the metal for alchemy (not the whole thing) and he’ll give you his bellows. You can then take the bellows over to the blacksmith who will trade you his shovel for the bellows. I have yet to be able to dig anything up with the shovel.
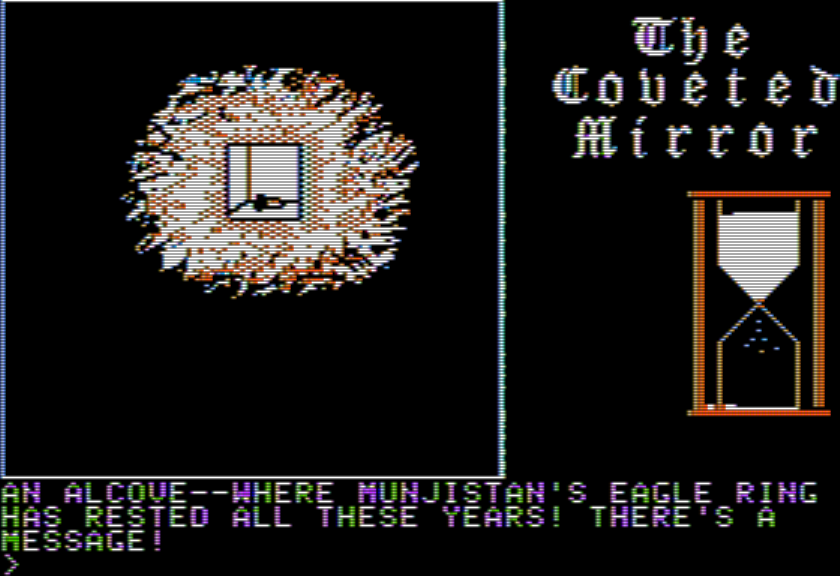
That’s mostly it for this update, but one more thing: I was captured with all the aforementioned items, retrieved them, dropped down the trapdoor to the magician room, and then lit the candle using the fire at the flask. I could then open the cupboard and go in where it was dark, finding an item.
Just to recap the obstacles remaining, I need to deal with
a.) the jester (just need to get the horseshoe over, most likely)
b.) the locked door
c.) the various people in the halls (likely need the invisibility spell, likely meaning I need to find a witch)
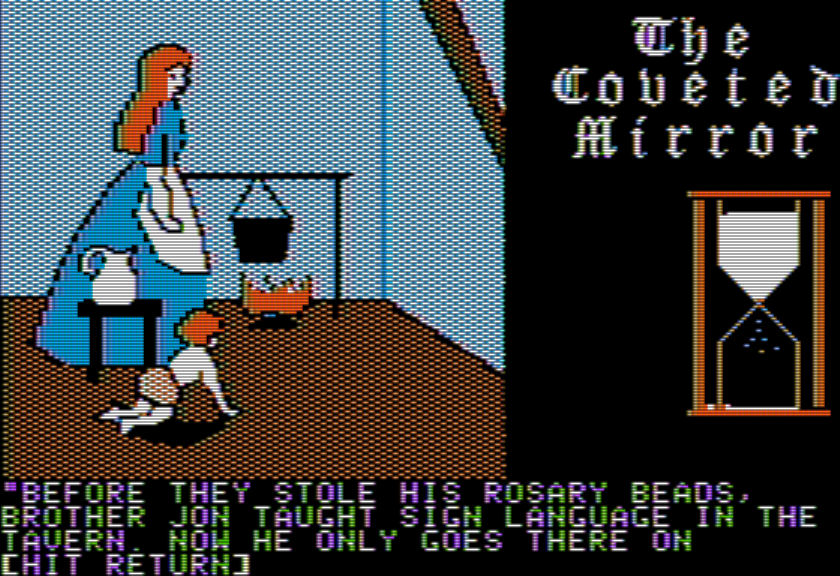
d.) the people at the tavern (and the cryptic mention of sign language)
e.) the astrologer who pines after the fortune teller
This might just be for color, but maybe you give a flower or something along those lines.
f.) the Abbott and the book
g.) the “moose” ingredient
h.) something at the sewing shop (nothing seems to be requested?)
i.) winning the joust
j.) winning the fishing
k.) some exploration past the town which I’ll save for a different post
l.) probably at least one thing I’m missing because of the random appearance of characters and also the fact exits aren’t mentioned, so I have to test N/S/E/W/U/D in every room and I likely missed one by accident
I haven’t had a game split in this many directions in a while. The time-limit part is interesting in keeping each expedition “directed” (for example, jousting and fishing take enough time that they likely each need their own individual journey, without any extra stops). I certainly don’t need any hints or suggestions yet, so please save those for if I later get stuck.

I also played this one as a kid, but similar to Escape from Rungistan, I don’t really remember many details, other than the minigames and that the map seemed pretty large.
I’d wanted to try it for a long time, so when I saw you had this coming up, I decided to do a play-along, but with the “Japanisized” Star Craft conversion, Shōmakyō no Densetsu. I’m playing the PC-8801 version.
Notes so far:
– The game is set in 14th century Japan, during the Muromachi period. Yuri village was under the protection of Masamura, an “onmyōji” (a kind of all-purpose diviner/astrologer/exorcist figure that was actually an official government position in medieval Japan), who used the titular “demon revealing mirror”, a magical family heirloom, to keep the peace. That is, until his longtime enemy, the wicked Jinsai, broke into his abode, etc., and you know the rest of the story, as it follows the original closely.
– When you enter a room, it describes it and helpfully lists its contents in both Japanese and English (you can enter two word commands in either). This isn’t always comprehensive, though. You still need to interact with things you see that aren’t described sometimes (like the window that leads out of the castle, for instance).
– The graphics are quite nice, and display almost instantly upon entering a room. By this time Star Craft had really mastered the art of porting/adapting these games, just in time for the traditional parser-driven graphic adventures to basically disappear from the Japanese computer game market.
– The hourglass on the right side of the screen has been replaced by a stylized empty frame which the mirror pieces are eventually shown fitted into. The in-game time warnings are shown in a pop-up text box instead.
– The book in the room adjoining the dark room here is the diary of the princess of Yuri, and basically just summarizes the game’s plot, imploring whoever finds it to overthrow the horrible Jinsai and save the villagers from their suffering, as she was set to be executed the following day (and by beheading, no less – so much for “non-violent” entertainment!). She also advises that you read the manual fir more details (!), but no further hints or commentary are offered, unlike in the original. The room where you can escape outside through the window describes how she used to stare out of it upon the suffering of the village.
– The first guard that captures you in the hallway and sends you back to Jinsai is a samurai employed in the castle. There’s no counter or mention of how many “tries” you have left.
You’re way ahead of me, so I’ll just check in whenever with more notes/comparisons, as long as they don’t seem to be spoilers.
Are you using the 3-disk version? No matter what emulator I try, I get the logo on the right and an “OK” at the bottom. The PC-98 version works fine.
Yeah, that happened to me at first, but I found a solution:
Go to the Unrenamed sets on the IA, and look in Japanese Systems I. There’s a single disk PC-88 version of Shōmakyō there that will boot properly and doesn’t initially require anything in drive 1. Once you get out of the castle and into the town, it will ask you to flip between disks B and C in drive 1 each time you change areas, and that’s when you can insert the regular 2nd or 3rd disks, and everything works fine. This is using M88, btw.
That’s very interesting. The “single-disk” version is just the other 3 disks concatenated, a trick I found out about early. If you open it in the Takeda emulator (PC-8801mk2) you can see all 3 disks in the disk menu dropdowns, and can select them; same for QUASI88.
This one works in multiple emulators just fine, so the other images must’ve been broken. Thanks!
Ha, I checked in M88 and it’s the same. There’s a drop down menu where you can select any of the 3 disks in either drive (1 and 2 – not sure why I thought it was 0 and 1), just as you describe. The M88 savestates preserve your currently set disks too, which makes it very easy to play.
Progress update –
I mapped out everything I currently can in the castle. Some differences to note:
– The necklace is a hairpin here, and works the same way to bribe the guard for more time. If you try to give him other random stuff, he says he doesn’t need it and just leaves.
– The mysterious locked door with the sign is basically the same, but it also says something like “You should find another entrance…”.
– Jinsai’s treasure room in the maze initially contains a blue pot, which you can take. Otherwise it operates the same way after you get captured.
– The mirror piece in the maze is automatically taken when you enter the room, with an appropriate description. It doesn’t appear in your inventory, but slots into the mirror frame picture, and disappears from it when you get captured, only to reappear again in its original room, not the treasure room. No “protection spell” is mentioned.
– The Jester is an Acrobat here, and only mentions that Jinsai is so taken with his skill that he won’t let him leave the castle.
– The Bard is instead a travelling Biwa Player, who says that Jinsai captured him and makes him play songs for him every day. He also tells you that an old man who knows magic is supposed to live somewhere in the castle, and is an ally to the righteous. He advises you to go meet him and learn his magic.
– These characters only appear in one set location (in this case the great hall). If they don’t show up at first, you just WAIT once and they always will. This is hinted at here by a description when you LOOK ROOM like “It appears that someone was recently here…”.
– There’s no dog or table in the hall.
– The cook mentions that Jinsai has been on a diet (!), so it’s hard to cook for him now.
– The only other guard I’ve encountered is also a samurai, but with different graphics.
A few rooms that you don’t seem to have encountered:
– There’s a room to the north of the corridor next to the kitchen (there’s no guard there in this version) that has a stained glass window in it. It’s described as looking suspicious, but you can’t seem to find it’s secret. I haven’t succeeded in interacting with it yet.
– There are two rooms off the bottom right of the corridors. To the north there is a samurai guard room, which is deserted but has a rack of weapons, including bows. You can’t take them, though. There’s also some undescribed stuff on the floor (mats?), but I haven’t been able to interact with anything.
– To the east is Jinsai’s bedroom. There’s a locked door here, and it says you need a key to open it. To the south of the bedroom there’s a small anteroom, but it seems empty.
– Once you get out of the castle, there’s the same “good place to stash items” deserted corner, but no graphic of anyone looking at you from the castle. There’s a bridge with a moat. It says you shouldn’t jump in, but you can try anyway. It asks if you’re sure (YES or NO), and then drowns you if you do.
– To the south is a “bamboo bush”, where you can climb to get the “Ax”. It’s hinted here by describing the bamboo as being thick enough to support a person.
– At the entrance to the town, an aristocratic lady appears (WAIT if she doesn’t). She was one of Princess Yuri’s handmaidens, and describes how she fell ill from worry after Jinsai arrived. Now that she’s dead, Jinsai grows ever more tyrannical, and the people of the country are in danger. She begs you to overthrow him and save the country. She also mentions that the castle guard is susceptible to bribery.
I’ve scouted ahead a little, but I’ll save the exploration of the town for later, when I have more time.
Overall, I’d say the atmosphere (and graphical aesthetic) in this version is more serious and authentically “folkloric”, compared to the silliness of the original.
An update from the northern section of town:
– I neglected to mention before that the princess’s handmaiden also affirms that there are four mirror pieces in the castle and one other hidden “in a distant place”.
– The item lying in front of the bar is clearly described as a key (rather than a lockpick) in the initial room description, so that doesn’t need to be pointed out to you elsewhere.
– The bar has three friendly drunkards sitting there, each refered to by name with the initial TALK command. You can then address them individually (TALK YOSUKE, etc.), but they have nothing really interesting to say, just general drunken banter. If you WAIT, the one on the right will switch between a typical laborer and a boozy Buddhist monk. After a random amount of turns, someone (apparently not one of the regular drunks) will suddenly pickpocket ALL of your inventory. There’s no warning of this, unlike in the original. I don’t know yet what, if anything, becomes of your stuff, or if anything useful can be accomplished here.
– The astrologer here is an old man who’s pointing up at the sky and muttering something. He elaborates that a bright star has recently appeared, which is surely a good omen. He says it must mean that a hero who will rescue the kingdom is coming, but who could it be? He let’s you take his telescope, and says he doesn’t need it anymore.
– Next over is a “Medium”, who can supposedly tell you the prophecy of the gods. She’s a crabby old woman and demands that you bring her an offering, only then will the divine oracle be revealed. But she hasn’t wanted anything I’ve tried to give her so far.
– On the first street heading into town, a “tourist” is wandering through. He claims that this village used to be more lively, and wonders what has happened.
– To the east is a small bare house with a young woman and a baby. She working a mortar and pestle and wondering what to do about dinner.
– To the west is the blacksmith. This is essentially the same as in the original (he needs new bellows), but he has a hoe rather than a shovel, which he won’t give away for free.
– To the south in the same building is the glassblower, and also a friend of his who you can address individually. When you try to GET BALL he says he’ll blow one for you, but only if you repeat some tricky phrases after him. The first is a string of food-related words, which you have to enter in kana. If you get it right, he offers a more difficult one, a very lengthy wordplay about bamboo. The problem is that it takes up more than one line and the parser can’t handle that, so you always lose. This may just be a time-wasting red herring (the Medium here doesn’t seem to need a crystal ball), so I have no choice but to answer NO to his challenge for now, to which he mutters “Well okay, you don’t have to if you don’t want…”.
More to come later.
I played the original version which I don’t think came with the illustrated backstory manual.
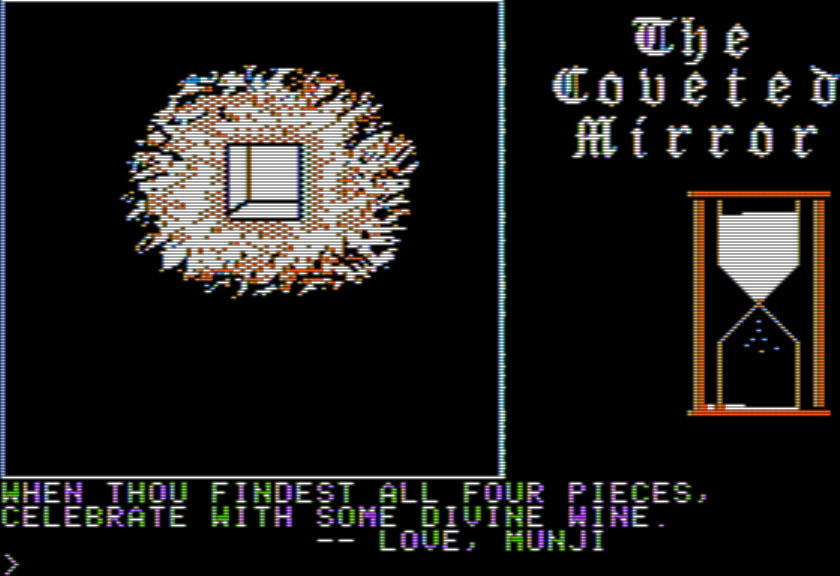
Very interesting that the drawing seems to reveal the shapes of the broken mirror as they more or less are meant to appear in the game.
As a kid I had an awfully hard time figuring out what shapes to look for because the game doesn’t render them accurately. If I recall the pieces are not drawn to scale nor are they necessarily drawn with pinpoint precision, which is what you need when figuring out a jigsaw.
I’m not particularly interested in the Japanese adaptation though it is a curiosity.
I do recall the mini games (especially the jousting) as being extremely frustrating. I wonder if that was just my lack of skills as a child or if it truly is the nightmare that I remember.
Looking forward to hearing Jason’s experience with this.
By the way, I’m very glad you figured out the lockpick :) I was yelling at the blog at the first photo :)
I’ve been through everything in the town, and am on to the countryside area. The differences between the two versions are becoming increasingly interesting, but I’m not sure at this point what might or might not end up being a spoiler, so I’ll hold off on saying anything else for now. I will say that I’m really enjoying it, though. I feel like this is a significantly better game than the original.
I finished Shōmakyō and… Wow. There are some world class shenanigans that end up going on there, let me tell you. Still quite fun, but a few things are pretty ridiculous. Comparing the differences (which are very significant) is really interesting, so I look forward to your ongoing coverage.