(Continued from my previous posts.)
Before getting into the puzzle solving, let’s tour the last part of the map, where “there’s less hustle & bustle”.
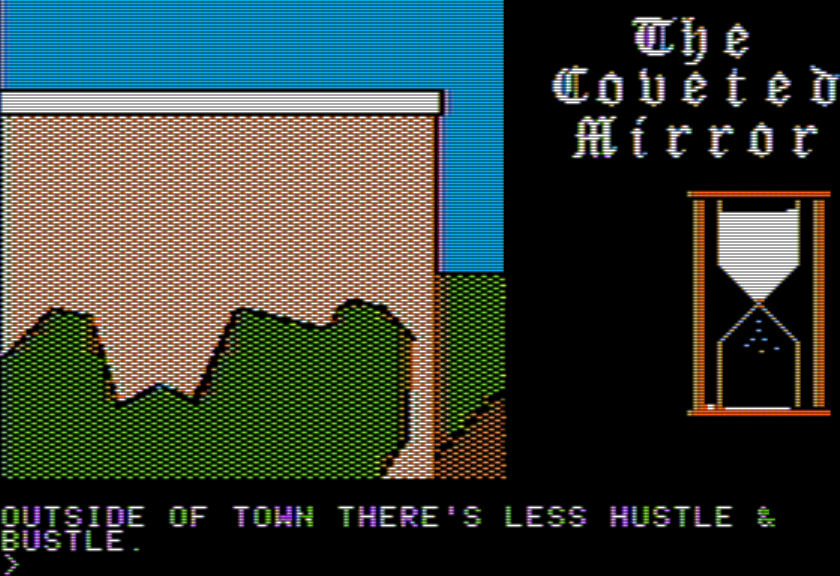
This is just past the main town, to the south. Just west of the room above are the stockade (with the scene I discussed last time) and the jousting.
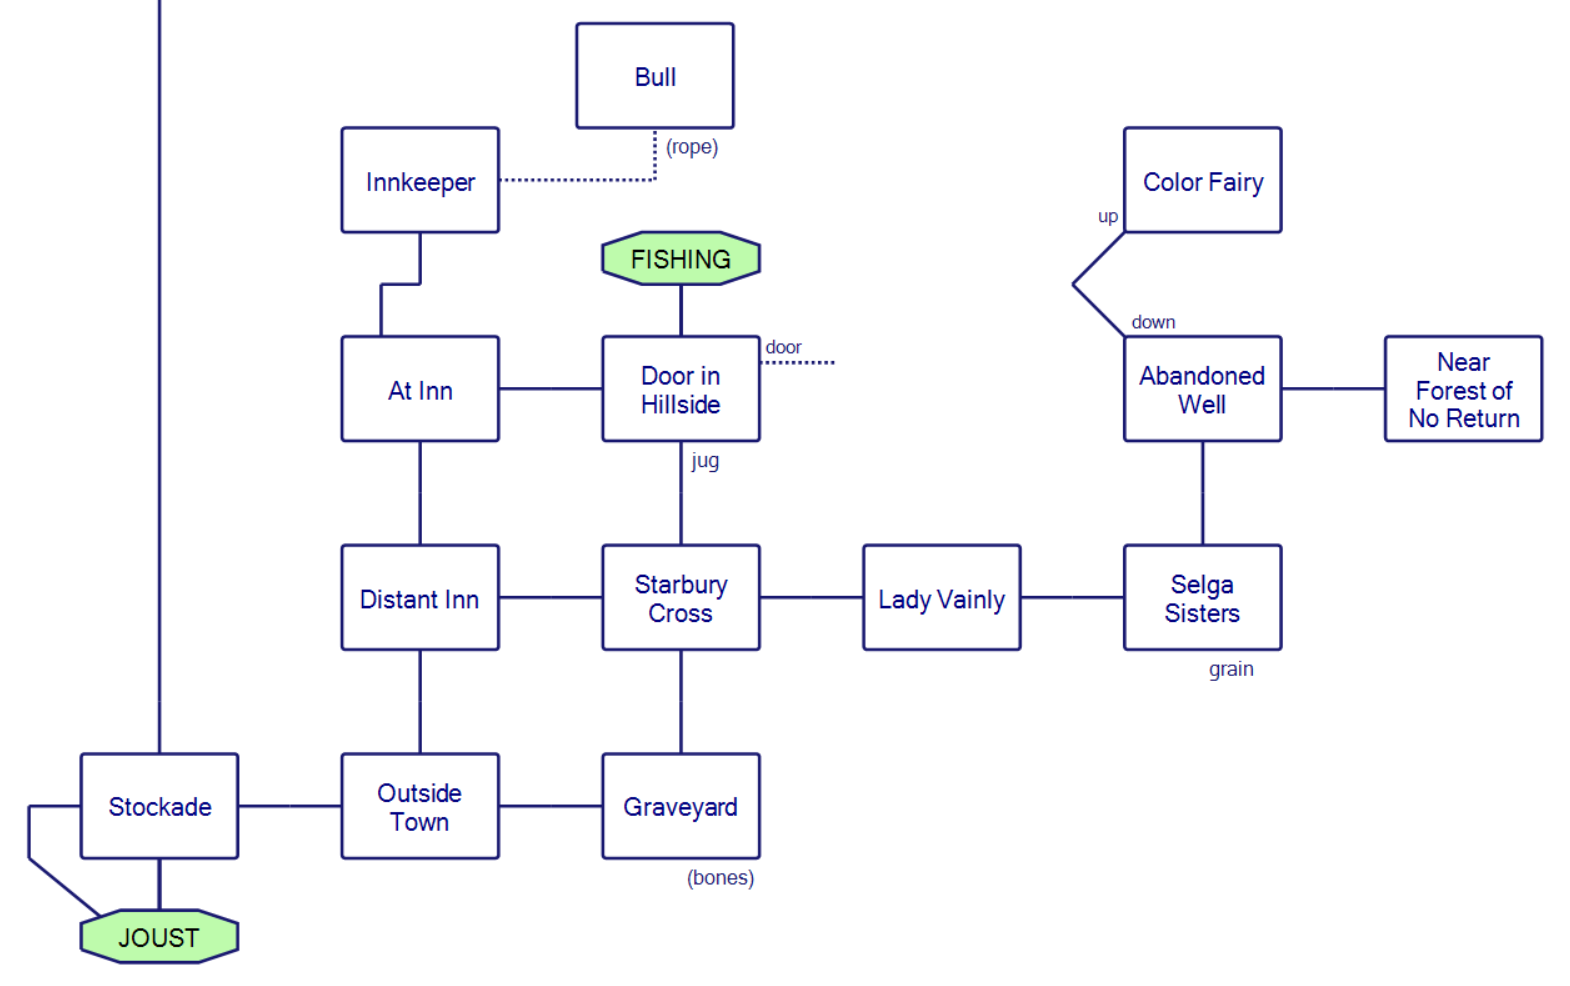
Just like with town, the various rooms have random encounters. It isn’t nearly as bad as it could be, and I’m guessing they’re programmed in a way that forces a rotation rather than hoping the random number generator doesn’t make it so you might have to test each location 10 times. In the location just past town, you might see nobody, or you might meet a Bolshevik.
TALK here gives SOFT–AND CARRY A BIG STICK. Some of the characters give random hints (like talking to random town members in a JRPG) although it is also possible to try to GIVE items, so I don’t know if any of them represent puzzles. This isn’t the only encounter you can have here!

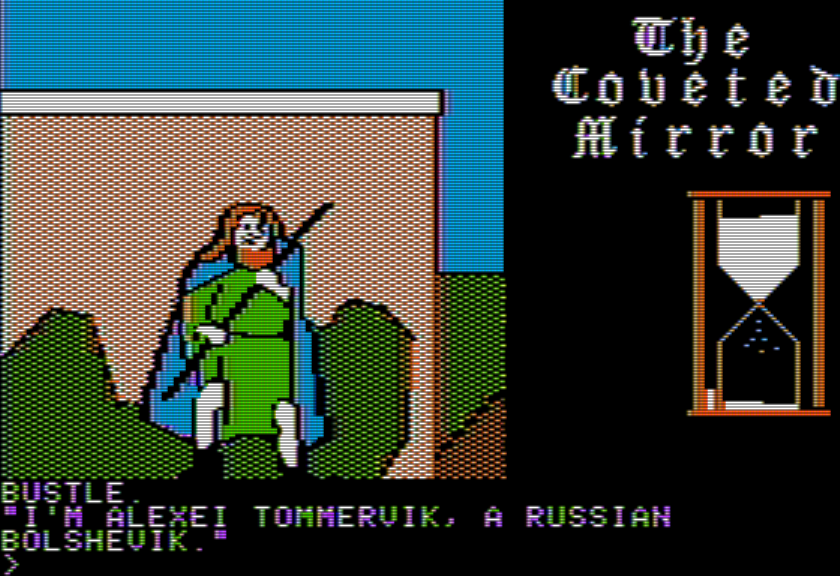
I met her on my fourth-pass through, rather than having to go back and forth ten times. I’ve most recently written about the perils of character appearance RNG with Ringen.
TALK gives a more active clue, about an NPC I had gotten lucky with and met on my first visit to the room in question.
Let’s just hop all the way over there — it’s on the far east, marked Near Forest of No Return on my map.
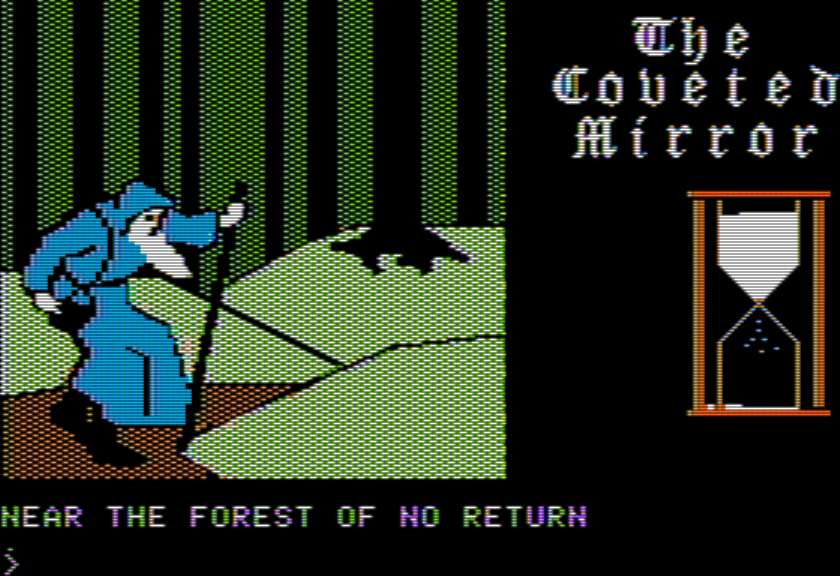
This man’s appearance is less frequent than other characters, which I suspect is why the hint is there. He’s also hinted at by the bard, he mentions MUNIJSTAN & HIS SILENT FRIEND and how you need to WAIT WITH THE RING AT THE DARK FOREST’S END.
Trying to TALK gets the response HE GESTURES IN SIGNS YOU DON’T UNDERSTAND; we’ve also had the sign language reference given by Alice at the hovel, but I don’t know how to learn the sign language yet. My suspicion, based on Alice’s hint about sign language at the tavern, is that someone hanging out in the tavern (where the pickpocketing happens) knows, but that’s one avenue I’m still dead-ended at (talking isn’t useful, nor waiting around, nor coming back and forth a bunch of times).
Let’s zip back to Outside Town and take a path by a graveyard next.
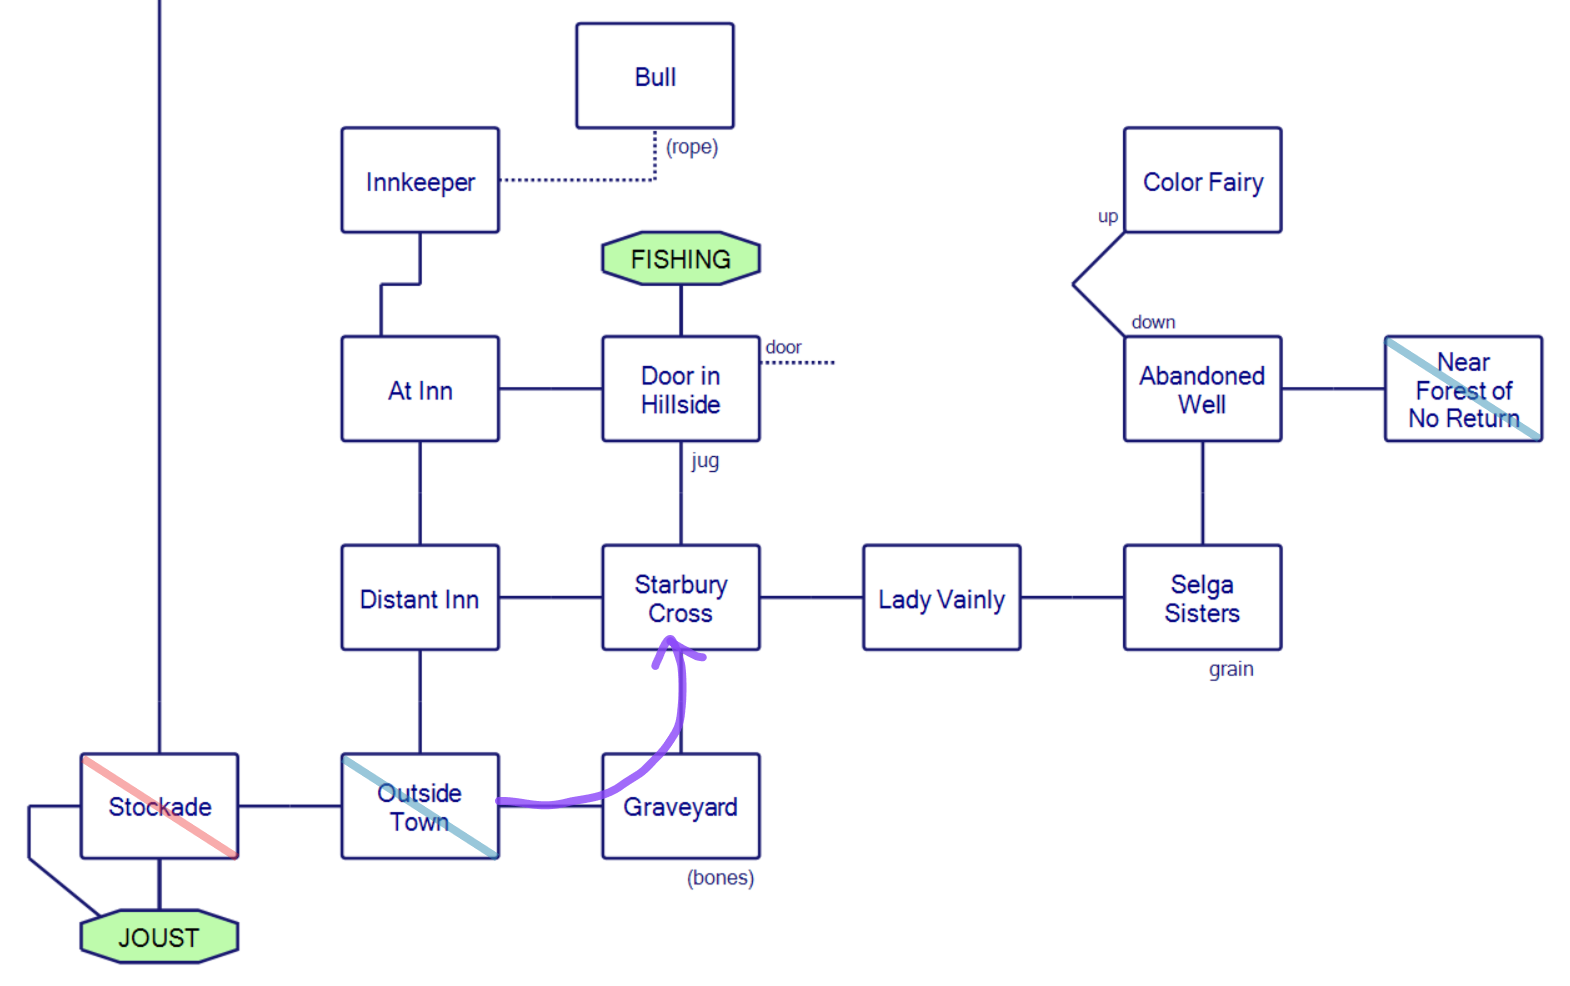
The graveyard sometimes has a ghost. The ghost makes a reference to digging.
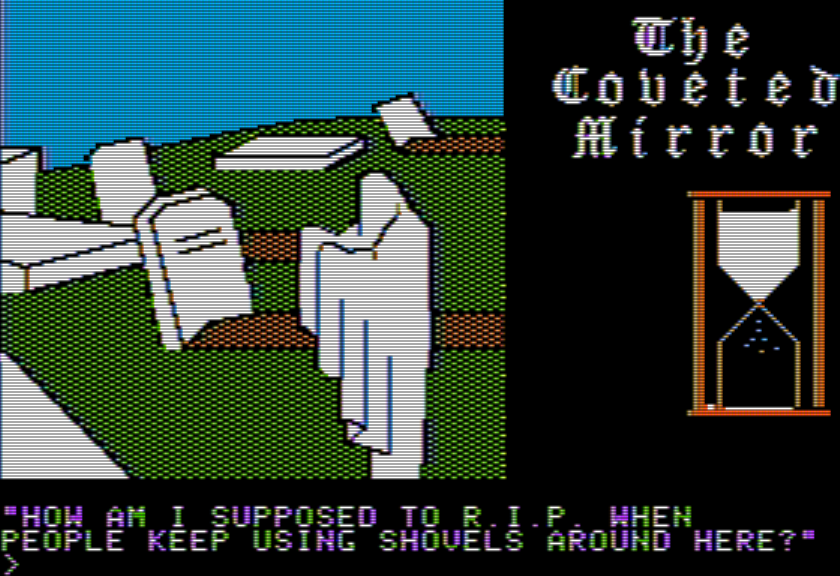
Last time I had found a solving path (release person in stockade helps get the candlestick, candlestick gets bellows from the alchemist, bellows go to the blacksmith who gives you a shovel) that gets a shovel, so I tried it out and got some bones. Unfortunately, I don’t know what to do with the bones yet. (Giving them to the dog, the dog says — yes, it talks — that it prefers steak.)
Heading north, there’s another multi-character room, a crossroads. Encounters include a talking horse that lets you know again about the ring-forest connection.
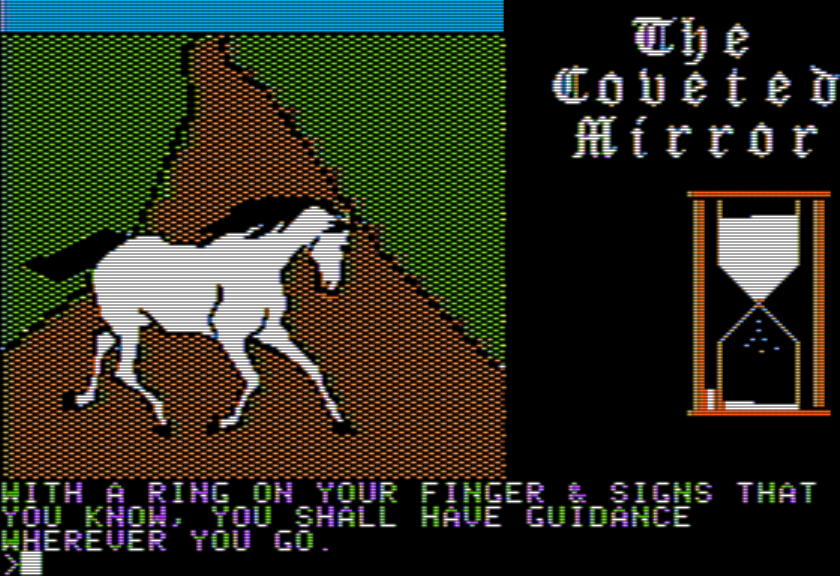
If you try to ride the horse, the game lets you know it is a FREE SPIRIT.
There’s also someone who gives out elixirs for health that can sometimes appear and I think he may be there purely for color.
This shows the result of me trying to GET ELIXIR.
With that done, let’s swerve east which turns out to go into a house, the residence of Lady Vainly. (Some games, architecturally, will always put “boundary” rooms to set up transitions between outdoors and indoors; here this game is being a little more freeform.)
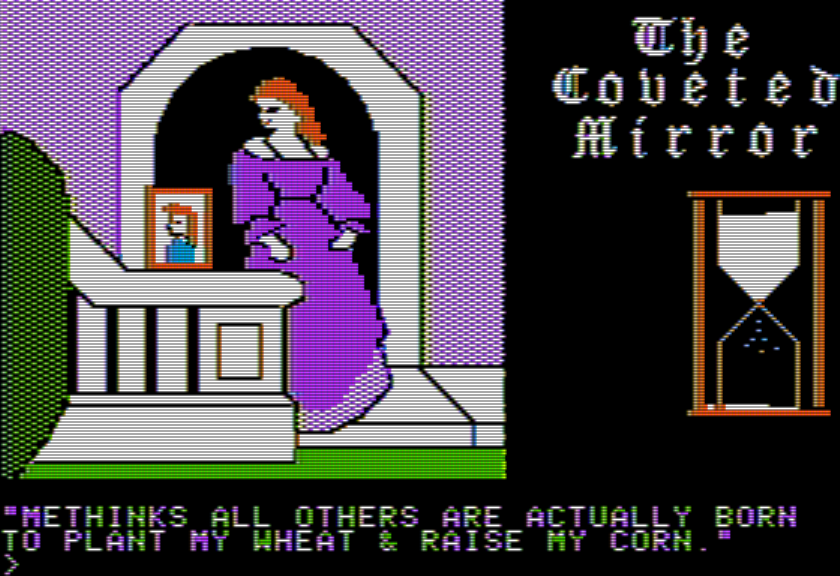
The dialogue above is the result of using TALK, and it is meant to hint that if you go east…
…you can GET GRAIN. Nobody says a peep about stealing or the like, the game just says OK and it lands in your inventory. We’ll be using the grain somewhere else shortly. First, a visit to a fairy.
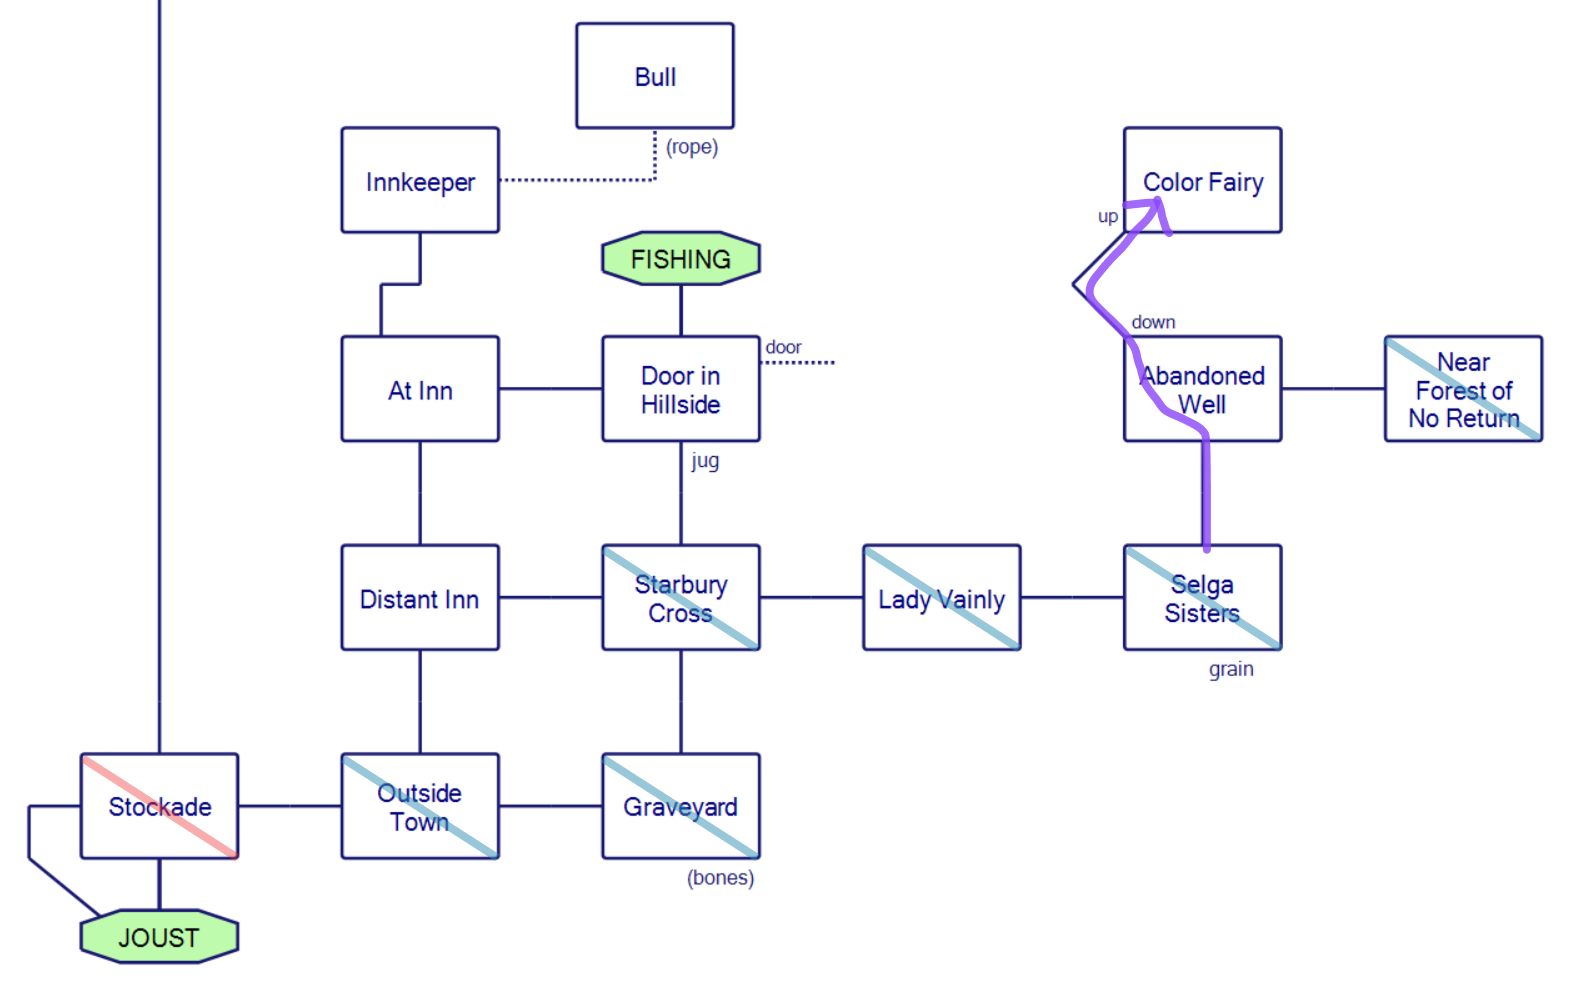
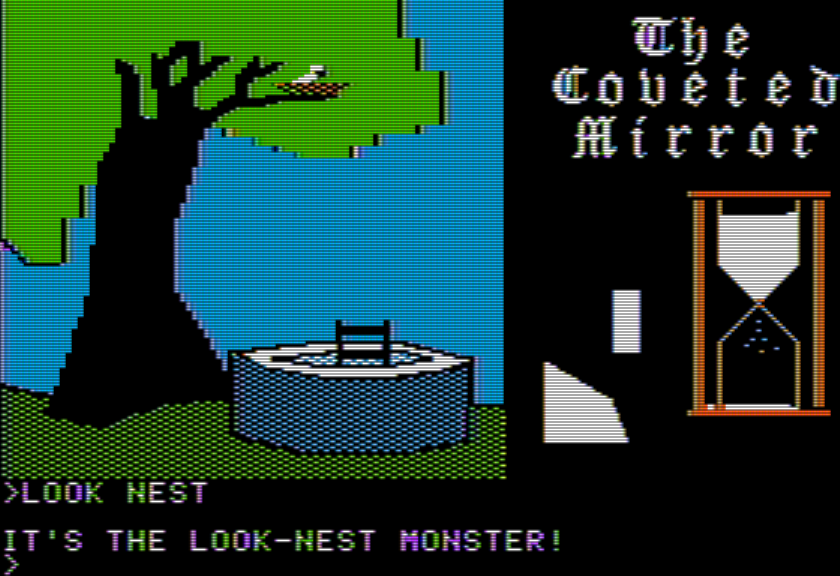
Heading north from the grain is a well, with a bird in a nest. Again, I think the nest may be just “for color” — I’m still unclear how much content in this game is meant for pure atmosphere — and going down leads to a fairy.
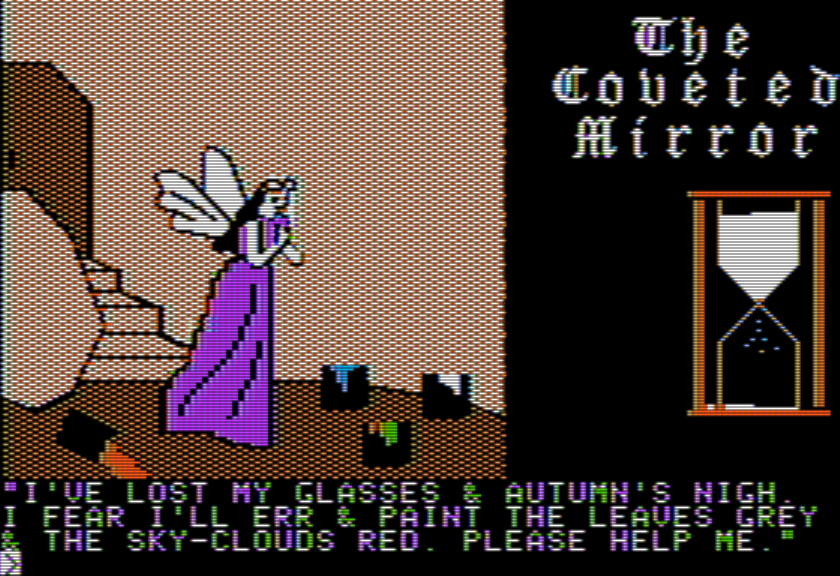
The fairy asks you to find her glasses. I’m not sure where to even begin to look so this is one of those puzzles that will eventually solve itself.
Swerving back to the intersection with the talking horse, and going north, there’s a door in a hillside (locked) adjacent to a jug (which I have yet to use anywhere, and trying to take it to the tavern just gets it stolen). Going north from here is where the fishing is, which I will talk about (along with the jousting) in more detail later.
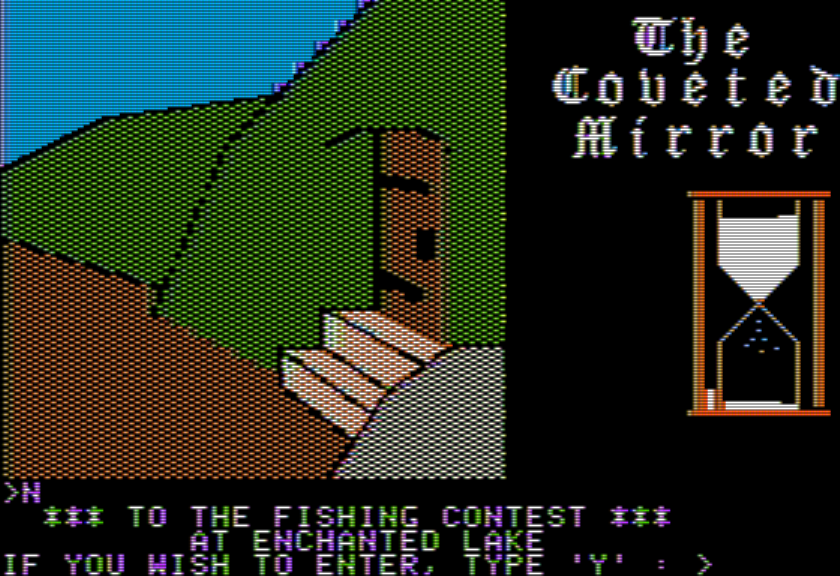
Neither mini-game is a proper “room”; the game just prompts if you want to start the game when you go a particular direction.
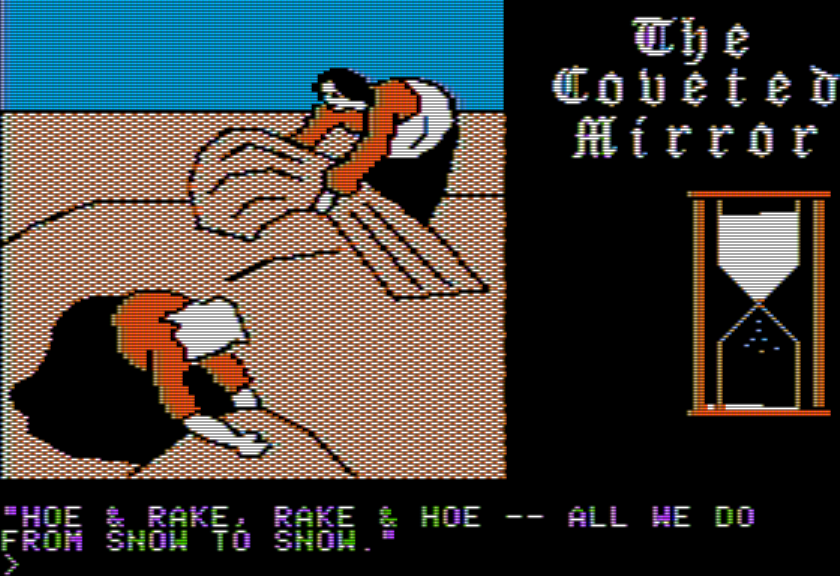
Finally there’s an inn. There’s a hint elsewhere (given by a woman randomly in the town) that the innkeeper likes to receive grain.
I guess he’s so keen on grain he gets kicked out if tries to go for Lady Vainly’s fields so can’t just walk over and grab it himself.
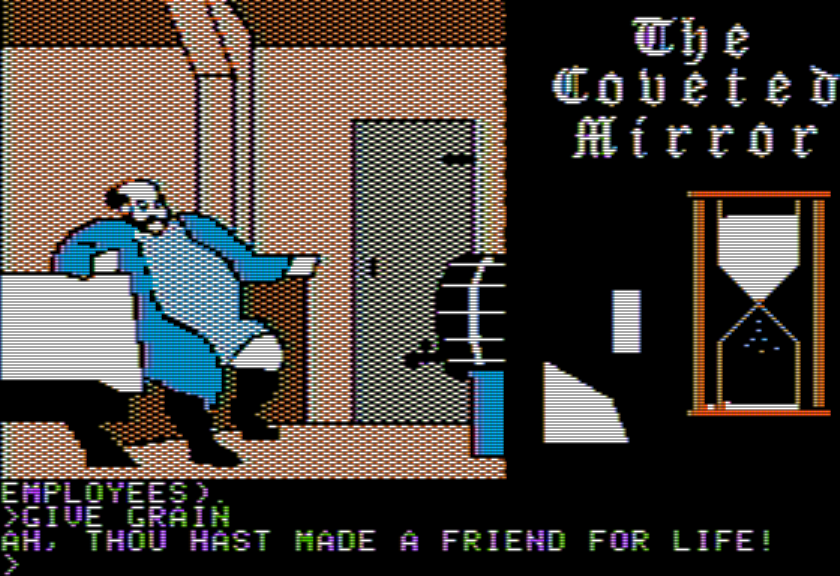
The reason he wants the grain is to feed his beloved bull; you can enter the door and see the bull assuming you’ve handed over the grain. There’s a rope in the room you can then take.
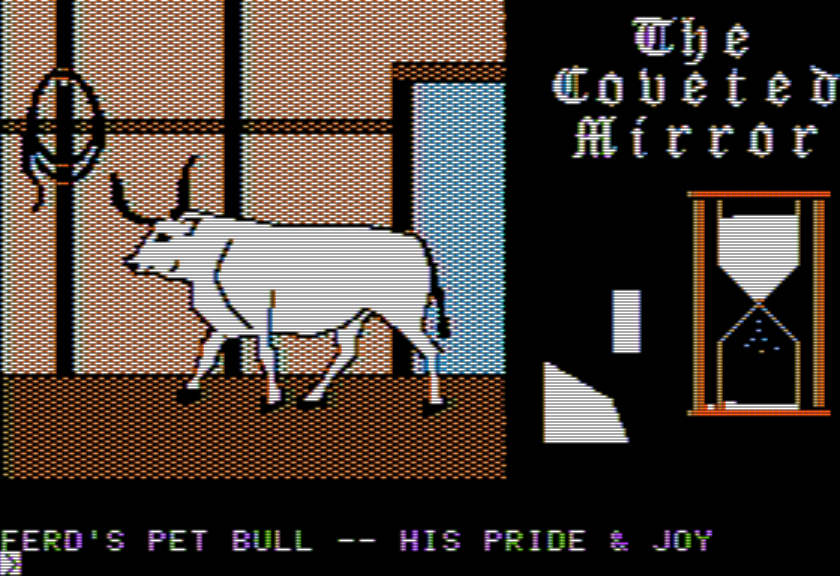
I originally thought that was a whip.
I did finish the mini-games but with a lot of save-state abuse. Starting with the joust, you have a series of clashes where you control your lance with A and Z (high/low) your shield with semicolon and period (high/low) and press SPACE to charge.
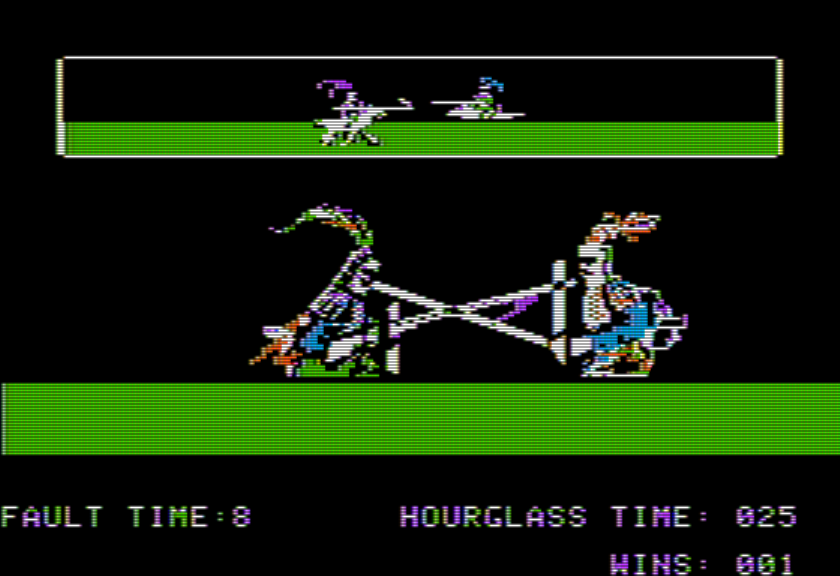
We’re controlling the person on the right.
There are two issues, one likely with the emulator. The first is that the game simply moves too fast at default settings, and I had to change the computer to be half speed. (Nothing else in the game, including the fishing, has this issue.) The other issue is that I don’t understand when you win or lose. The scene above looks to me like the right-side lance hit the opposing knight and the shield is placed correctly to block, but the scene shows a LOSS. I never could figure out a pattern and just kept reloading a save state and hitting buttons randomly until I won a match. Four wins means you are through and done with the game.
I assume the ATHLETIC PROWESS works to defeat another puzzle I haven’t seen yet.
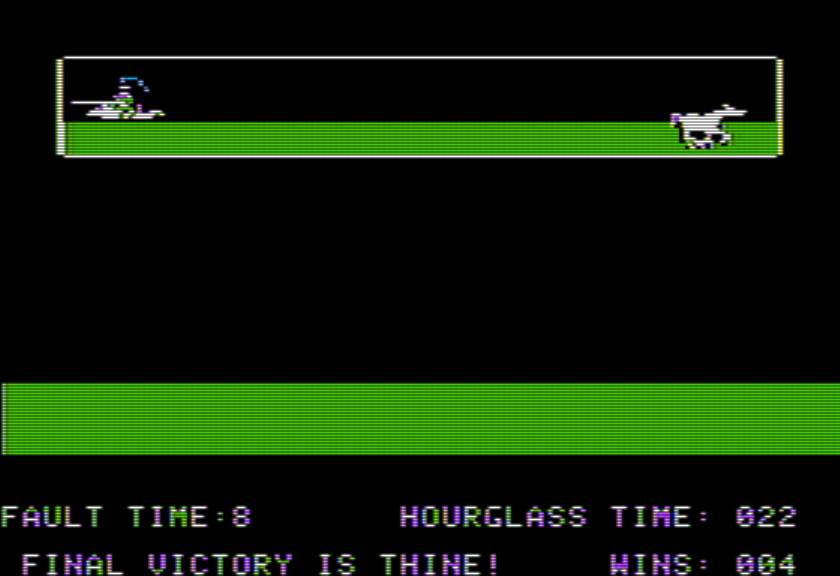
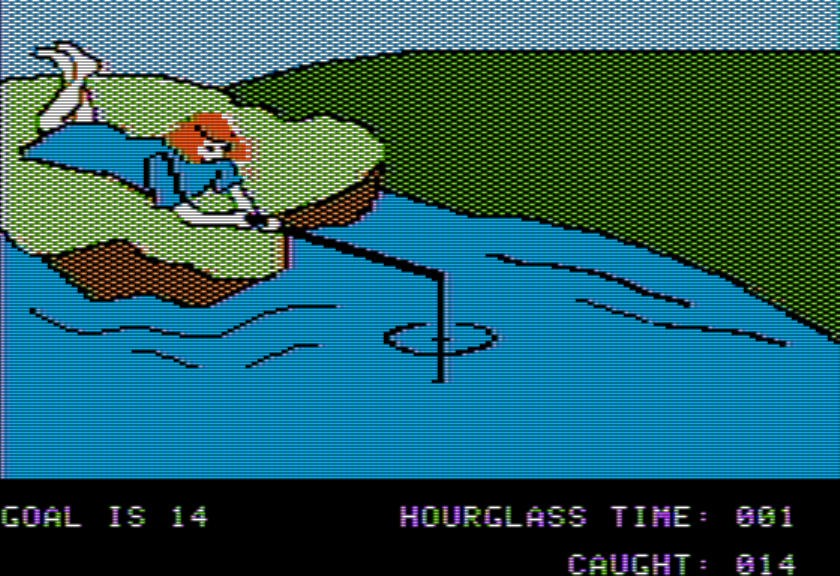
The fishing is at least comprehensible, although still finicky enough that I resorted to save states again.
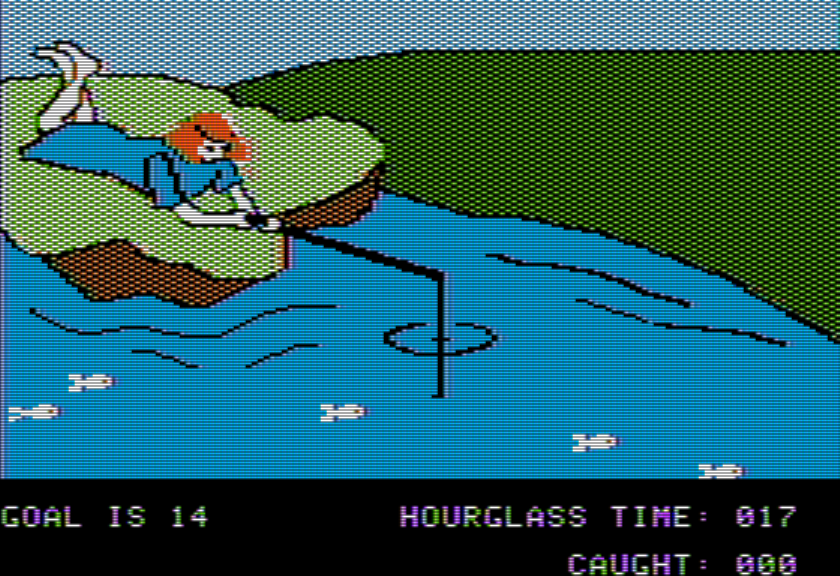
A and Z move the hook up and down, and the fish swim left to right, and you try to hit SPACE when the hook and fish match places. Your goal is to catch 14 fish before running out of time; time is not “real time” in a normal sense, but rather, the hourglass counts down by 1 if either a fish is caught or a fish is missed. You’ll notice I was cutting things tight above (goal of 14, 17 hourglass ticks) but I already knew from previous tests I was going to do save state abuse, and I was trying to fit both the jousting and fishing in one trip (without using up a bribe in order to increase time).
(Speaking of bribes: the only treasure I’ve found is still that necklace from the start. Given how long certain sequences take, I’m paranoid if I use the bribe early, I might get some later section that I won’t have the time to do on one jaunt before getting yanked back to the dungeon with the mirror shards.)
The main issue is the hitbox on correct presses of SPACE; there were many times it looked like a fish was properly being caught but it got away. I think there’s a slight offset (the fish maybe should optimally be a little below the hook?) but I never could figure out a pattern that worked consistently, so save state abuse ahoy.
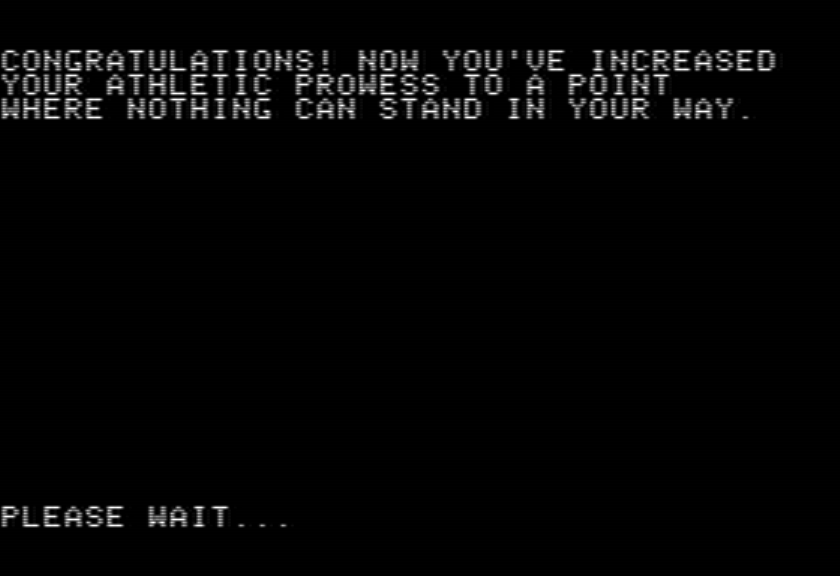
After winning at fishing, the game informs you that you’ve obtained enough patience / quietude in order to stealthily read the Abbott’s book without getting caught. It’s nice when a puzzle solve is so direct! The book also quite directly tells you that one of the pieces of the Coveted Mirror is in the church at the castle.
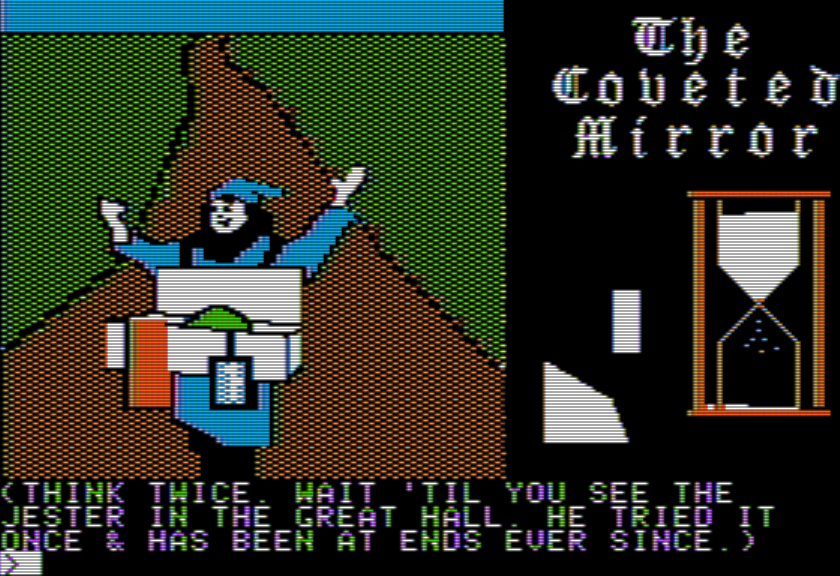
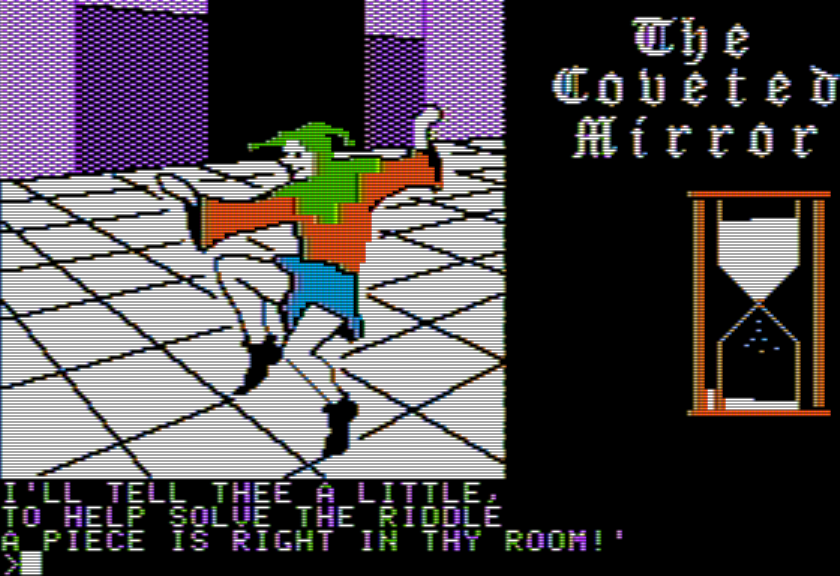
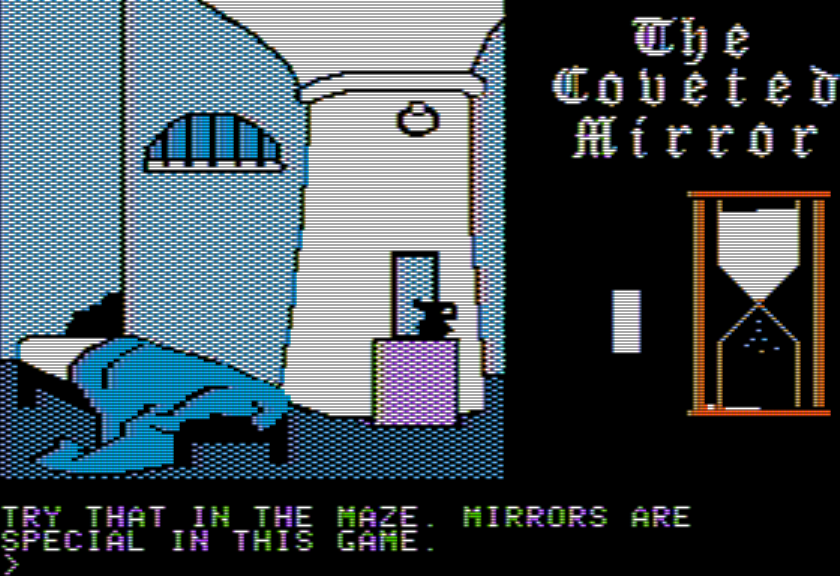
This is definitely a case where you need to see the information before the mirror gets registered (so it isn’t like we did the mini-game for nothing). I know this because there’s a similar situation involving another mirror piece that I did find, which you’ve been seeing on some of the screenshots, one in the shape of a rectangle. To find it, bring the horseshoe to the jester (who wanted luck) and he’ll give a poem explaining there’s a mirror shard right in the dungeon at the start.
Once you know that, going back to the Dungeon is enough to trigger the mirror piece showing in “inventory”. (You can’t even refer to it in the room! It just has the picture appear.)
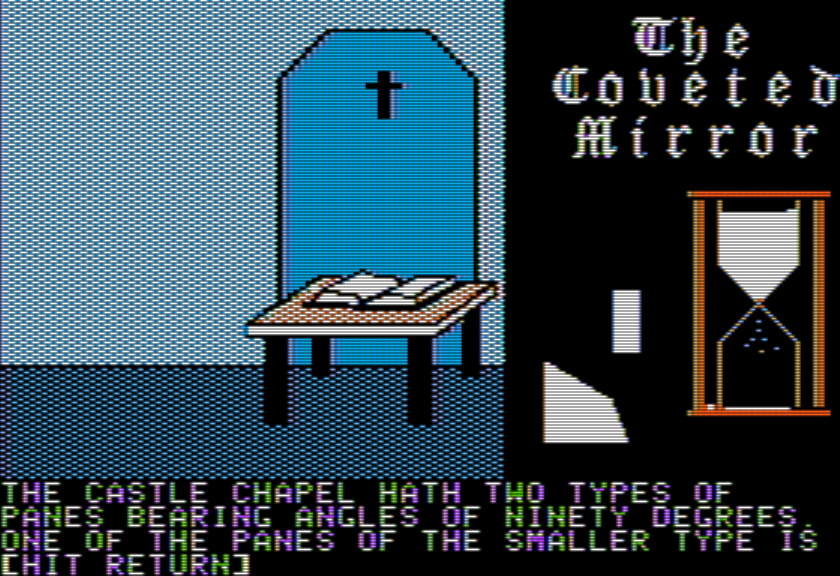
I unfortunately have yet to make it to the castle’s chapel so I can’t get the third piece marked down yet.
I managed to eke out one more puzzle solve, by taking the fish from the kitchen (only available via trapdoor, and you have to get caught right after, but you can retrieve the fish from the treasure room in the maze). I took the fish over to the sewing shop. I knew the woman there wanted a fish because I tried GET COAT and she’d indicated she would trade.
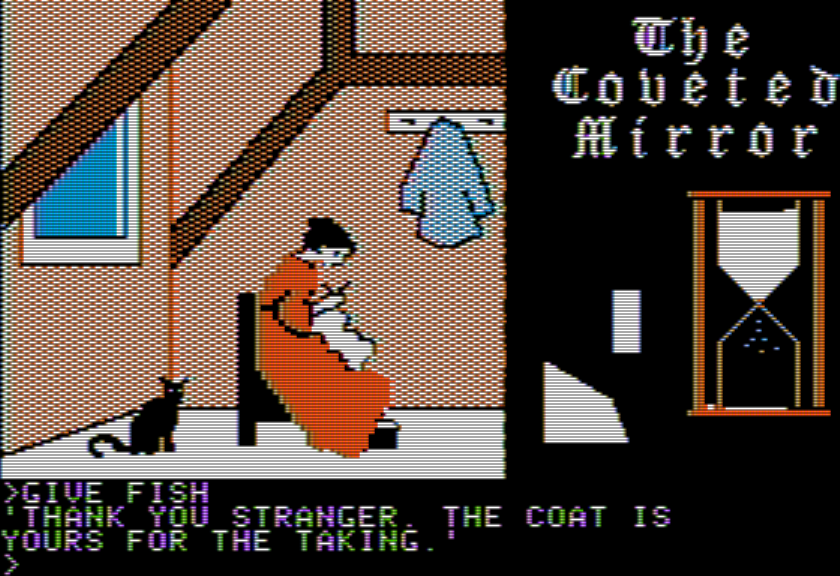
Some characters will say what they want if you just TALK, some will only say what they want if you try to take a particular item. The baker, for instance, doesn’t let you know about the chocolate moose ingredient until you’ve tried to GET COOKIE.
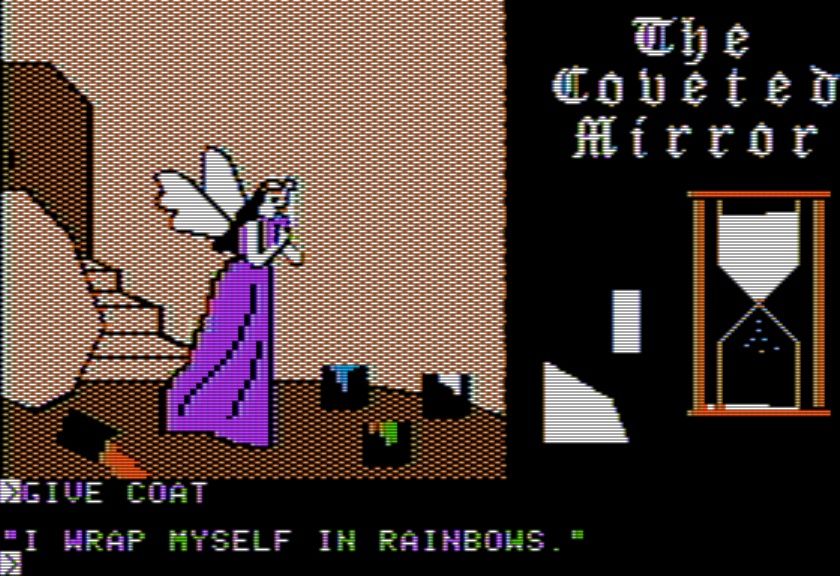
I do not know where the coat goes. I can’t USE COAT so I assume I give it to a person. There’s no obvious candidates. At least, there are custom messages when you give it to the wrong person, which is a very nice touch that makes the whole situation less frustrating.
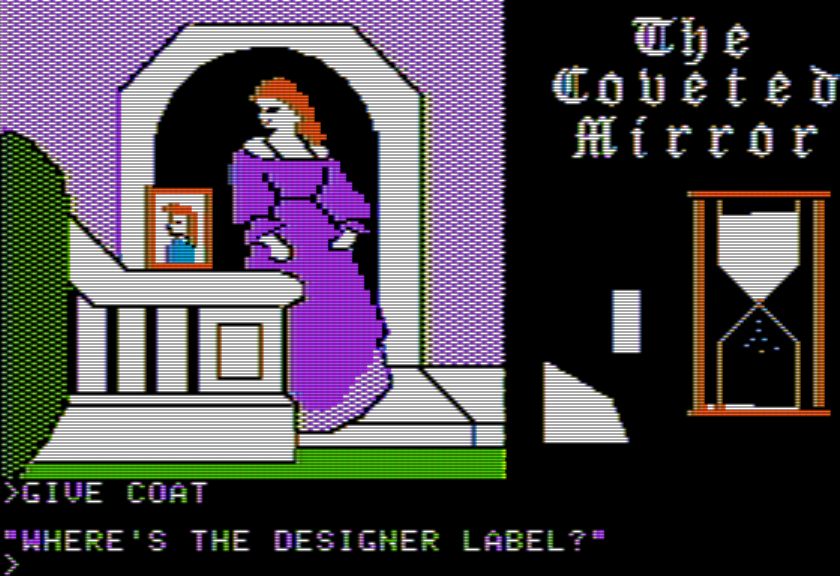
It’d be hilarious if we then need to make a fake designer label, but this isn’t that kind of game.
To recap my issues, some which carry over from last time:
a.) two locked doors, one in the tower at the castle and one outside town at the hill
b.) I still need invisibility
c.) the people at the tavern (and the cryptic mention of sign language); relatedly, learning sign language for understanding the man at the forest
d.) the astrologer who pines after the fortune teller
e.) the “moose” ingredient
f.) the glasses for the fairy
g.) does Lady Vainly need anything or was that whole scene just for the grain?
h.) what to do with: bones, ax, coat, broom, and rope.
The game is keen on USE X so I may just need to start grinding (check every room for use of bones, ax, coat, broom, and rope).

Re: the glasses for the fairy, this is another case where I’ve wanted to yell at the blog post :)
I figured that out, although the verb aspect is kind of odd
Re: the jousting, that was always a problem in my youth as well. You have just a split second to adjust your lance and shield into the correct orientation for a victory, but I also do not remember whether hitting the shield or the knight is the correct move. Similarly, I don’t remember if having the opposing knight’s lance hit my shield or not was correct. But it is definitely one combination that wins.
I also seem to recall that accomplishing a particular task makes the fishing minigame easier to complete as well.
Last comment for the evening. You’ll note that the rectangular mirror piece from the jail does not match any of the pieces from the illustration in the manual. I do remember from playing the game in my childhood that some of them in-game pieces do match the manual illustration. This was one of the most frustrating parts of this game…. It relied on you to suss out the shape of the fifth and final mirror piece but the game doesn’t help you at all in terms of proving accurate renderings of the jigsaw pieces.
I can’t decide if “the Look-Nest monster” is the best pun I ever heard, or the worst.
In other news: you need invisibility, a ring has been mentioned, and there’s a door on a hillside; together these things make me suspect you’ll have to rob Bilbo Baggins.
Oh, it gets even better/worse… I’ve been quickly running through this one after finishing Shōmakyō to make comparisons, and I can tell you that the bard is named “Elfish Presley”.
I did solve the door in the hill thing, by the way. It’s quite silly, like much of this game. I don’t know if it’s a good or bad thing that I seem to have blanked this entire experience out from when I was a kid…
It’s a bad one to be sure, but it also made me actually laugh out loud, so there’s that…
I’ve finished the original now too. Very interesting to compare the two. Some elements are better/worse depending on the version, with a few being really objectionable in one or the other. I’d guess the later Polarware “Comprehend” release just strips out the minigames and tacks on a pseudo-Infocom style extended parser, so the Japanese version is probably based on both the original (two word parser) and Comprehend (no minigames), although it was released at almost the same time as the latter, so Star Craft must have had access to an early build or something. More thoughts/comparisons when you’ve finished.
These are some things I noticed while playing the game:
After getting caught the second time I’ve noticed that the cabinet – or at least I think it’s a cabinet – in the magician’s room is closed.
If you want to go back inside the castle, just go west from [you’re outside voar’s castle of evil].
South of the main entrance of the castle, there’s a face in the one of the windows. Type “talk.” I think it might be related to the door with the sign “stay out.”
In the outskirts of town, there’s a barrell. Type “open barrell” or “move barrell.” I wanted to see if I could get the lid but it won’t work but type “get barrell lid” for a joke. Also if you type “use barrell” you get the message “you’re on the right track.”
When you go down the well with the fairy and buckets of paint, use “open door” and go west. You’ll be at the door in the hillside.
Most of this is in the update – use MOVE on the barrel to get the lid off.