I’ve finished the game; this continues from my previous post. Having save states in addition to being able to set the system to turbo accelerated my gameplay so please don’t think of this as indicative of actual difficulty circa 1983.

Zoom-in on the Dreamcards dragon. It gets reused on their tape art.
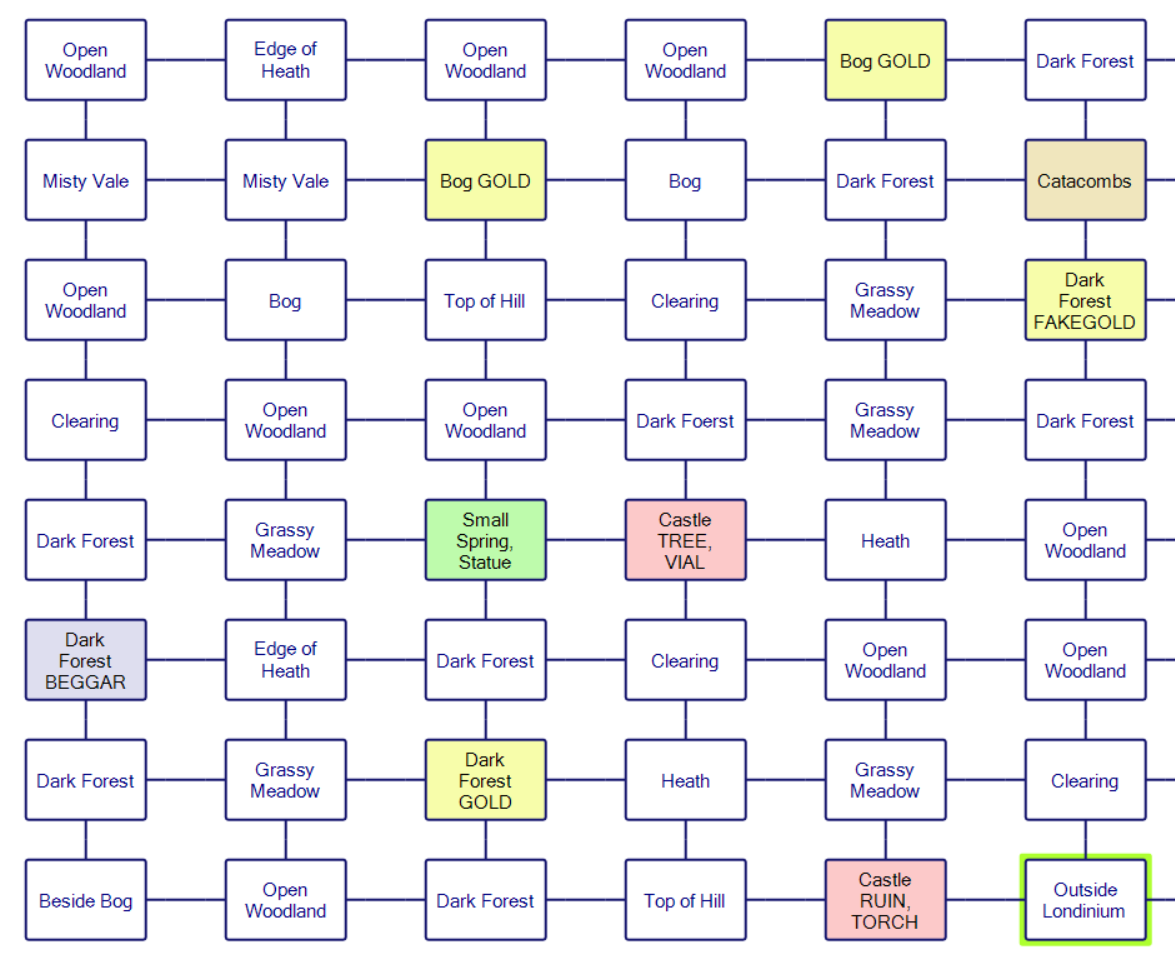
I did go ahead and lock in a savestate right away, and started by mapping out the west side of the territory (the whole thing is 11 columns wide and 8 rows tall).
The savestate really was necessary because the combat can be pretty rough; the only weapons you have access to are a dagger (which you start the game with) and Excalibur (which if you find it, you might as well make a beeline to the end anyway). The enemy placement is random and not in the Twin Kingdom Valley way which tracks character placement as they wander the map; an enemy might show or not show or even show in the middle of you checking something in a room.
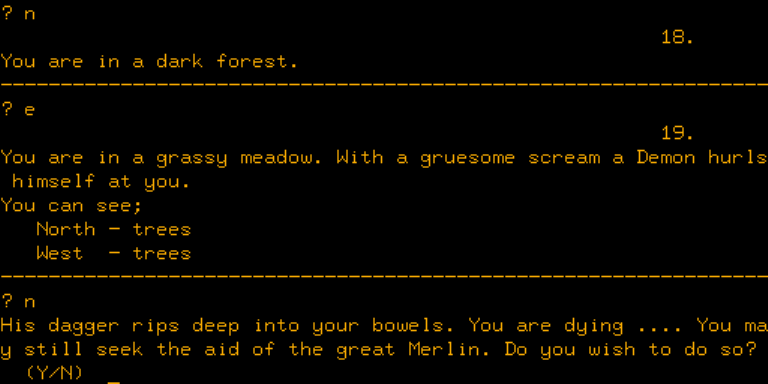
As far as I could tell, running away never works.
For my random map roll, I had the castle with armour & torch spawn just west of the start. I grabbed the torch but skipped the armour because of the weird curse effect. I found out after the fact I didn’t really need to; if you fix the boat you can ride with the armour, the weight doesn’t come up otherwise, and it does make you do better in combat.
Not too far off while exploring I found a gold coin; there are a number of them spread across the map. Some are ambushes, and at least one isn’t a gold coin at all.
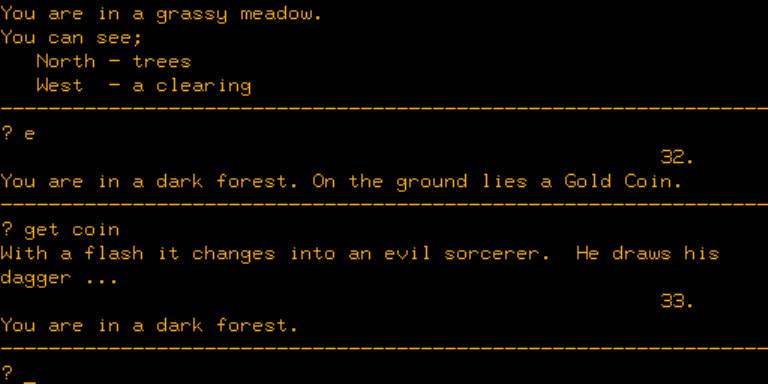
This is very Wizard’s Castle-like, although I think it’s more colorful in a plot way than the cursed objects of that game.
There are three places I found a gold coin to be of use. One is with a beggar and a cup, although it took me a few tries to get the right command to hand over the coin.
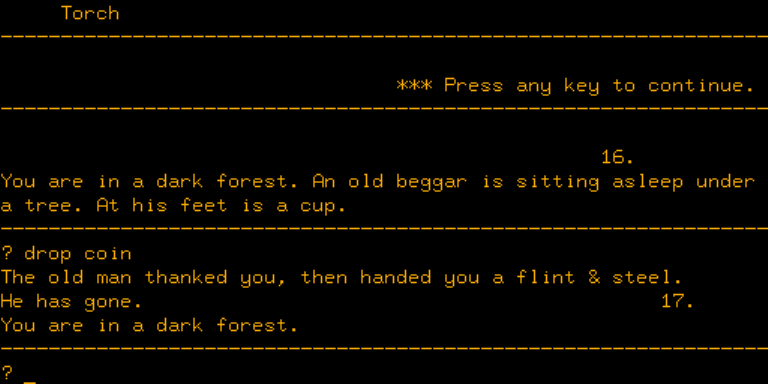
GIVE COIN doesn’t work, for instance. THROW COIN doesn’t work either. If you try to steal the cup the man casts a spell and takes away a large chunk of your health.
With the flint and steel I could now light up the torch (which will be handy later). The second gold coin spot I found was at a small spring with a statue where I suspected I needed to make an offering.
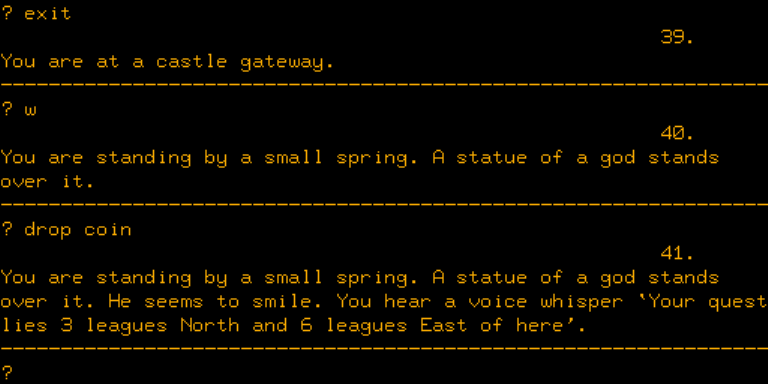
This tells you where the Excalibur Lake is (the one I ran across via random wandering last time). This is technically unnecessary but in the context of normal play (with no saved games) it is helpful to reduce the amount of map-wandering you need to do.
The castle-with-vial-that-summons-white-dragon incidentally spawned next to the statue, and I am fairly certain the vial is required to win the game. Other than that, the new location I discovered on my initial map slice (directly north of the start) were some catacombs.
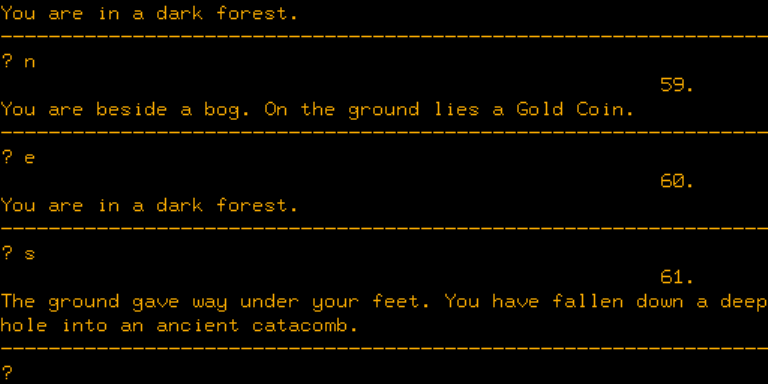
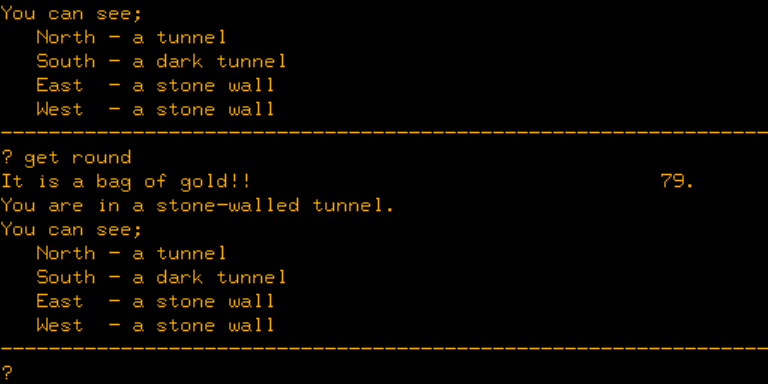
As far as I can tell the catacombs are completely unnecessary to enter; you can light the torch, travel a tunnel, and find a bag of gold before reaching a staircase going up.
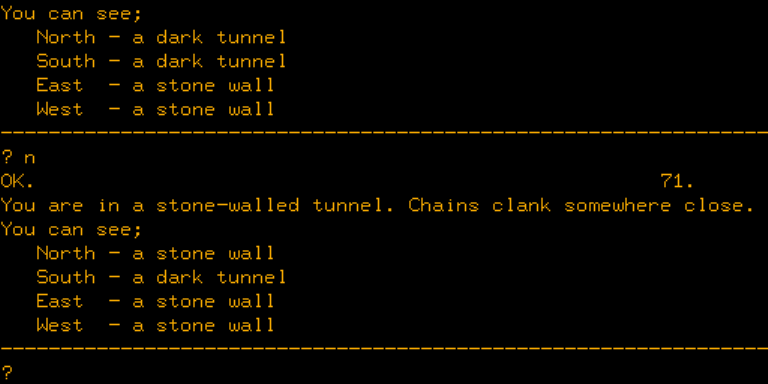
At a dead end. You are always given what you can see in all four directions.
The underground map is freshly-generated upon falling (not upon initial map generation)…
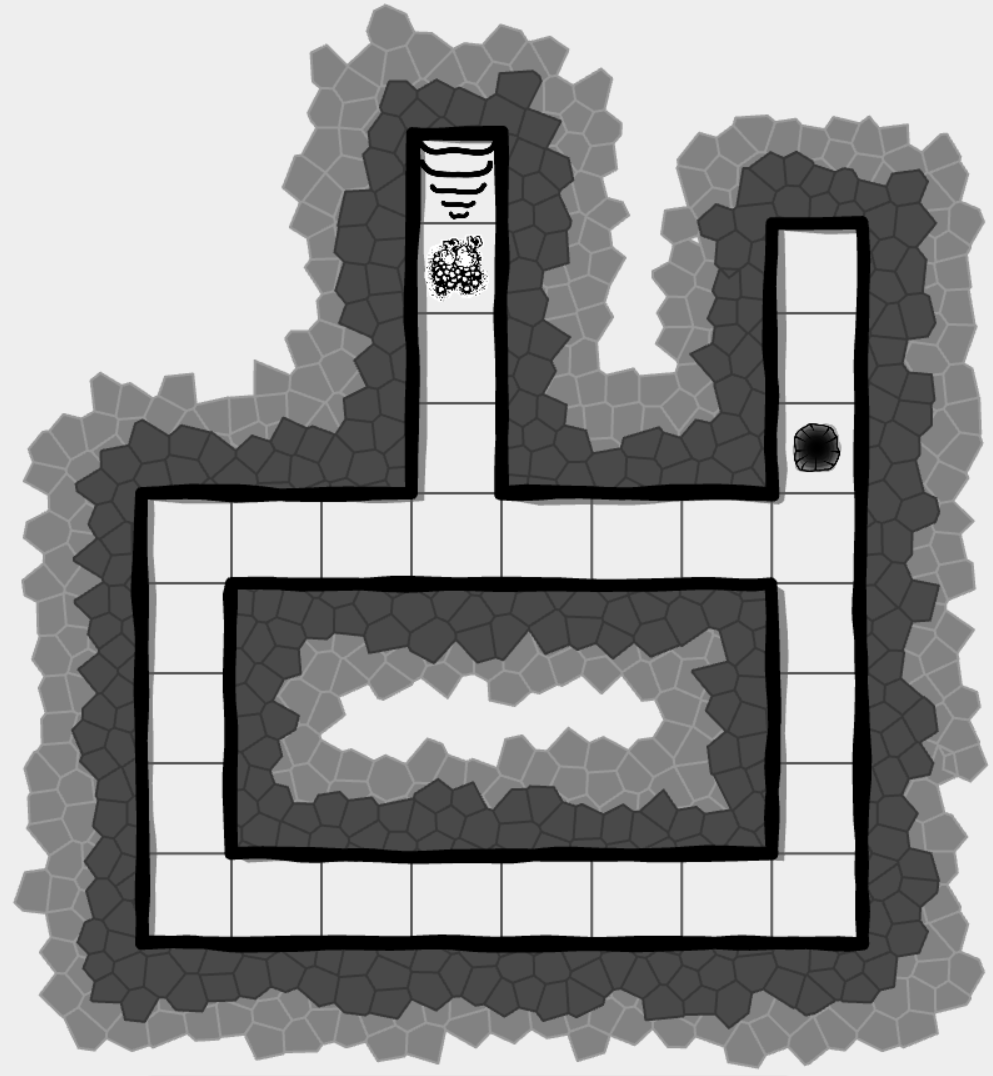
…so I was able to experiment a little with different maps to see what would happen. In the end I don’t think it’s worth going through the underground, except in a “real” playthrough you wouldn’t know the catacombs are there until you fall into them, so there’s no choice in the matter. Even worse, the torch does have a time limit, and I’ve run out before while exploring.
Now let’s take a look at the east side of the map (again, my particular map, created via random generation).
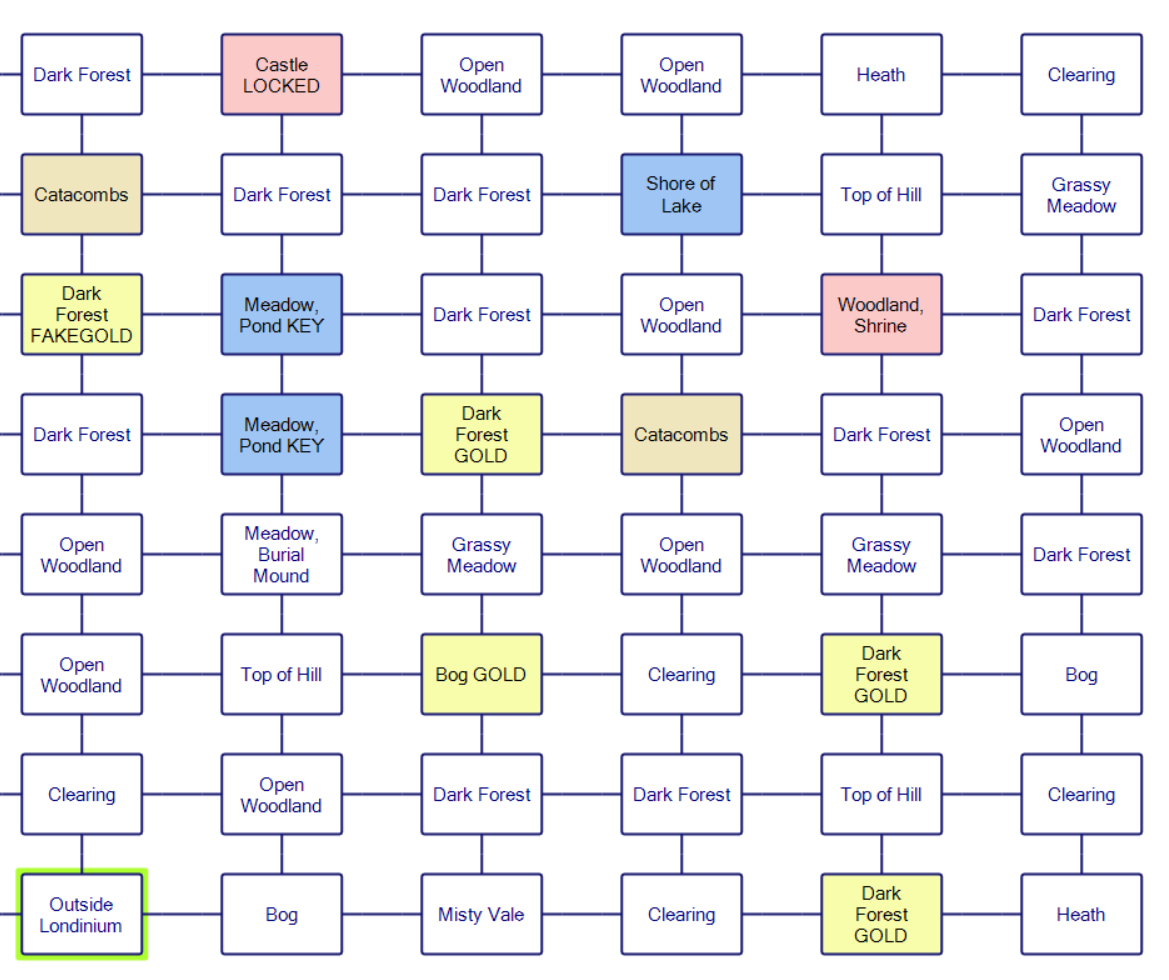
Two of the rooms are at a pond, which is shallow so you can enter. There’s a key you can find inside.
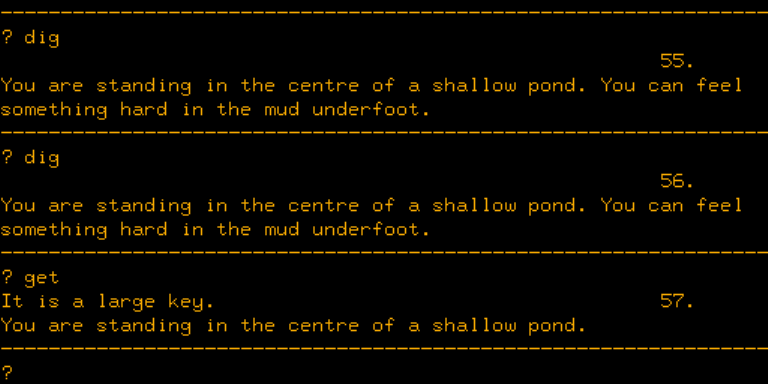
“Dig” isn’t needed, just typing “get” is enough.
The key goes to that locked door I showed off last time. This time, rather than next to the start it was at the far north of the map. Key in hand, I went inside and found (after lighting the torch) a mural.
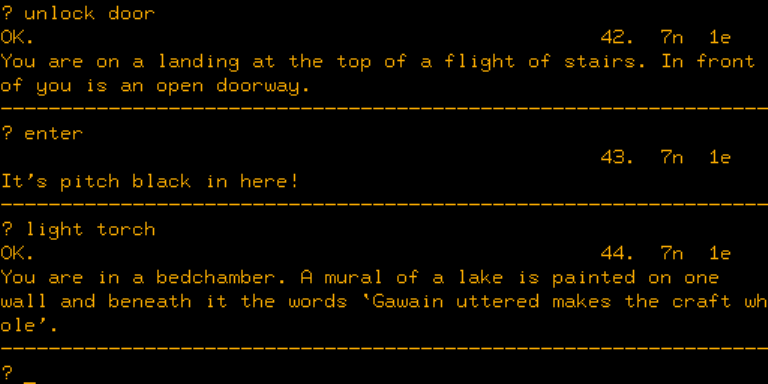
The boat at the Excalibur lake is broken, but “say gawain” will fix it. This word changes upon each new map regeneration, so you can’t just skip this part of the game (…unless you’re using save states, in which case you can, although I still went through this on my winning run).
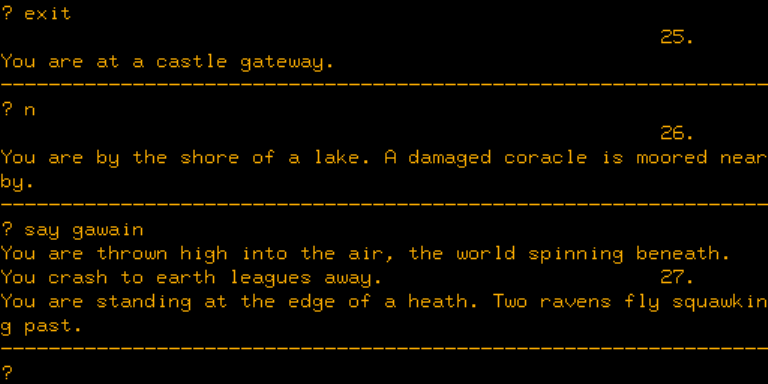
Getting the word wrong on a different playthrough.
Before nabbing Excalibur, one more visit, as the Woodland Shrine is nearby. If you light the candle inside an amulet appears, with writing on it:
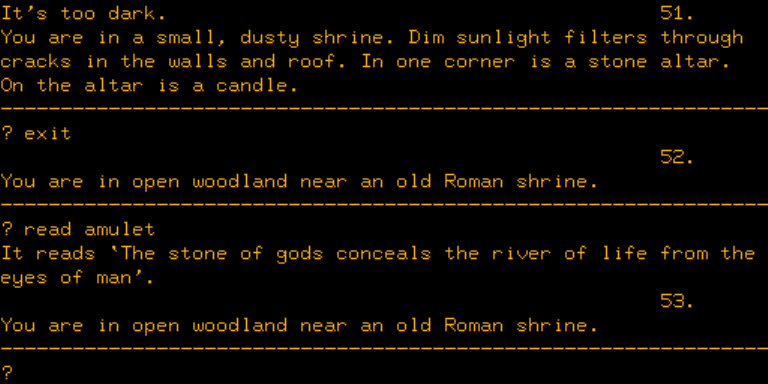
The amulet is meant to hint that you can push the shrine to reveal some water, and drinking the water will heal you to max health (at least a few times). With my “mostly evade enemies via saving” route I didn’t really need to do that, but it’s helpful on a regular playthrough.
Finally, the sword of Arthur:
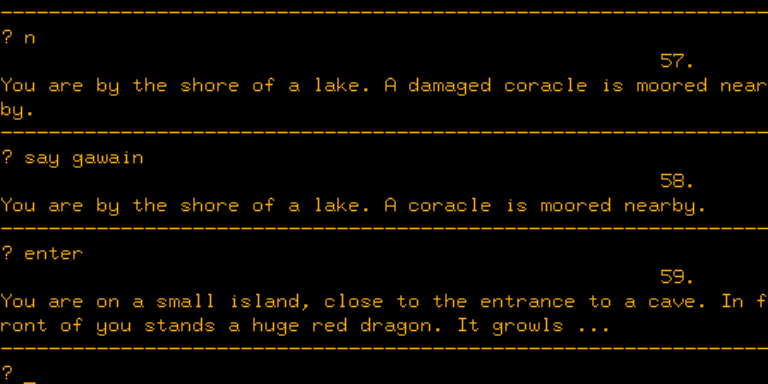
I made a major mistake here that took me a while to realize. “Enter” I assumed would enter the boat, but it just assumes you swim to the island (which sometimes works!) Swimming does not work on the way out. Even “enter coracle” wasn’t getting me joy; the right command is “sail boat”. Why must every boat in every text adventure game be an absolute nightmare to figure out how to control!?
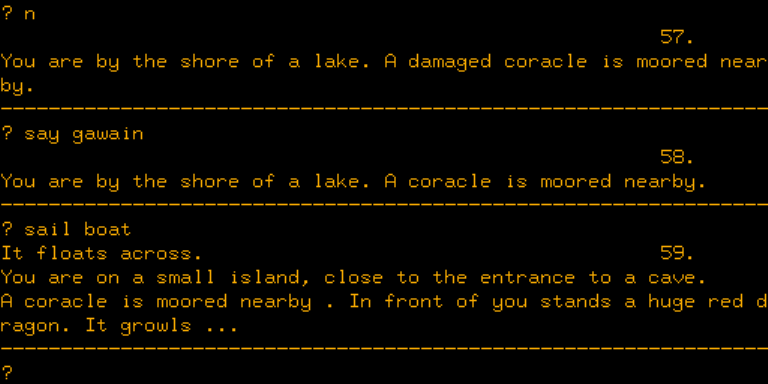
With the vessel being properly being used, we now have to deal with the dragon. Remember we still have the vial; this is where it gets used. (If you just try to fight with a dagger, you get melted by dragonfire.)
It shatters and a huge white dragon appears. The two dragons fly off with a mighty beating of wings.
This is sufficient to go inside and get Excalibur, which is there waiting for you in the stone.
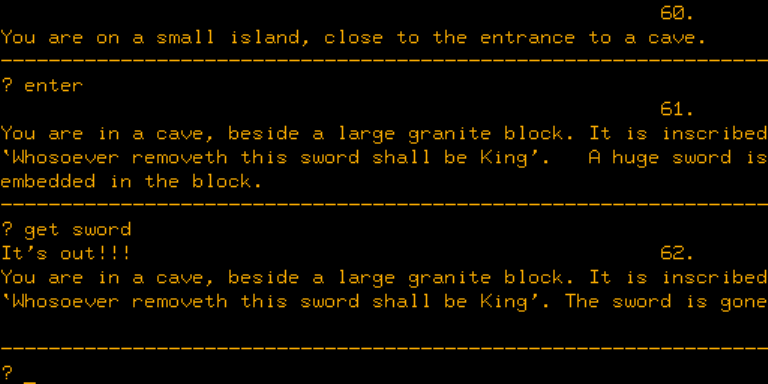
The dragon is back by the time you get out, but fortunately attacking with Excalibur is sufficient to scare the dragon off, so assuming you don’t have to deal with the boat nonsense you can make your way back to victory.
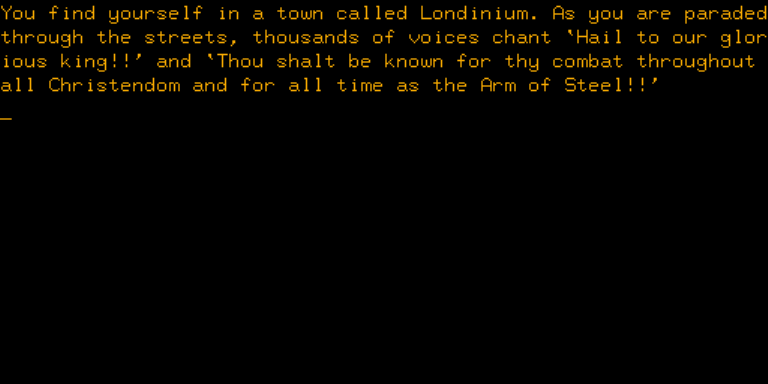
I had only 11 experience out of 50; there are apparently higher ranks I missed (according to the solution at CASA): the Knight Crusader, the Lord of the Red Dragon, and the Master of Merlin. The Arm of Steel sounds more interesting to me so I’m happy stopping there.
I did experiment afterwards based on the solution guide. For example, back at the burial mound (which I previously was unable to do anything at) you can MOVE SLAB to find a sacred area; you need to not pick up a shiny object inside and you will gain experience points (“you feel wiser”). The walkthrough also mentions there’s only 5 possibilities for the magic word so theoretically if you saw the magic lake early you could just roll your dice on a 1/5 chance of getting the word right.
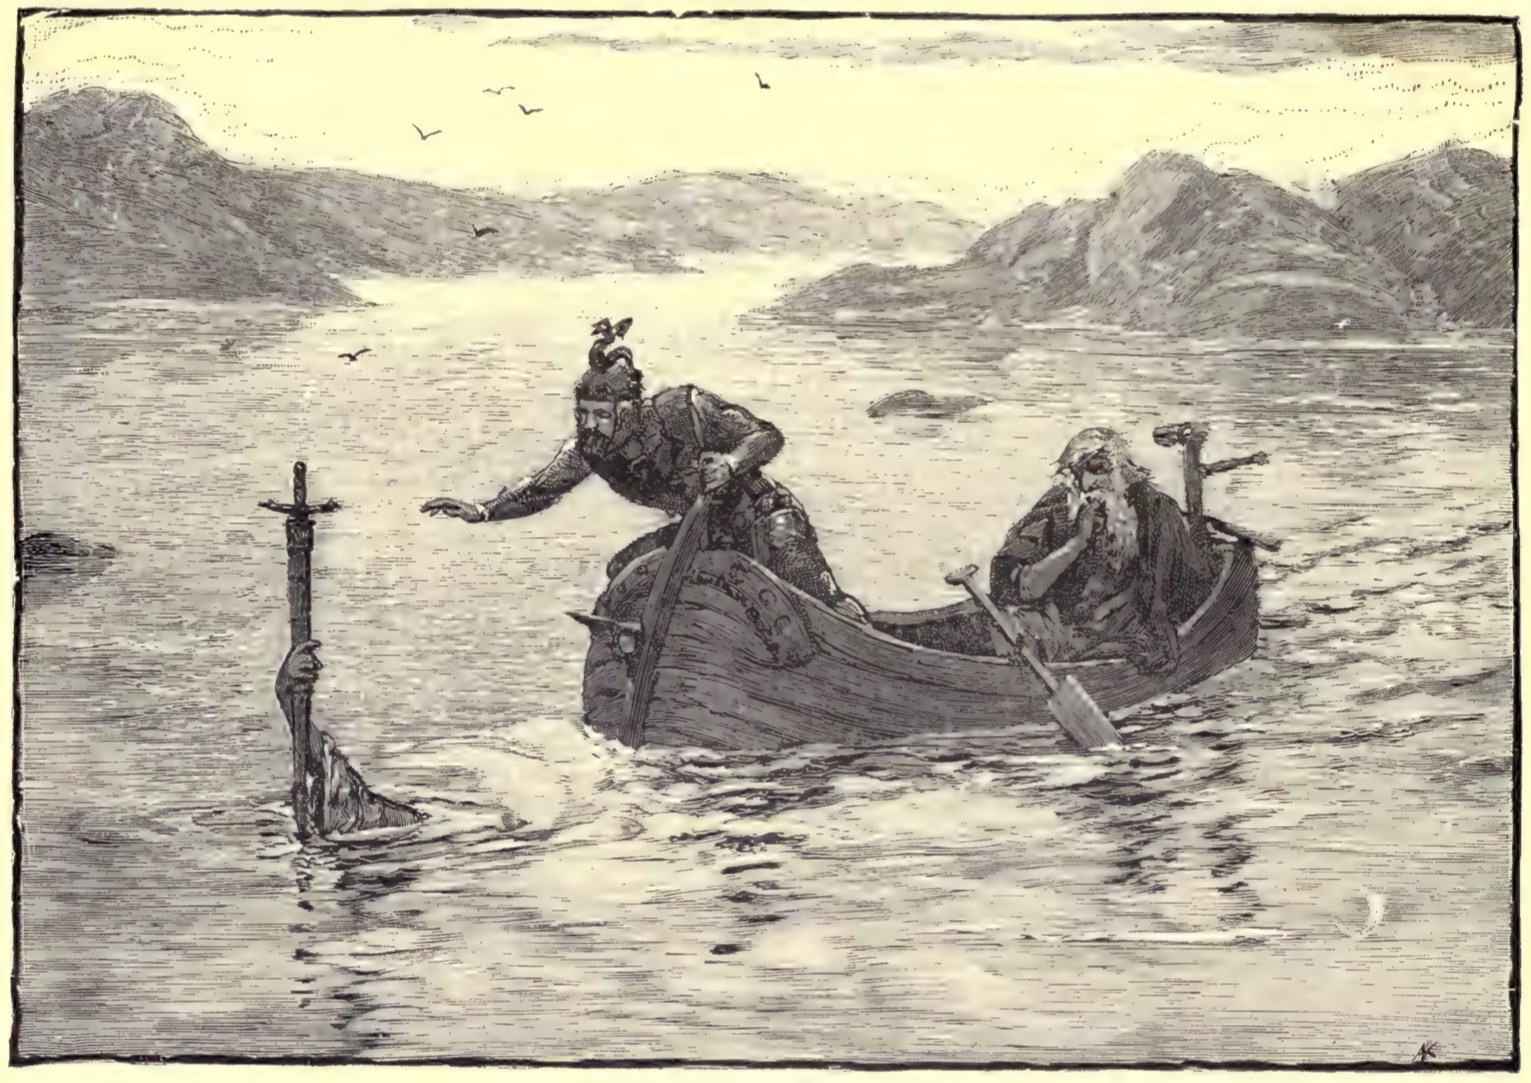
Merlin and Arthur with the Lady of the Lake, from The Boy’s King Arthur, 1911, illustration by Alfred Kappes. Merlin only helps in this game to resurrect you if you die; no Lady of the Lake appears.
The most interesting result might be dying after you find Excalibur. There’s still what roughly resembles the winning screen, with a twist.
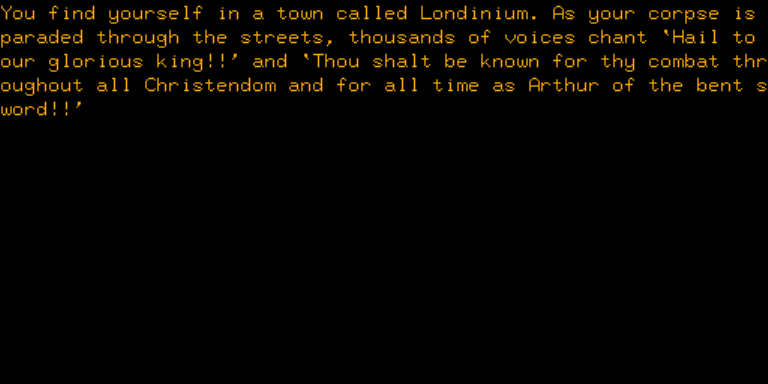
Glorious in death.
Out of all the various adventure-roguelikes I’ve experienced, this has been one of the best. I found it more a pleasure to get through than even, say, Lugi (one of our other top contenders). As far as why:
▶ While the map is randomly generated, it’s on a grid, so filling it in doesn’t feel like nearly the same chore as one of the node-based maps, like The 6 Keys of Tangrin. You can mostly ignore the scenery and focus on searching out the important landmarks. You don’t have to explore every single room.
▶ The scenery is still important; this has a great many “flavor” messages which lent genuinely strong atmosphere. It wasn’t just adding an adjective here or there, but often swapping entire phrases of text.
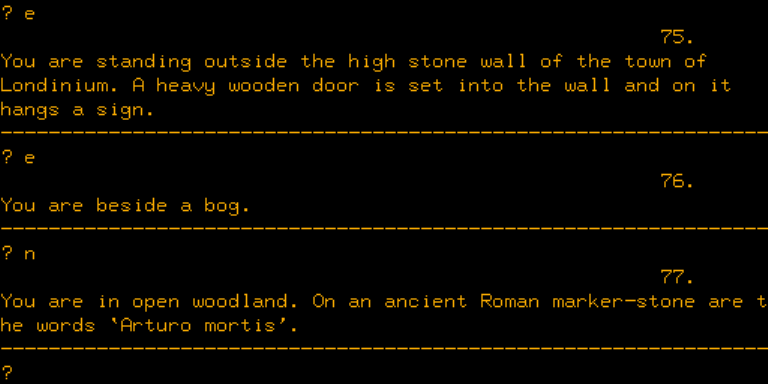
▶ Even the Underground section (which you have a good chance of falling into by accident) isn’t that onerous to map, as the generator uses long tunnels. While it ends up being unneeded to win, having the gameplay wrinkle adds an extra edge of variety.
▶ The gold coins add a strategy-choice element; you need one for the beggar, but you might want to get a second in case you find the shrine before finding the Lake (so you can get directions, akin to talking to the Oracle in HOBBIT and Wizard’s Castle).
▶ The sense of danger is high but it’s also not rough to reset; I replayed a number of times after my main win and even getting mauled by a demon a few steps in didn’t come off that terrible because the whole sequence required is short.
▶ Working out the amulet’s message with the healing water is an optional puzzle which makes gameplay overall easier.
▶ There’s a small consistent set of puzzles you’re trying to solve; easy ones, mind you, but still consistent in a way which is like solving an “information puzzle” akin to Outer Wilds.
Prior to Merlin, I’ve never seen the Wizard’s Castle formula bent into genuine adventure game format; I don’t know if this formula would work with anything longer, but perhaps some modern additions (like checkpoints or information gates which let you skip ahead) might make it work with a modern substantial game.


Leave a Reply