(You can read my posts about Dungeon Adventure in order here.)
I’ve finally hit the scene such that this cover (used on later printings of the game) makes sense:

Because when you think “dungeon adventure” your mind naturally goes to weird sideways mushrooms and ants. From Launchbox.
I’m just going to divide areas up by region this time and not bother with sorting out what order I did things (I bounced around a bit using multiple trips and it didn’t resemble a “narrative”).
Region 1: Jelly Central
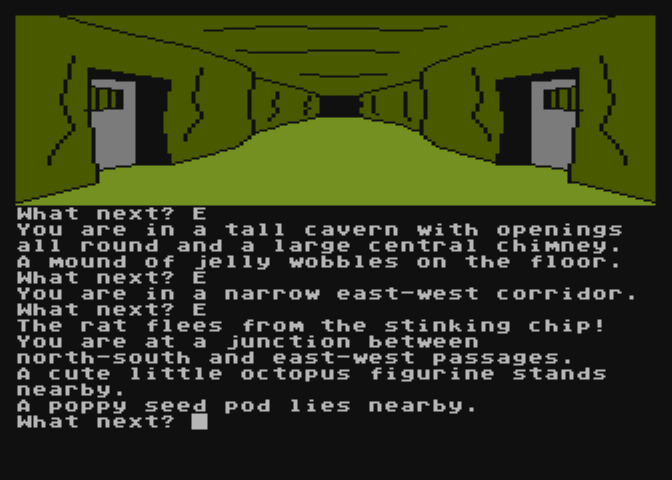
A Tall Cavern with lots of exits is where I had met carnivorous jellies last time. I was getting eaten trying to go farther.

I clearly needed some kind of “meat” given the carnivorous nature, but there was nothing I could think of from my objects that met the description. Eventually it struck me that the “corpse” that I had found a short bow and orange collar on could maybe be picked up; often this sort of object-dispenser is just “scenery”, but given we’ve been using a belt of super-strength it wouldn’t be that weird to tote around a dead body.

Voila! Many more exits were unveiled:

This led to me getting a hollow stick (that can be blown to make a note), blue collar, rancid fried potato, jar of cold cream, cracked pot (breaks if you drop it), a hammer, and a bag of nails. One thing to be clear about is that the game is quite systematic in mentioning if something is a “treasure” and if something is “enchanted” (in D&D terms, our character has a personal spell of Detect Magic running). I knew from that, for example, that the “jar of cold cream” was enchanted, making it easier to make the connection with this room:
Going west kills you, unless you’ve used the jar of cold cream first. I likely would have tried it anyway (eventually) but the magic amped up the chance that “cold cream” really is enough to protect from getting melted by flame.
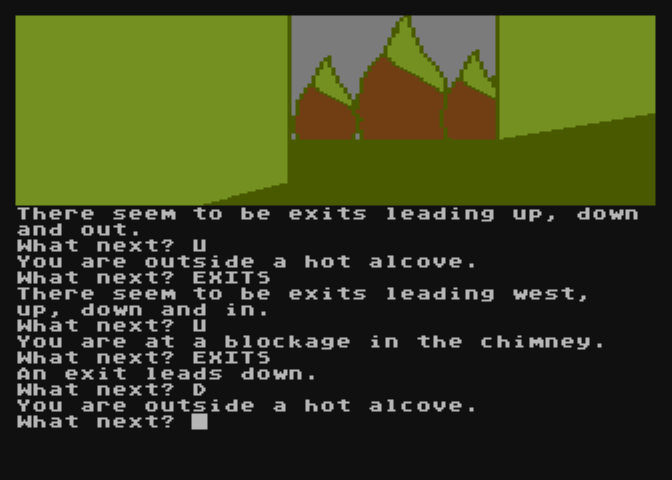
Inside the Hot Alcove there is a “sun medallion”, and again the consistent messaging helps: it is described as “valuable” (it counts as a treasure) but not enchanted. Therefore, I don’t have to go around at any point waving the sun medallion around hoping it triggers a light spell or the like.
Relatedly, I was able to cart the “rancid fried potato” over by a “giant rat” and it ran away due to the smell. This gives access to the rat’s nest with a “star pendant”, and again it just is “valuable” as opposed to enchanted. This is essentially text as UI, “coding” things in the world consistently to make it easier to see what their function is.
Before moving to our second region, I should highlight the “yellow pedestal” I have marked there. In addition to the red pedestal from right at the start of the cave, and the yellow on this map, I’ve orange, blue, violet, silver, and black. Each one lets you climb on, but I have yet to be able to cause activation. These are no doubt teleporters but in Adventure Quest it took a while before I could activate them. I’m not sure if that’s really the case here; the game is much more willing to be wider-branching in sequence, and the yellow collar, orange collar, and (later) blue collar I’ve found are suggestive that there is some link. (Only the yellow has been useful for a “security” exit.) I will need to experiment more.
Other than housing one of the pedestals I don’t have any questions about the jelly region, so let’s move on to the next, near where the skeletons were from last time.
Region 2: Undead Antics
To recap from last time, I had entered a room with skeletons while holding a bone staff, and they reacted and left when I waved the staff. This left behind a grateful dwarf who was going to lead me to his treasure.

However, let’s pretend we didn’t save the dwarf yet since that leads to Region 3, and stick with the immediate surroundings.

We get stopped trying to go southeast (or “out”) because we have stones hurled at us; this is an unresolved puzzle. Going SW reaches one of those pedestals I talked about (orange)…

…going down leads to near the front of the cave in a one-way trip (there are multiple exits like this scattered around, likely to save walking time), and going north leads to a vampire. You need to have the jeweled crucifix from outside in your inventory to survive the vampire, or a veneered cross which is just to the west of the vampire, or both.

The passages after seem to have you crawling around the inside of a giant stone face…
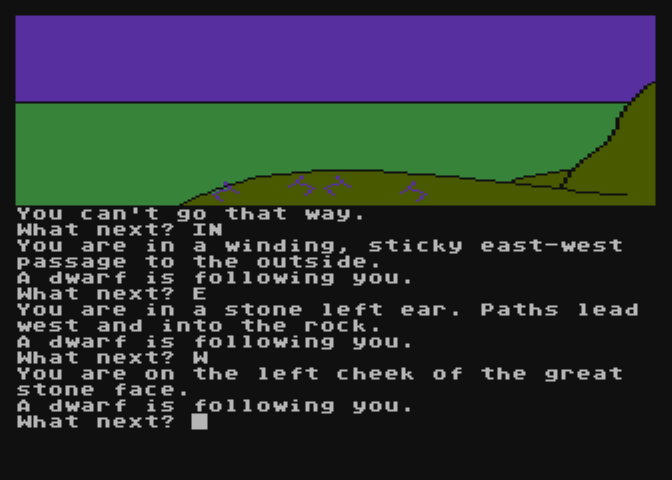
…eventually arriving at a “wight house”. Everybody hates wights. In original D&D they’re the ones that drain your levels.

A 1st Edition AD&D wight.
Having a crucifix is sufficient to plow your way through, except the center of the room (with a blue pedestal) where you need the crucifix and a cross. I didn’t realize dual-wielding holy relics was a thing.

On the south side of the wight house there’s a coffin and a trident. If you try to take the trident a zombi comes out and gets you.

I think I know how to solve this but I’m trying to avoid having to make yet another post update so I’ll save my theory for next time.
Let’s get back to that dwarf. If you go “off track” the dwarf will let you know you’re going the wrong way to the treasure. The right way to go is up from the “Stone Nose” to the “Smooth Rock Dome”. It has a goat and “ornate horn” and if you try to take the horn the goat kills you.

This I have arbitrarily designated as part of…
Region 3: Stairs and Bridges
…a place where the map gets stretched vertical, at least the way I was making it.

Since that map is hard to read, I’ll give a meta-version of the same:

As you follow the dwarf up the steps, there’s a sound of a boulder bouncing from above (a similar trap was in Adventure Quest); as you keep falling you get into a “protected gully” in the nick of time.

This is just south of some “ore” which I suppose is the dwarf’s treasure. Heading north further down an aqueduct goes by another pillar (silver) and one side of a locked door which I believe connects to a “Strong Room” you’ll see later. Going yet farther takes a one way trip to a salt cellar which I’m saying is the start of Region 4 (Ramps).

The Ramps area has a highly unusual gimmick but let’s finish off the region we’re in first. Going back to those steps, once they are boulder-free you can keep climbing up to find a gatehouse where you are told to “say the password”, and I really wonder how many times we’re going to see this puzzle.

Going farther leads to everyone’s favorite, Lenslok, which I wrote about with Colossal Adventure. I won’t go into detail again but I should mention the app I’ve been using (LensKey) now is slightly broken in Windows 11 and the area that you select ends up marking a different part of the screen (but the same size). I got around this by moving the emulator window to the center of the screen, marking the Lenslok region, and then shifting the emulator window so the Lenslok area is right under the part the software actually used.
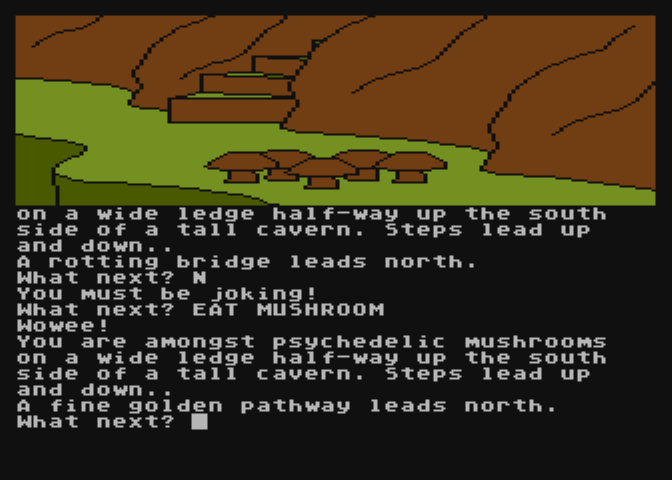
Then the door of the black tower is locked. D’oh. I assume this bit must come later in the game. Heading back instead to the “Steps” adjacent to the Jelly on my meta-map (there are two exits which go back to the Jelly Central region, and they are two-way), there’s also a “rotting bridge” next to it and some “psychedelic mushrooms”. If you try to head north the game asks if you’re joking, but if you eat the mushroom first, everything’s just fine! Welcome to the “magnificent golden pathway”.
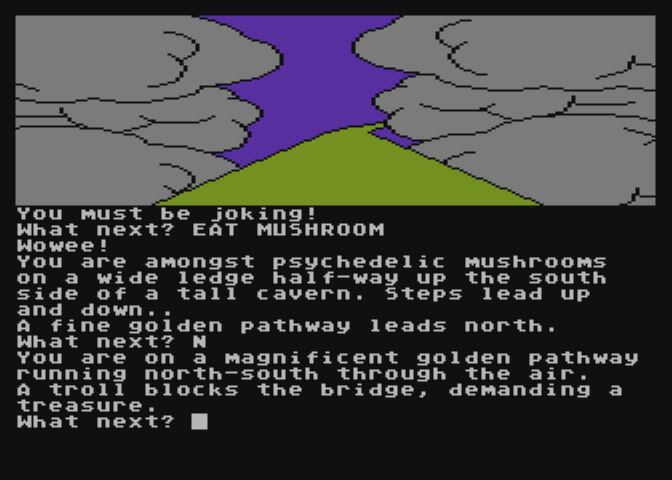
I incidentally don’t know yet if there’s an equivalent to the golden eggs from Crowther/Woods that I can get back from the troll; I just picked one to toss away at the moment (the coins) to keep exploring.
Down one path you can find some more mushrooms where eating them makes you small (you drop your inventory). Then you can head north into an area with “giant ants”, and yet farther north again to some more mushrooms. Eat the second set of mushrooms and you grow back to being big, but the problem is the ants are now blocking you.

The small-ness is useful for another spot nearby where there’s a “crack” that you can take into a “Strong Room”. There’s a chest there (too big) and a bolt for a door locking it from the inside (you can reach, and unbolt it). This means, I assume, the sequence is
a.) get small
b.) unbolt the door
c.) deal with the giant ants somehow while small
d.) become big with the other mushrooms, and by having dealt with the ants you can escape
e.) head back to the unbolted door and get the treasure chest
“You eat that poison?”
“It makes me feel big, okay! I need to feel big!”
Rob’s theory about a bedroom filled with blacklight paintings is starting to seem more likely, but let’s move on to:
Region 4: Ramps
Arriving here, as I already mentioned, is a one-way trip. It almost feels like a self-contained mini-adventure, except there’s no reason that outside items can’t be used to solve puzzles (except I haven’t managed to do that yet). You get trapped on two very very tall ramps, and a variety of rooms, many of which kill you. (This feels like prequel to the movie Cube but with an even lower budget.) Within this area you can find gems like rhinestones and diamonds and there’s a door that asks you to “collect 9 or 10 gems”. This hints at perhaps we need the gems to be able to get out. Gem rooms light purple:

In some cases the gems are in the open or simple to find, like a sculpture you just need to push to open a secret door.

However, a lot of the doors on the ramp just kill you, or have things inside that just kill you.

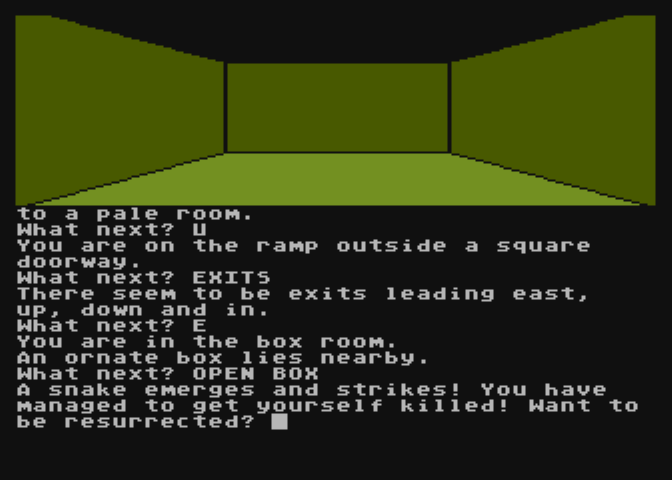
You can pick up the box, so I assume you give this to an enemy so they get hit by the snake instead.
I’ve managed to resolve a weird series of rooms with buttons:


The “best” is 9, because, well, Level 9. Or you can just skip this room by going west with no consequence.
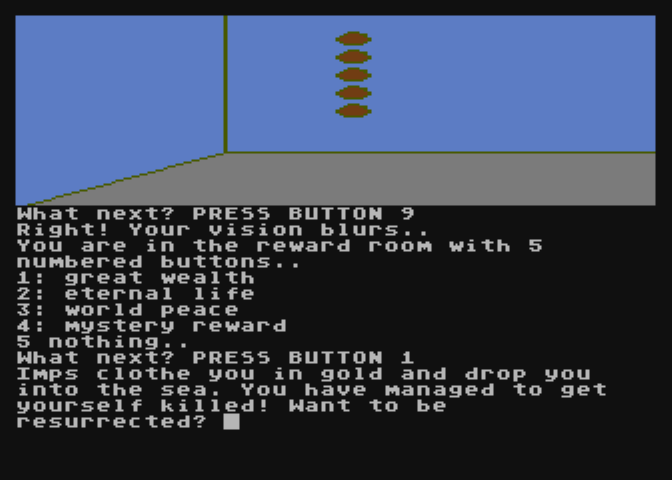
You want to pick 4 for the mystery object and get a sapphire.
I’ve also managed to sort-of resolve a room at the very top where you get paralyzed by “writing images”.

CLOSE EYES, shockingly, works to get through (I can’t tell you how many times reference to a body part might help with a puzzle but it isn’t allowed!) Unfortunately, there’s a black sphere inside that will start following and then envelop you after enough turns. There’s a second black sphere in a different room and I tried to get them together to be friends but my timing must be off.
The top floor has a shield and a diamond, and I assume the shield is useful for stopping acid and/or spikes (both are also ways to die). There’s additionally a bouncing boulder going down one of the ramps (where you can duck out to avoid it) but there’s a wooden wedge that I think is somehow used to re-direct it. I have yet to play with any of these things much so I’d rather report in next time when I can give a coherent account.


The presence of a black pedestal suggests you can just teleport away after the mechanism is worked out. However, the “9 or 10 gem” door gives off the vibe it is meant as the “escape”, which suggests, in a structural solving sense, that you can’t make the pedestal teleporters work until after you’ve completed the ramps region.
I finally seem to be out of rooms to map, so I’ll have to start testing out theories. Since the inventory limit was increased you can theoretically tote every item around in the entire game with you, but it means logistics are still a pain as you have to drop the case, go in to the right room, take what you need (while dropping items as well), and come back out. I’m up to 172 rooms total on my map, and Level 9 tended to use a max limit of 200 at this time, so I think the only substantial place left is the endgame section (past the black tower, maybe?)

Why does every picture have one or both shades of pukey green in it?
I dunno why this one’s so into green this game (looking at the shots from the previous two games, they weren’t that fixed on it, so it isn’t a system limitation, they had to make it as a choice)
I think the coffin is the weirdest one to have the green on it
I’m a little surprised that the giant ants were still giant after you ate the grow mushroom. Anyway, the spiraling shape will make you go insane.
“Relatedly, I was ale to cart”
Cheers mate!
A wight house. Sigh.
I’m surprised the player is never west of it
They are! That’s trap tower. You go east to get out and land in the wight house.
So the anti-Zork trap tower is West of the Wight House.
You sure have made good progress! I am pretty convinced there’s not that much mapping to do anymore – this is a comparatively shortish game and gurer’f abg ernyyl na raqtnzr gb fcrnx bs.
I am also quite sure you have all that you need for solving the few puzzles you still have ahead of you, so I won’t give any hints. Well, except in case you need some help in figuring out the teleportation system, here’s how it should work: lbh arrq gb fgnaq ba n crqrfgny, jrne gur pbyyne bs n “uvture be rdhny” pbybhe guna gur vagraqrq qrfgvangvba naq fnl gur pbybhe bs gur crqrfgny lbh jnag gb genafcbeg gb. Gur pbybhef ner beqrerq nppbeqvat gb gurve cynpr va gur envaobj (jvgu fvyire rgp. orvat ng gur gbc gvre).